Rabbit Farmer's various VW Projects

User avatar
Rabbit Farmer
Posts: 2261
Joined: Wed Jun 25, 2003 11:37 pm
AntiSpam: No
Location: Earth
Contact:

Re: Rabbit Farmer's various VW Projects

Post by Rabbit Farmer »

Rack is back in and mounted to the subframe. Next step is to install the four bolts... one of the 14mm x 1.5 bolts did not seem correct so I want to chase the holes first.

Got me thinking... they are TTY bolts on subframe and steering rack. Decided not to cut any corners and ordered all new bolts.

So... PAUSE for a few days while I source a tap and wait for the bolts to arrive.

Progress is progress.

I recall having to turn the steering wheel to about six o'clock to access the bolt to disconnect the steering column from the rack.

Putting it back together I tried to do a little too much deep thinking. What do I need to turn the steering wheel to while connected to the rack to be able to get the bolt in an easy to access location while not losing "center" on the rack.

Well... that math wasn't needed.

Just put the column on the rack spline and correct the orientation of the steering wheel. Lots of splines there to be able to center the steering wheel.

I'm now thinking my rack wasn't exactly centered before.

Proper install here with easy to access bolt.

Image

Steering wheel is confused. Will adjust when car is rolling around to ensure it is centered properly.

Image

I ordered a new FIA (2025 expiration) OMP Sedan 2/3x3 FIA Harness, 2/3" Shoulder, 3" Lap, Pull Up, 6 point harness. Just one for now... passengers be damned!

The 2/3" for the shoulder harness has 2" at the top to work with my HANS, but widens to 3" below that point to the cam lock. (same as what I have now vs. the other option of all 2")

I made sure to get pull up lap belts to work better with my seats. (same)

Also new is the camlock is attached to the sub-belts instead of the lap belt. We will see how I like that setup. Present harness has it on the lap belt.

If I like the harness, I might order one for the passenger side, though, the rare passenger makes it hard to justify the approx $300 price tag. Could start charging $4.28 per fun run... trust me, some deep thinking math went into that number and it actually could work out. I even carried the two.

Image

After I get subframe situated, install the control arms (new fancy solid bushings!) and the rest of the suspension. I would be able to drive the car at that point, but I still have a few things to work on.

Installing vacuum pump for the brakes (plug brake booster vacuum hole) and trying to determine if my racing budget will allow for removal of old 034EFI engine management in favor of modern VEMS setup.

We will see.

Steve
Go Fast VW & Audi parts at FastAddiction.com
User avatar
Rabbit Farmer
Posts: 2261
Joined: Wed Jun 25, 2003 11:37 pm
AntiSpam: No
Location: Earth
Contact:

Re: Rabbit Farmer's various VW Projects

Post by Rabbit Farmer »

Progress on the 1980 Scirocco.

Joey Kale (Kale's Custom) is finalizing the cage, seat mounts, and camber plates, etc.

Here are some images that Joey posted on his Facebook page to show the recent progress.

I think the quality is top notch.

We are using the exact same camber plates as what we used on the MK4 Golf. Joey is building a structure on the strut top so that the camber plate is mounted underneath this structure vs. the camber plate being mounted to the topside of the strut tower. Should be much stronger.

Added in slotted mounting points to allow some caster adjustment as we are trying to dial in the alignment.

Image

Some photos of the cage work...

Image

Image

Image

Image

Good progress.

Yep... I need to get the Golf done as the Scirocco needs to park in the garage where the Golf is sitting. Golf to the trailer for winter storage.

More progress!

Steve
Go Fast VW & Audi parts at FastAddiction.com
User avatar
Rabbit Farmer
Posts: 2261
Joined: Wed Jun 25, 2003 11:37 pm
AntiSpam: No
Location: Earth
Contact:

Re: Rabbit Farmer's various VW Projects

Post by Rabbit Farmer »

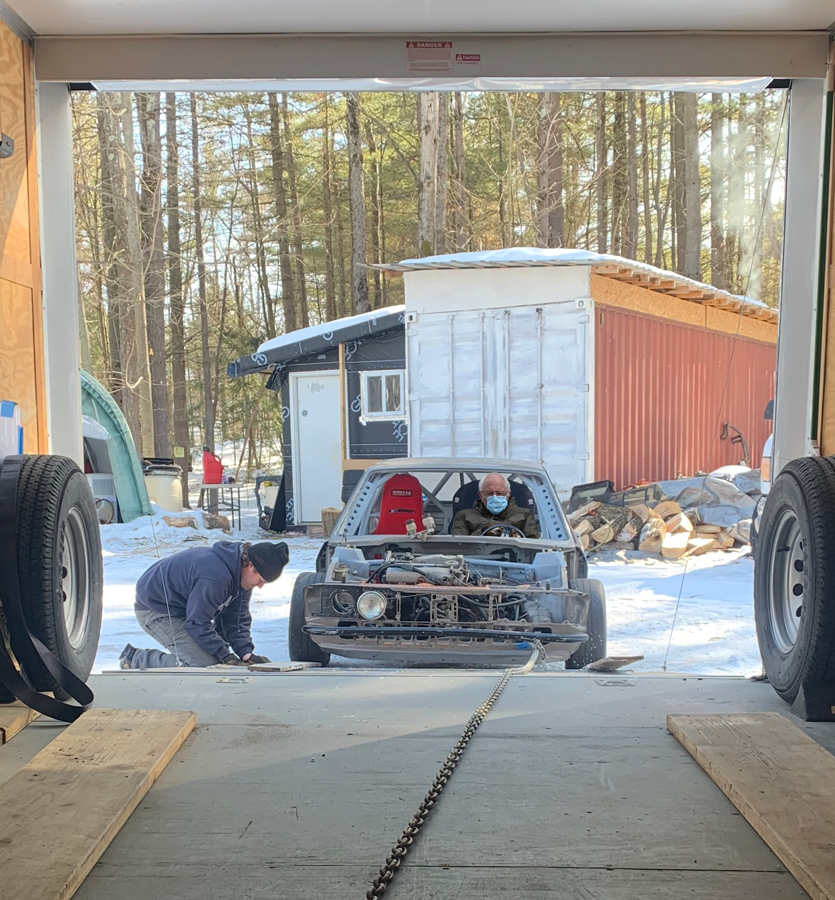
First update for 2021.

So much was accomplished since November, but would have been completed back in November if I didn’t have one #$%^! hole that was dorked up.

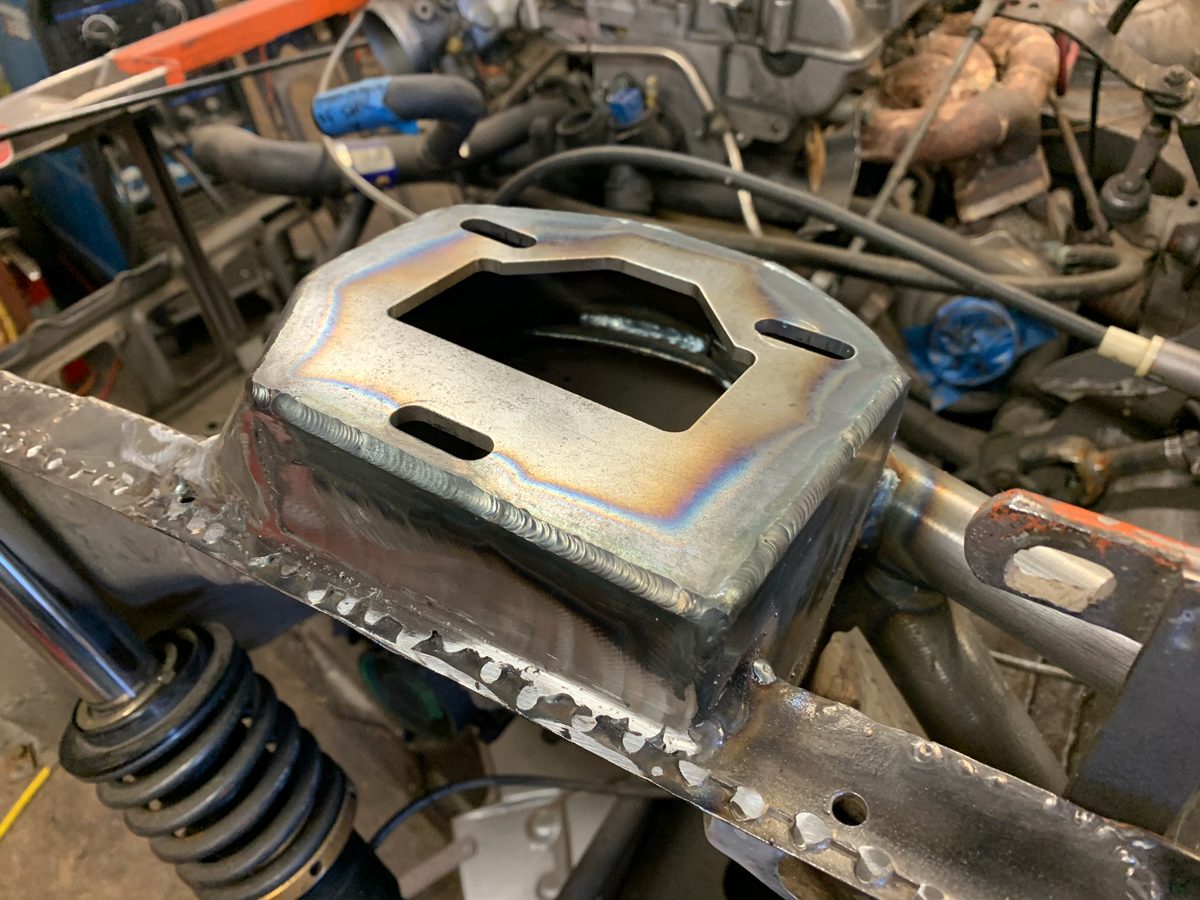
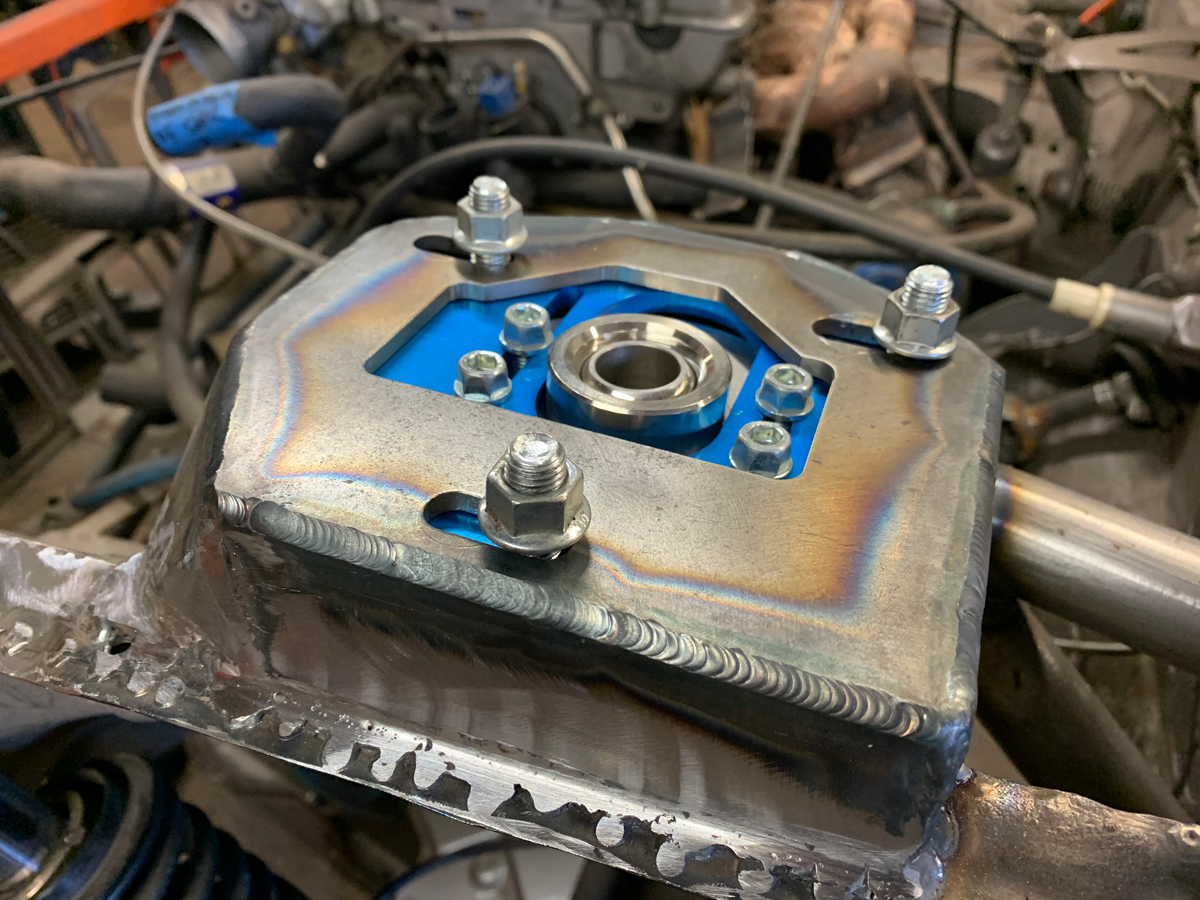
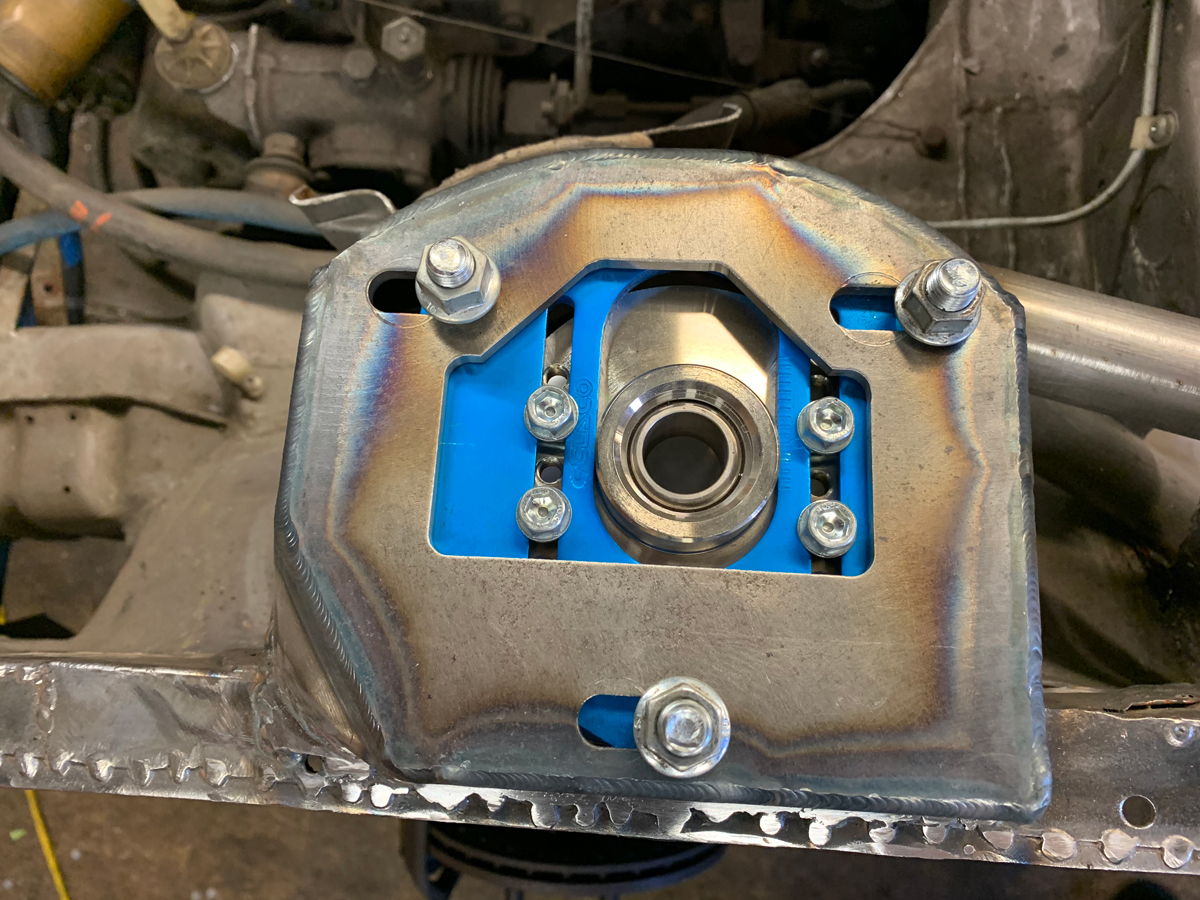
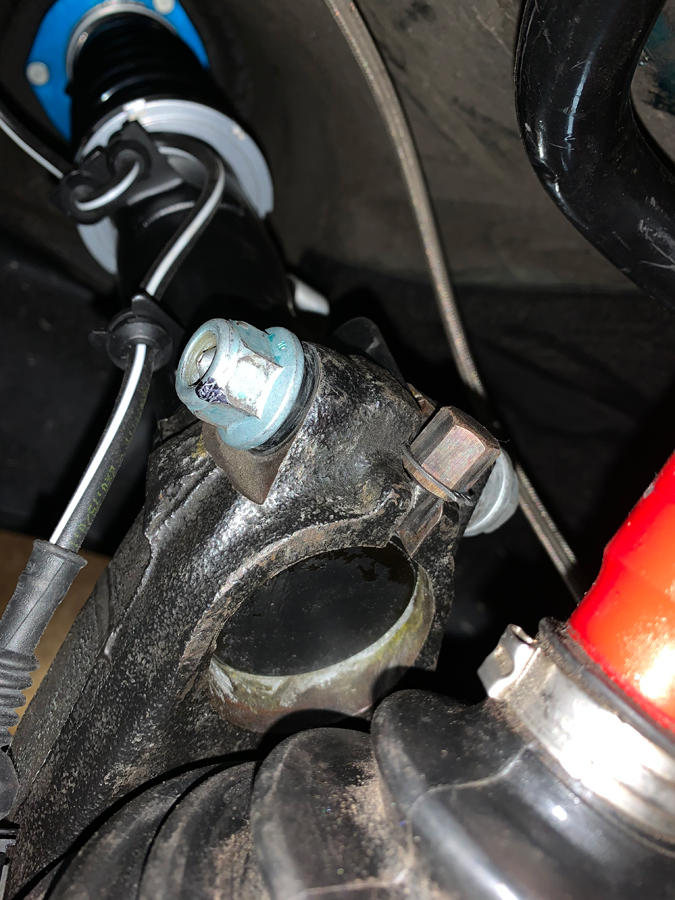
Back in November, the new steering rack was attached to the subframe and the subframe was in place and ready for the four M14 bolts to attach to the car.

One hole wasn’t quite right… I could not easily tighten the bolt by hand and wanted to chase the threads.

I tried a chase, but it would not work as the threads were too messed up.

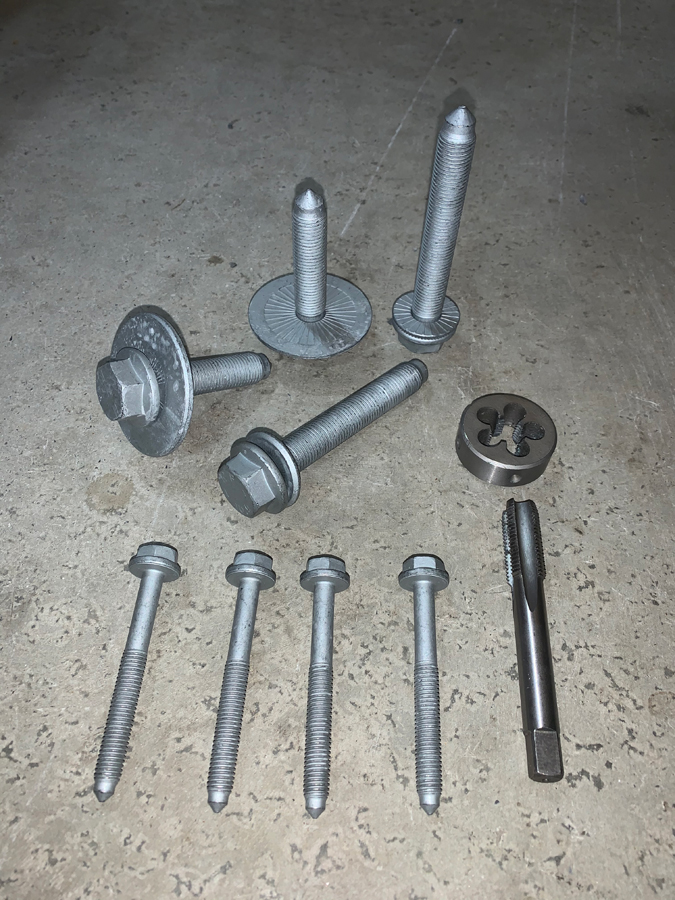
I ordered new TTY M14 x 1.50 pitch bolts for the subframe and new TTY bolts for the power steering rack along with a M14 x 1.50 tap and die.

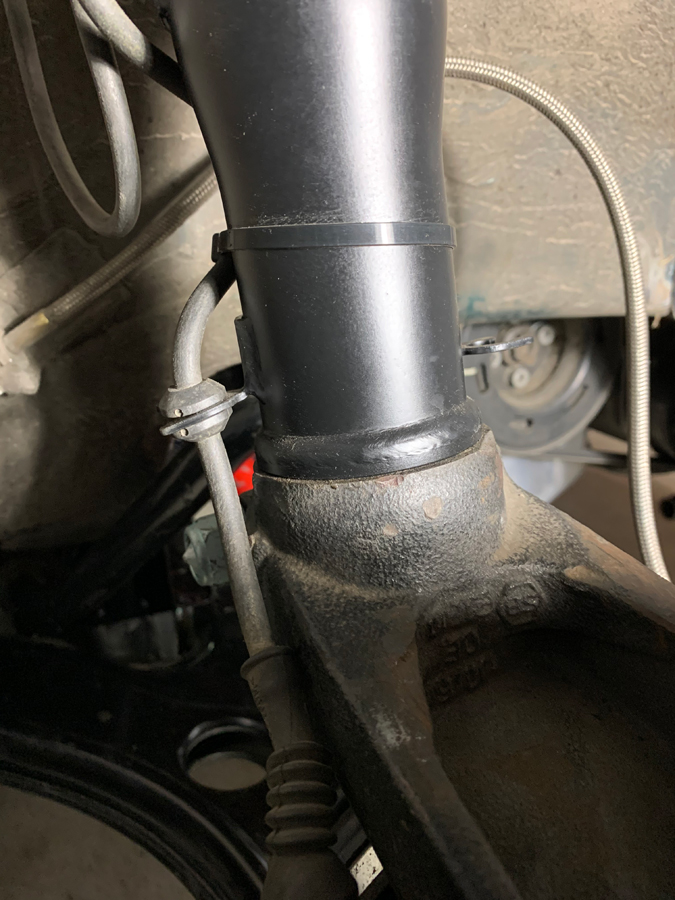
With the subframe still in place, I used the tap on the threads (everything felt good).

But… when trying to torque the bolt, I got that terrible feeling when you know the threads checked out and headed to Florida for vacation.

Image

Off came the subframe (power steering rack on jackstands). One step backwards.

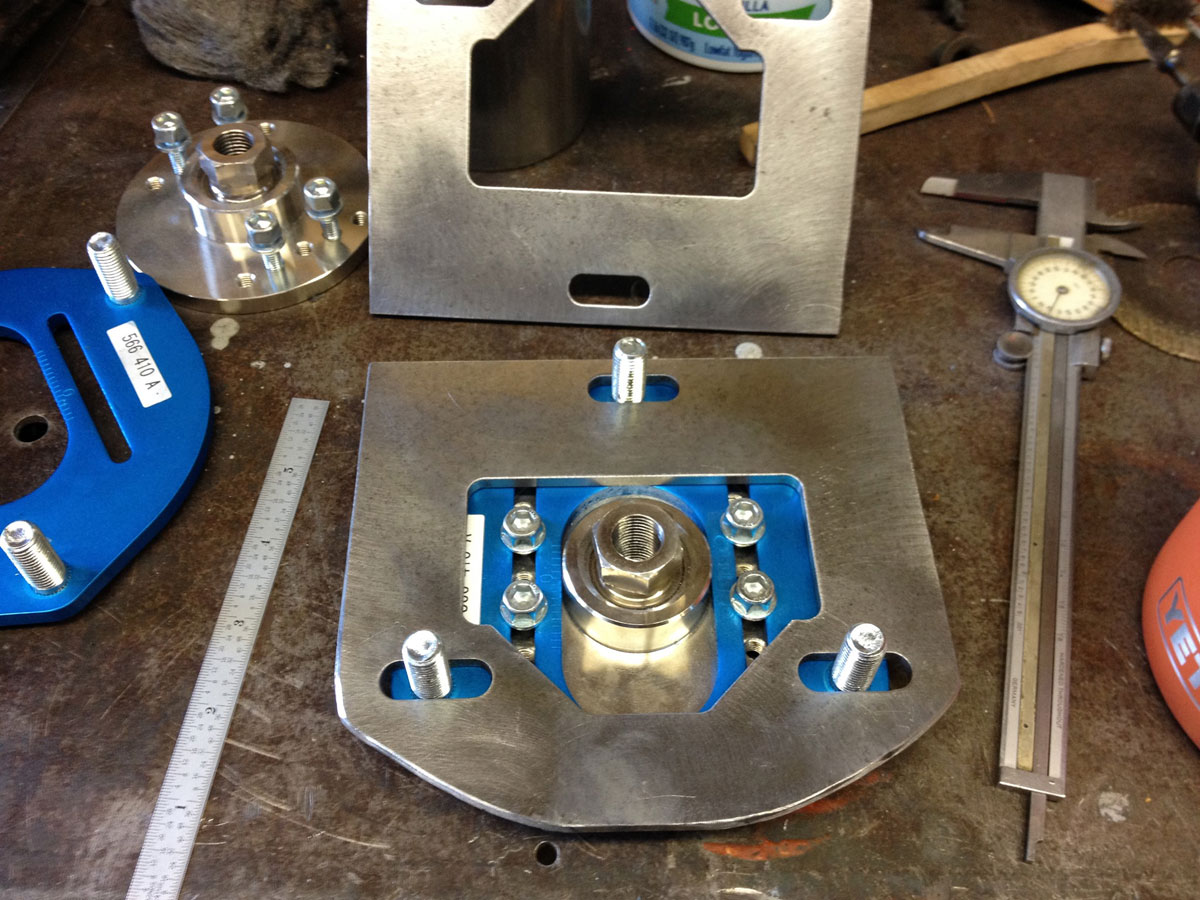
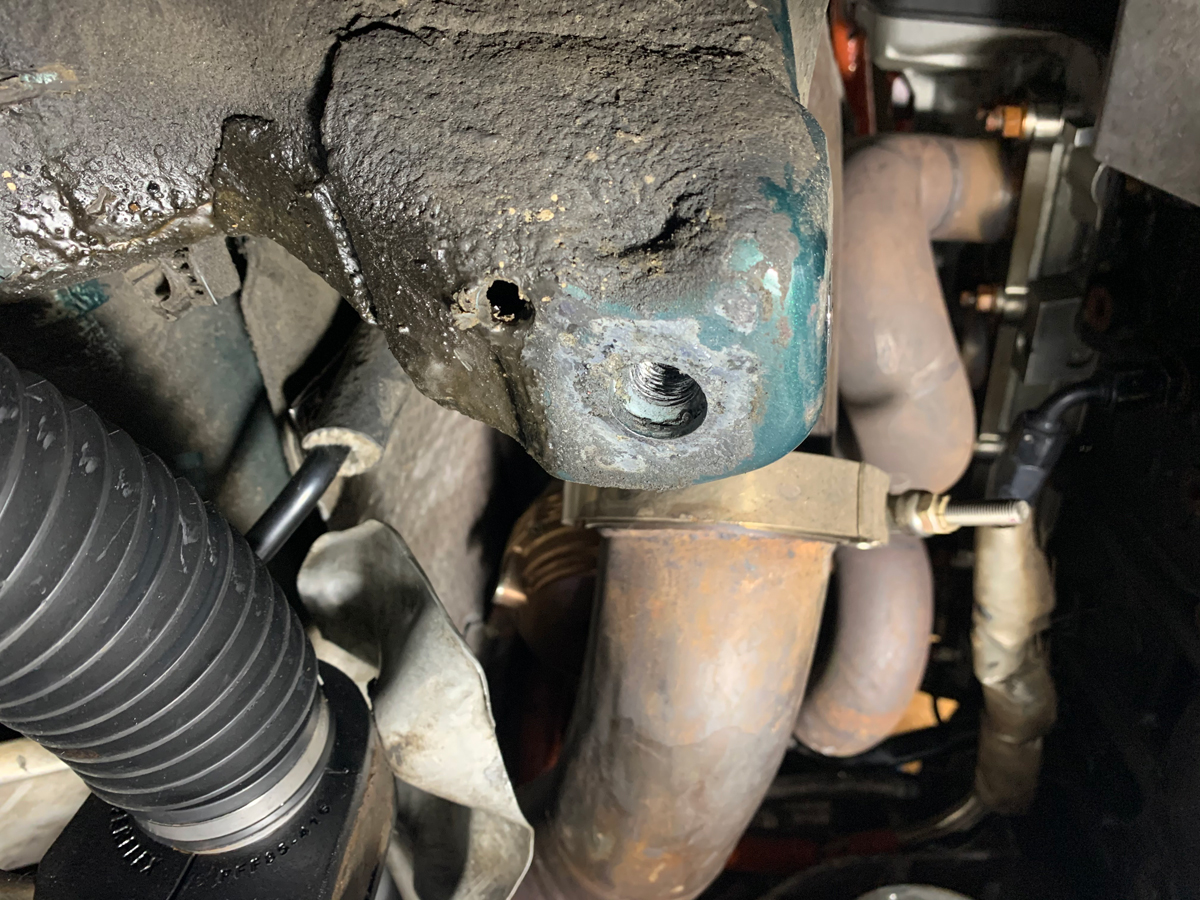
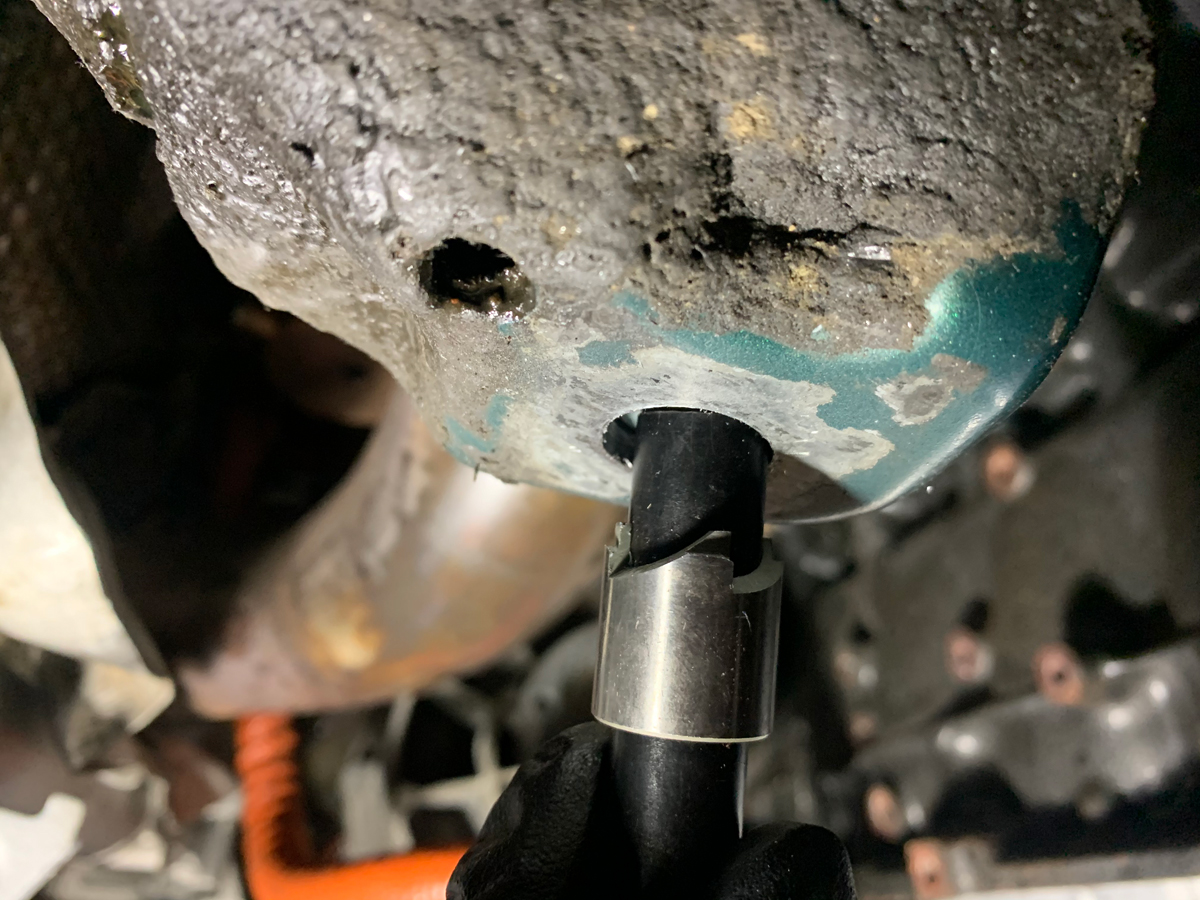
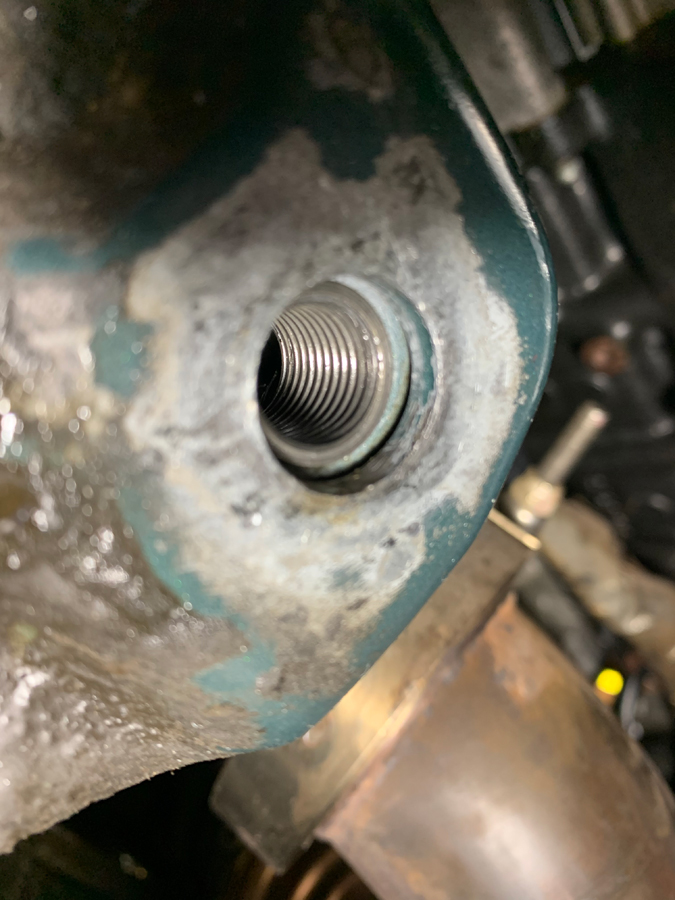
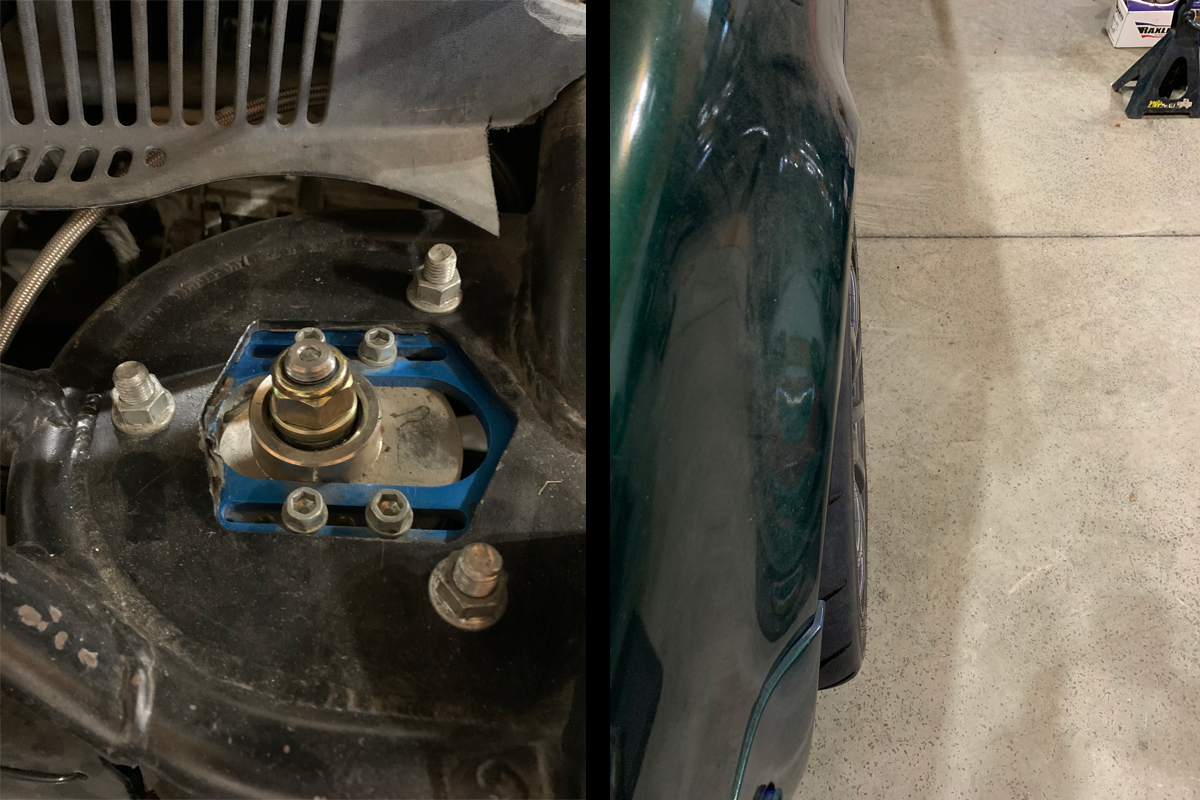
This is the front right mounting point for the subframe. Per the Bentley manual, the front mounts, which is a captured nut, is not serviceable with a helicoil unlike the rear mounts. Bentley states to replace the entire assembly, though, I would think cutting a hole and replacing the nut would also be a good option.

Image

I had a conversation with my hillclimb racing cohorts about Heli-Coils; are they a good option for a captured nut, are they strong enough, etc. The responses were very positive.

Image

Then someone mentioned Time-Serts as another option. Hmmmm, internet research of Heli-Coils vs Time-Sert showed both were good options, but I really liked the design of the Time-Sert (a threaded barrel with a lip on top as a stop) for fixing the subframe threads.

Ordered M14 x 1.50 kit from Amazon.

Image

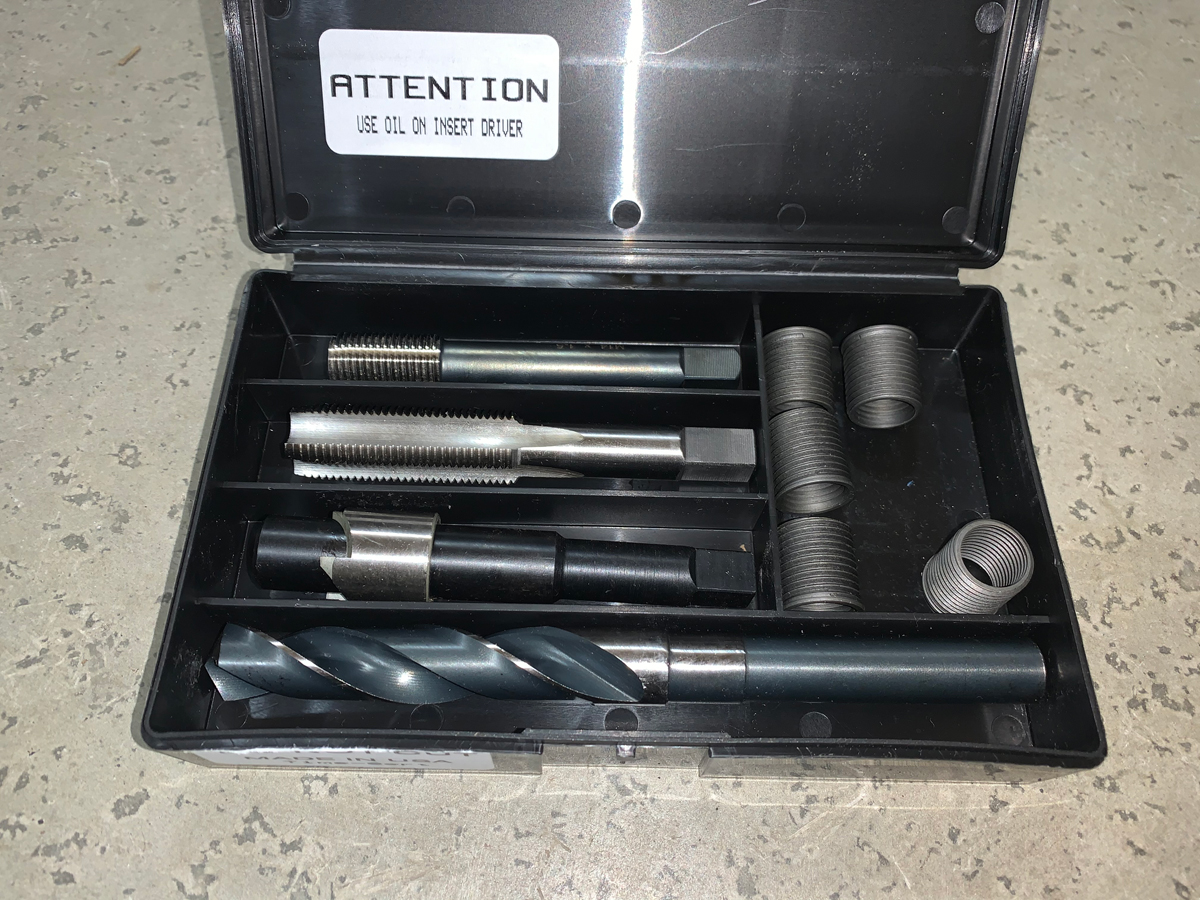
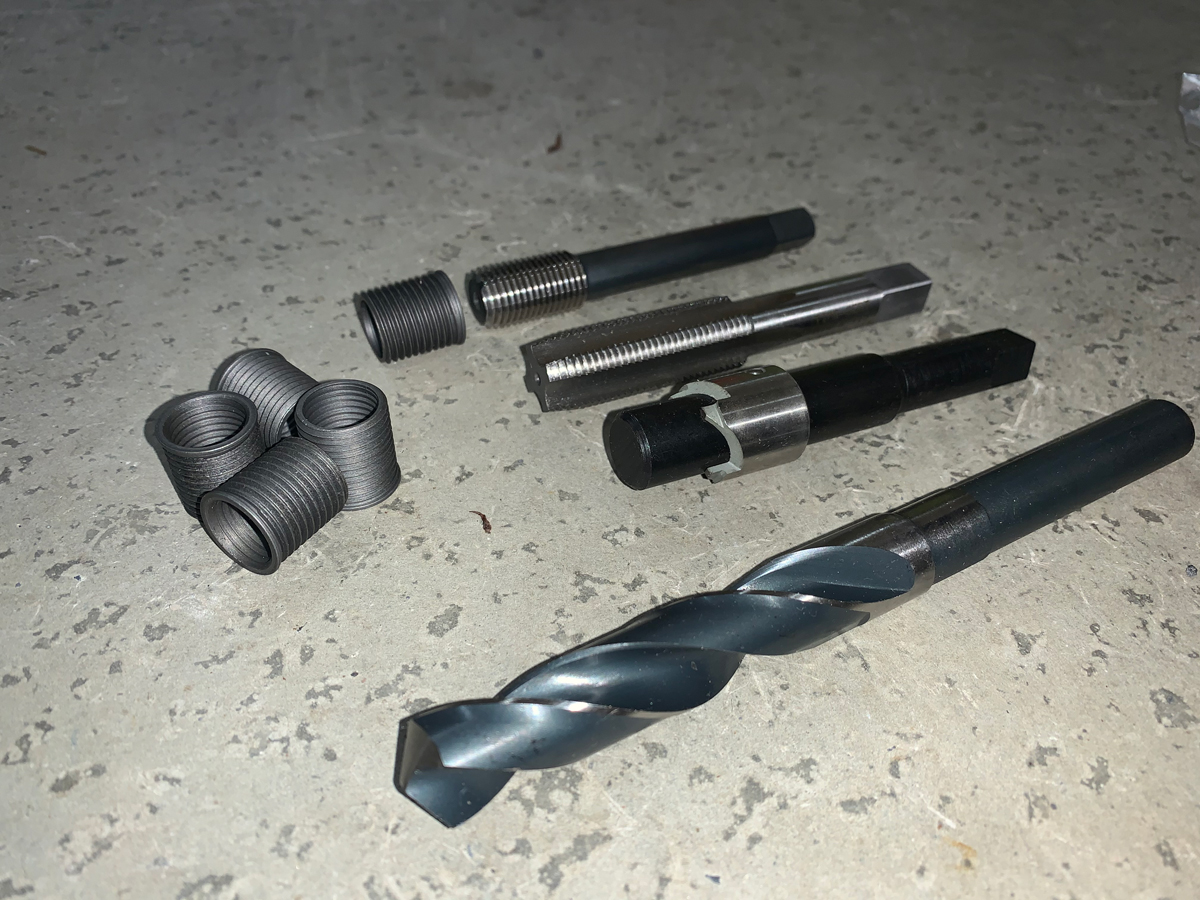
The kit includes a 57/64” S&D drill bit, counterbore, tap for the Time-Sert barrel (unsure of the actual tap size), driver, and four inserts.

Image

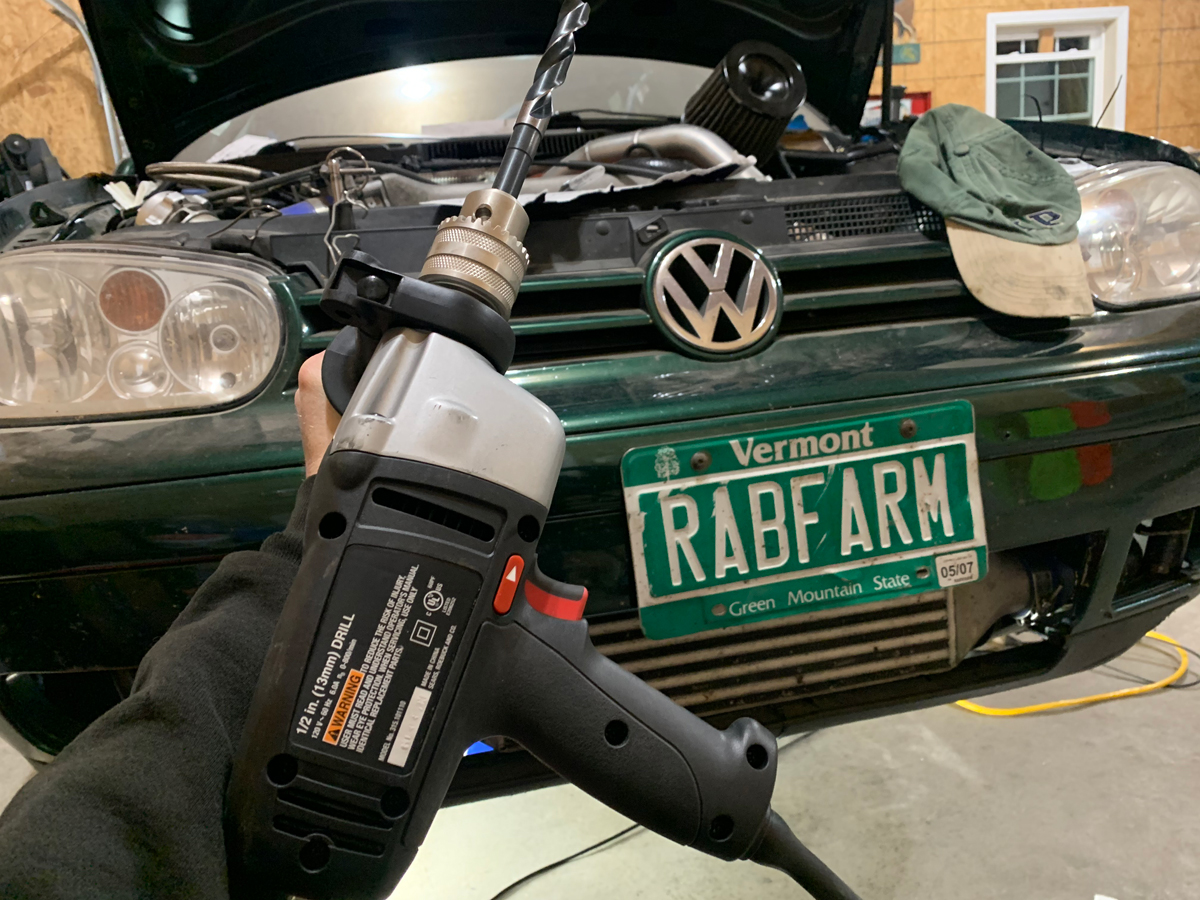
Thankfully, I purchased a 1/2" drill back in 2001, used it once to drill three holes in my open trailer, and haven’t used it since.

Drilled the hole for the insert slowly with lots of oil.

Image

Normally, the next step is to use the counterbore to allow for a flush install of the insert as the top has a lip, but it wasn’t needed in my case as the hole in the unibody was adequate.
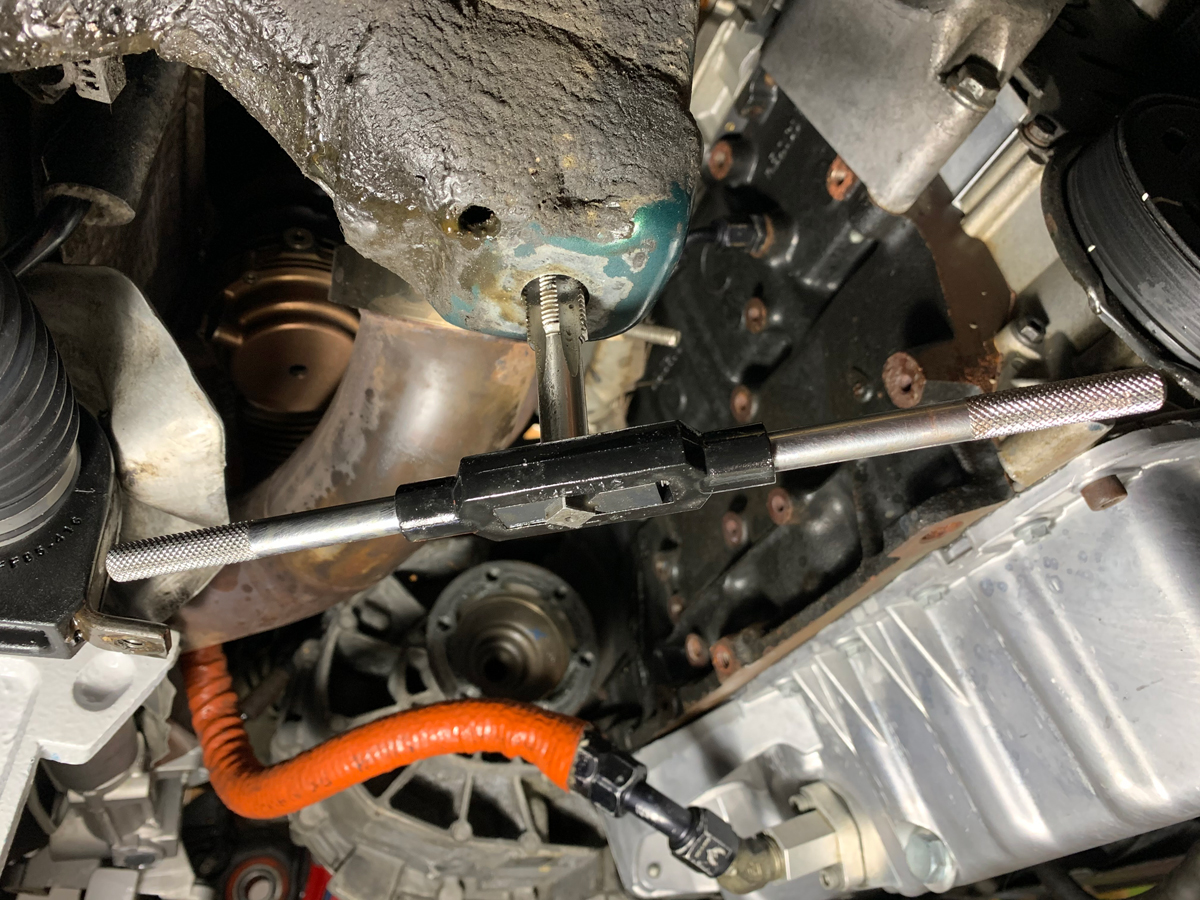
Image

Tap for the insert.

Image

Installing the insert using 30W oil (per the instructions)
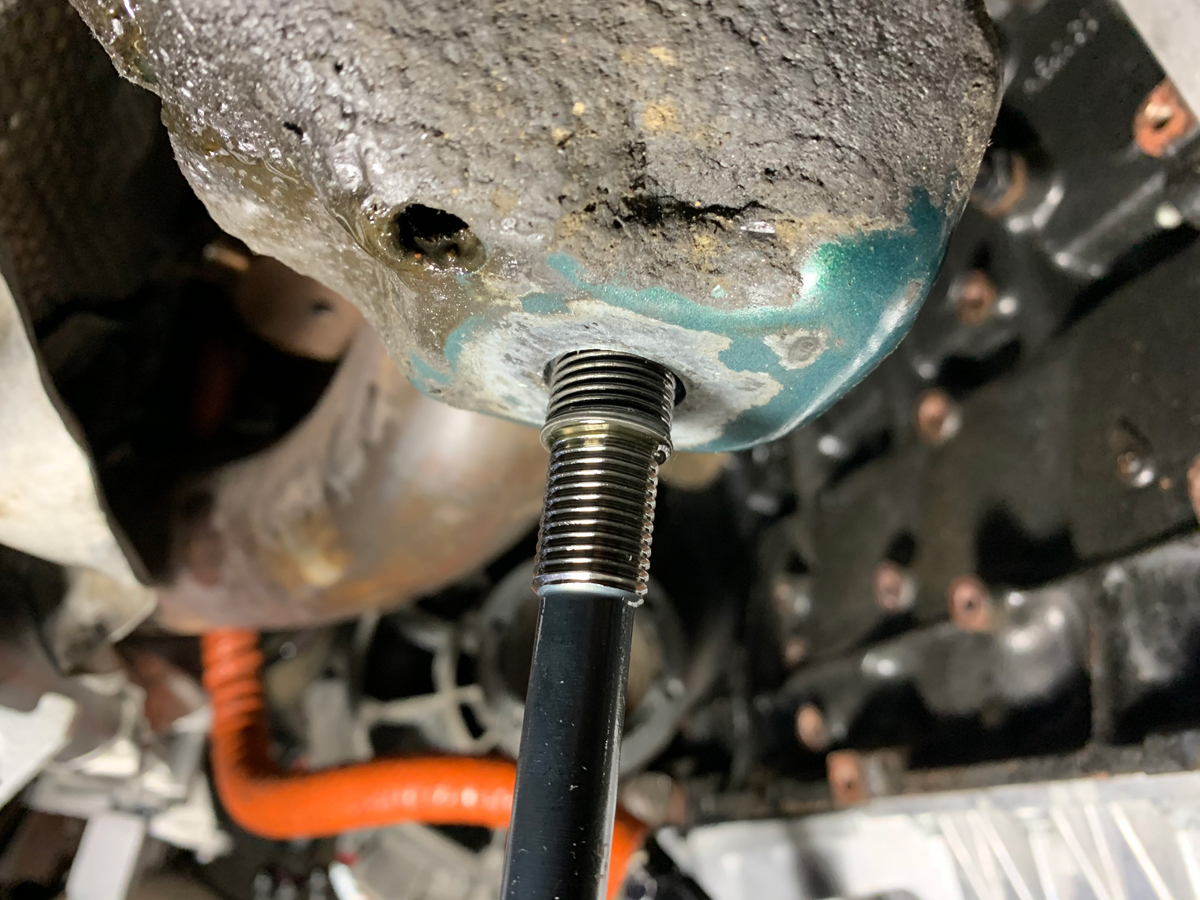
Image

The new threads.

Image

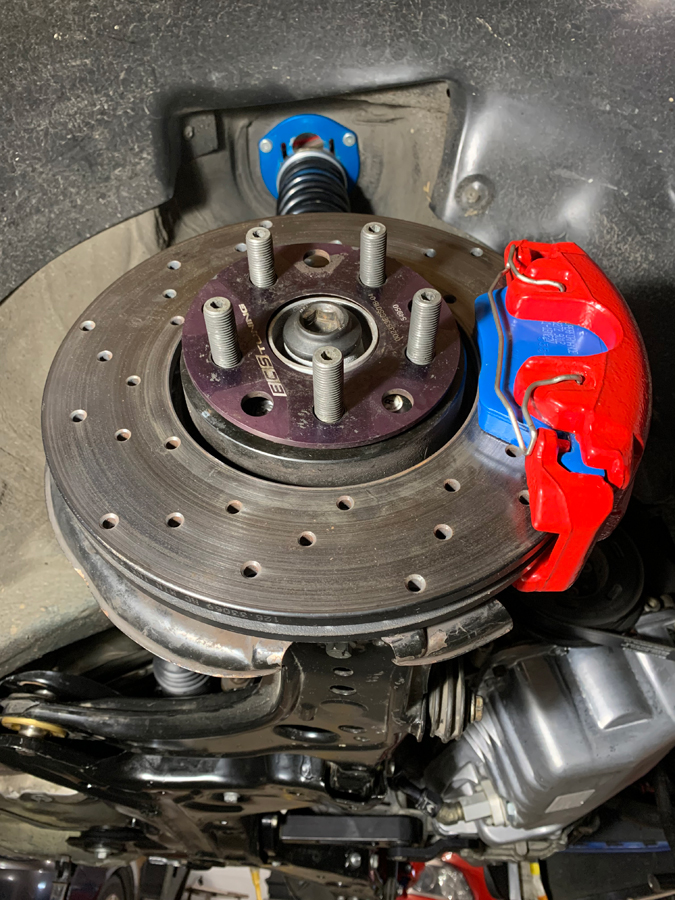
Installed the subframe (new threads worked!), control arms, axles, etc.

Image

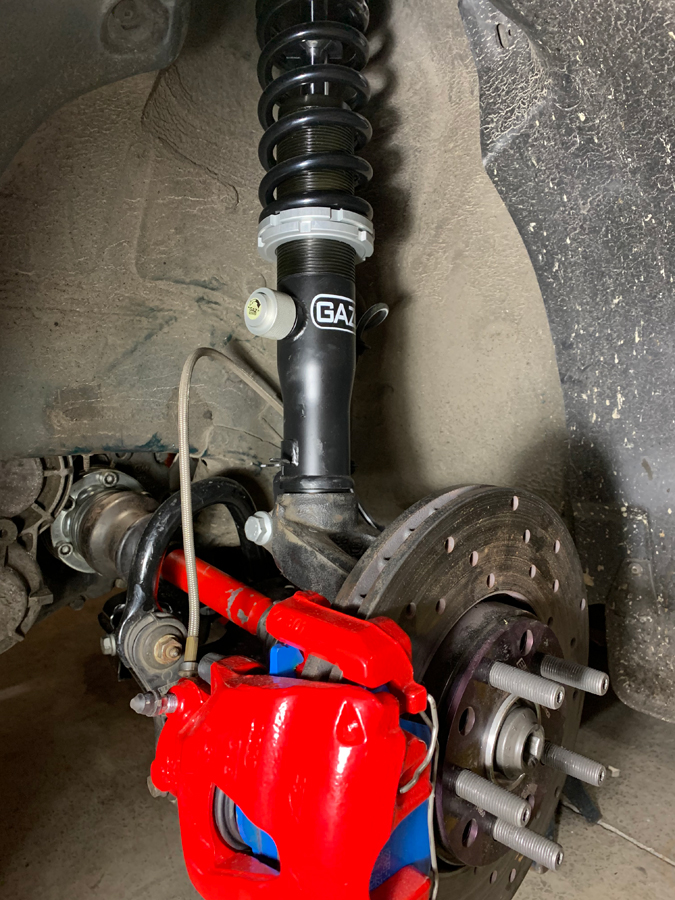
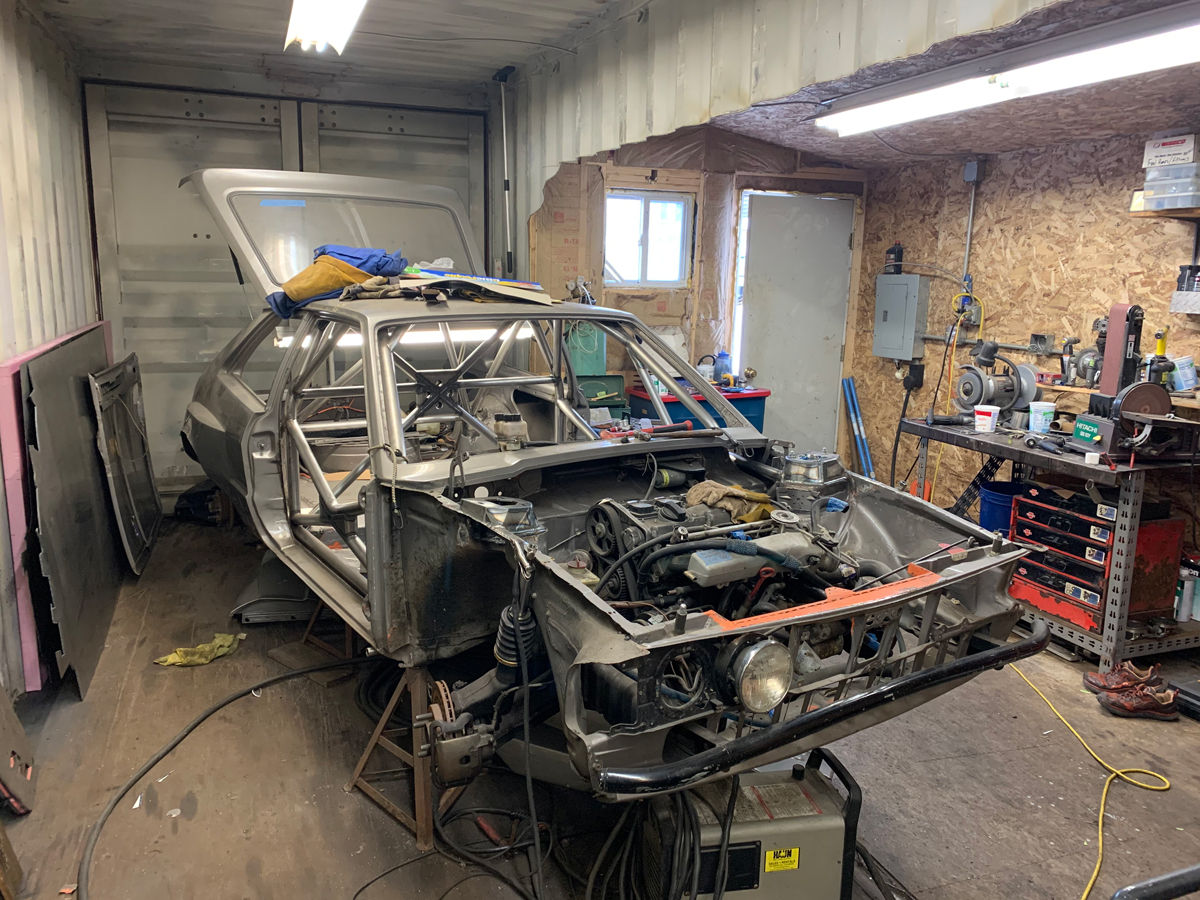
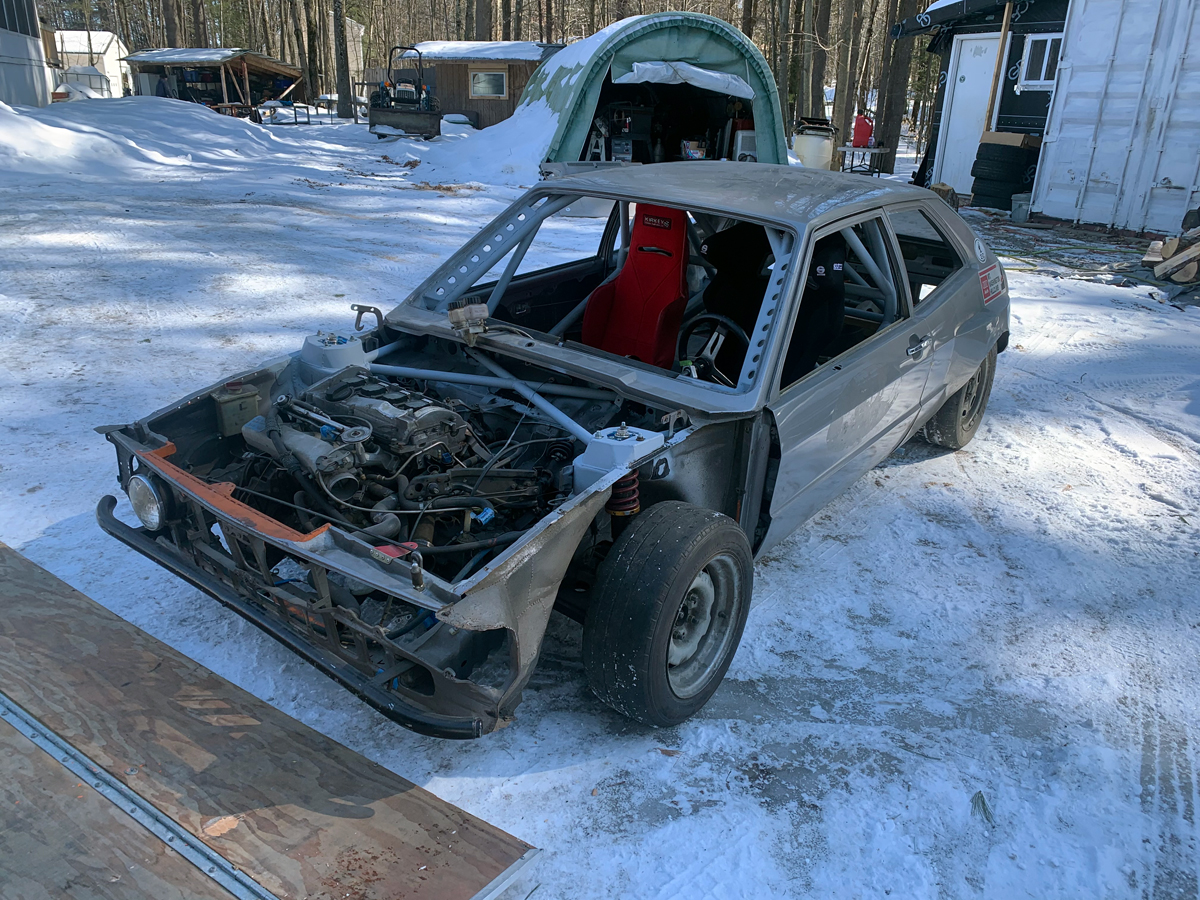
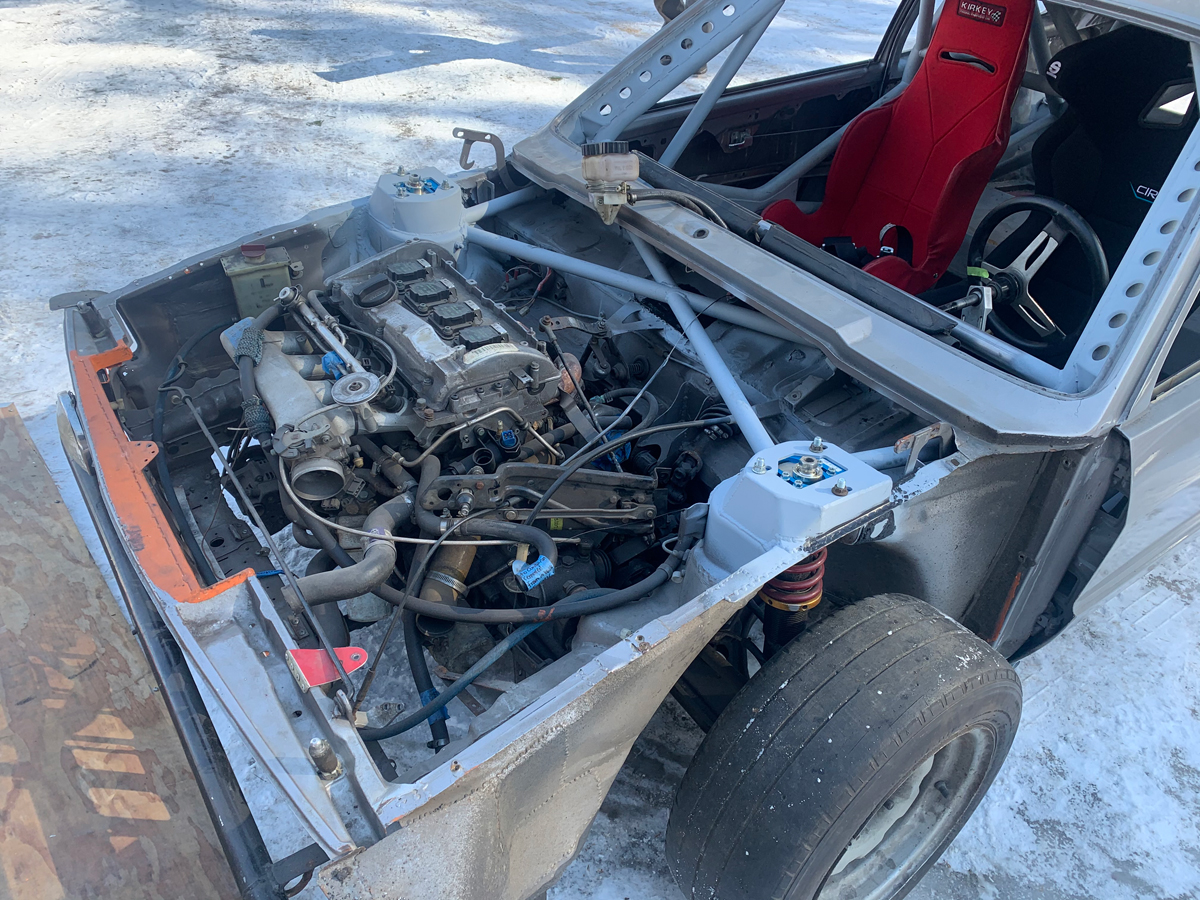
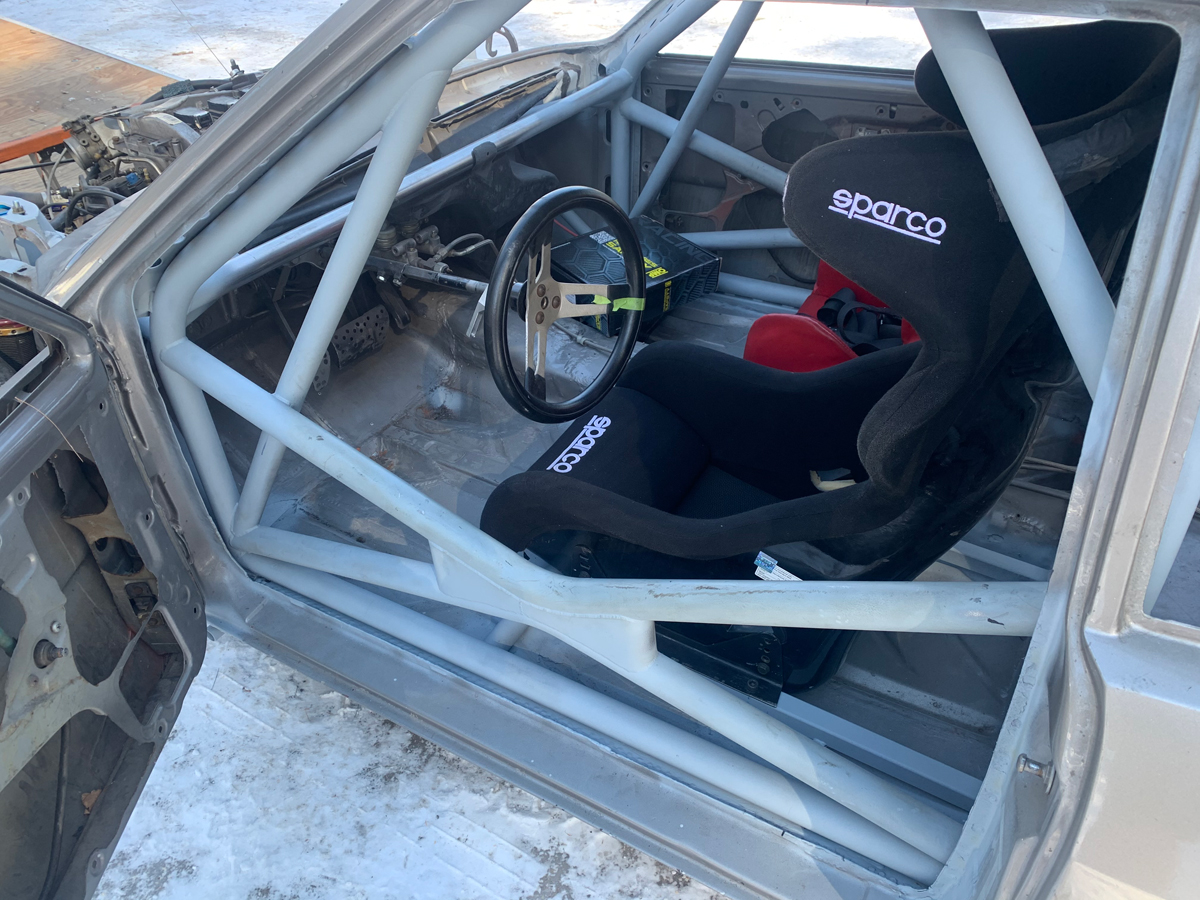
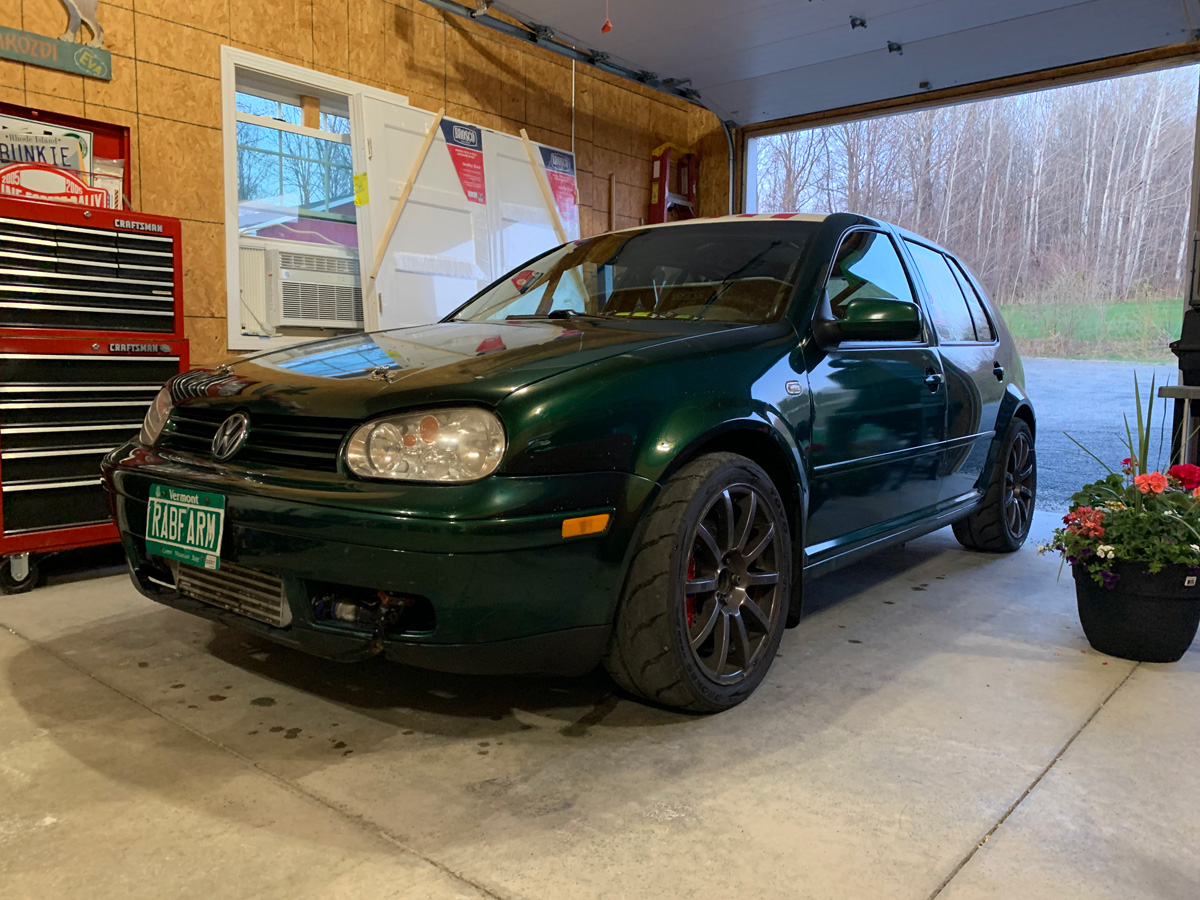
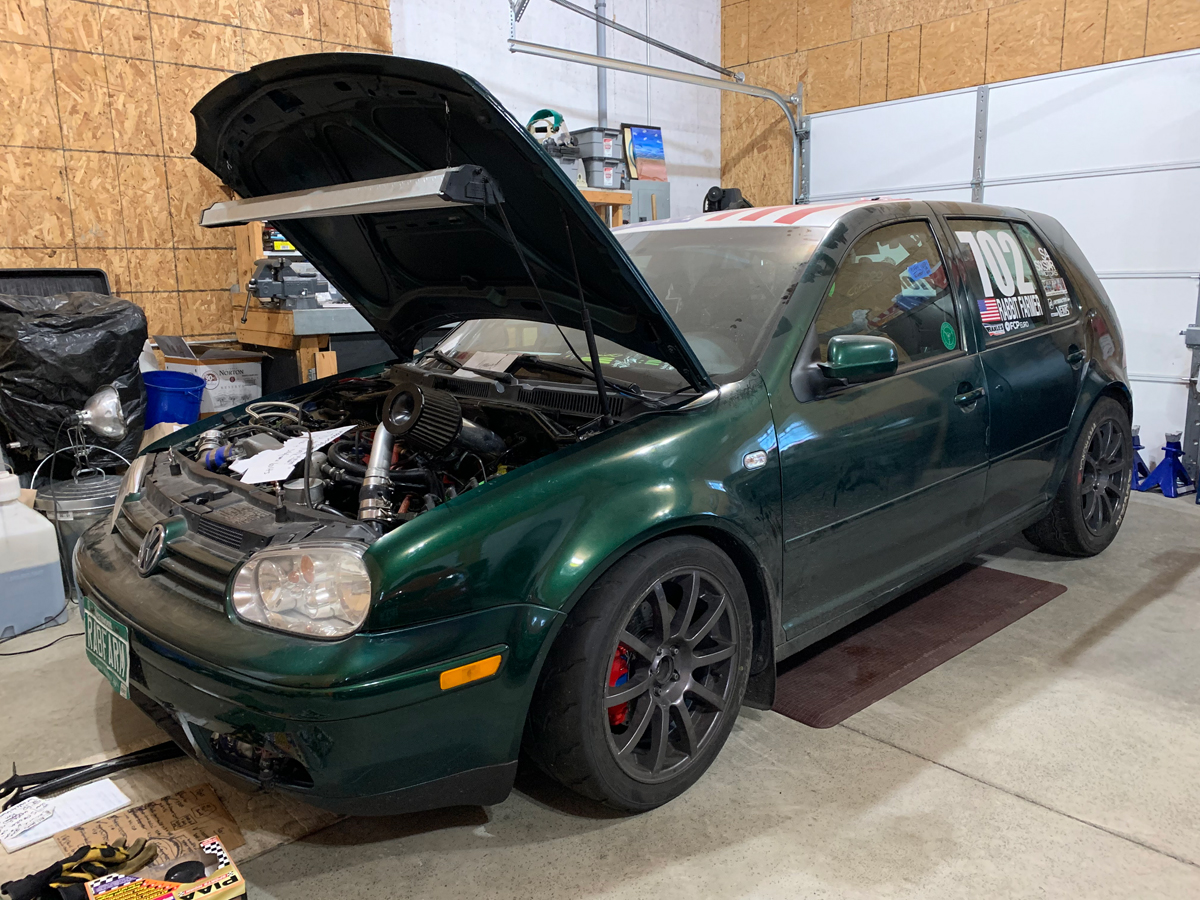
This picture captures everything that I did to the car over the summer… obviously, in no rush as there were no events.

* New power steering rack with harder poli mount (there is only one as the second is all metal)
* Control arms with metal bushings
* New ball joints and outer tie rod ends
* New oil pan
* New brake calipers and pads
* New wheel bearings and hubs (right side didn’t need a new hub)
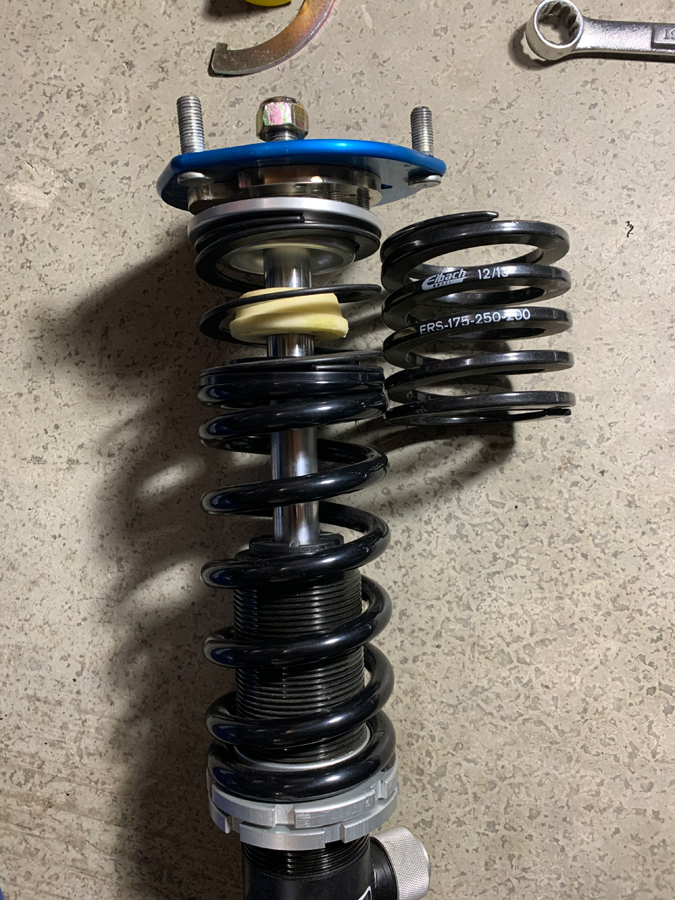
* New suspension
* Changed left front wheel sensor to a non-brake pad wear sensor version (had to depin at the ABS module)


Image

Close up of the rear control arm bushing.

Image

I noticed that I had to full seat the new struts. Was not able to do when installing; had to wait until I was able to put the full weight of the car on it.

Image

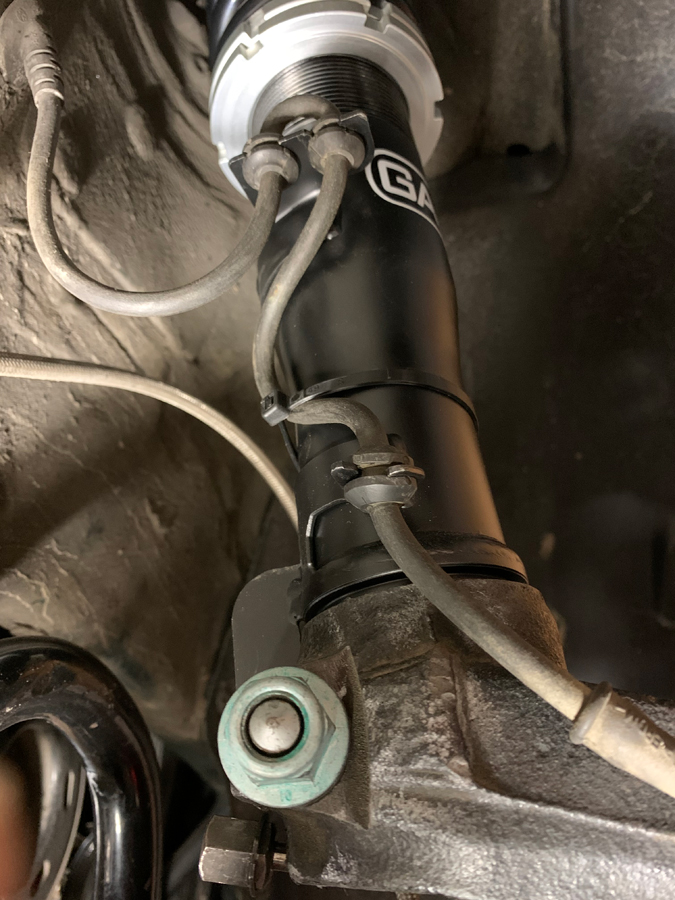
Loosened the strut bolt. I also used a strut spreader on each side; unsure if it was necessary.

Good thing I purchased two of the Metal Nerd (MN3424) strut spreaders. I ordered two as I was worried about misplacing the small tool.

Image

Properly seated and everything is tight again.

Torqued inner and outer axle bolts.

Image

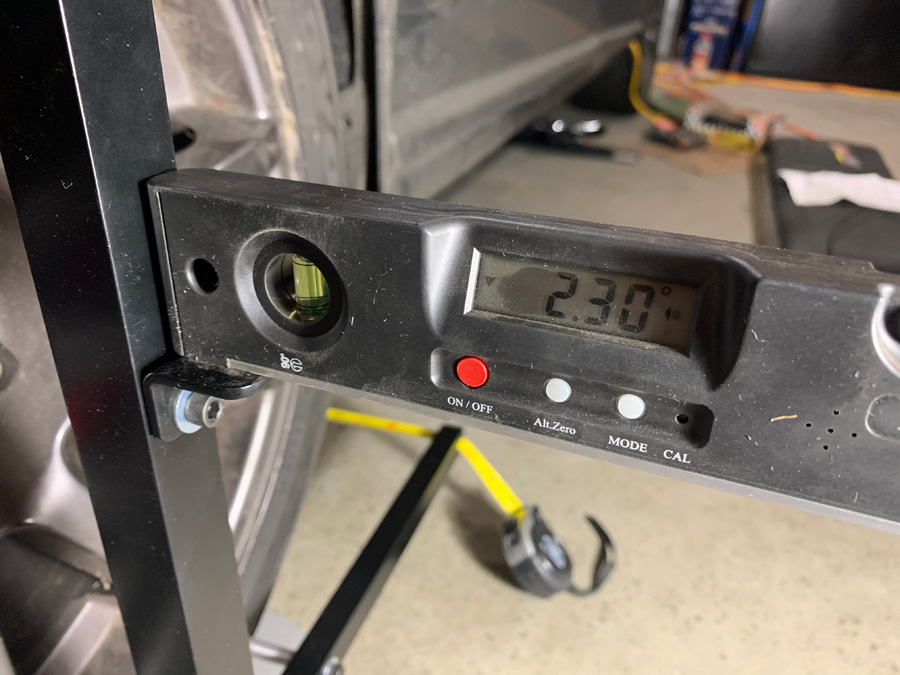
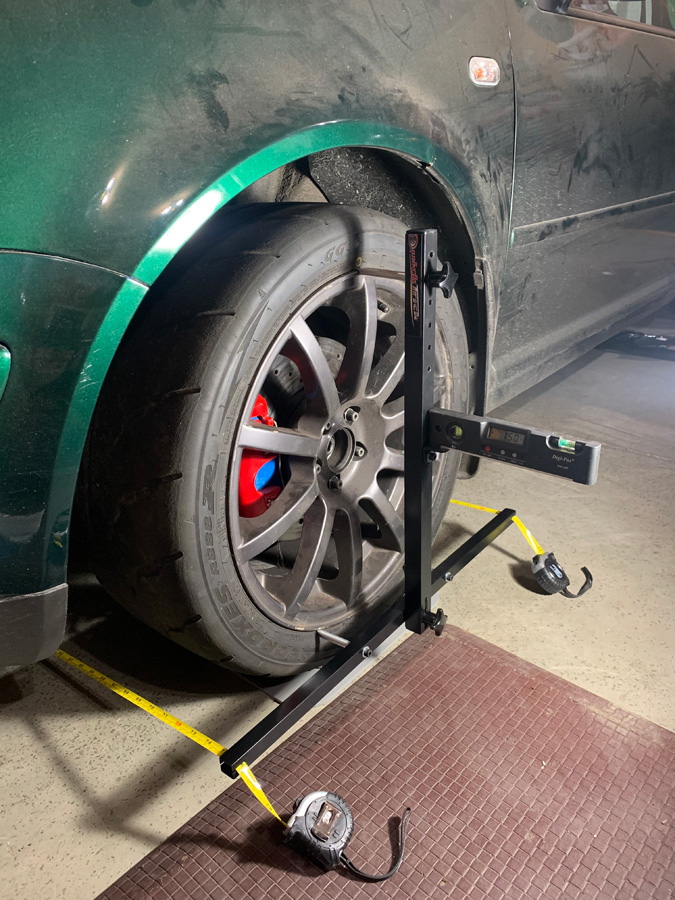
I noticed that the right wheel had a heck of a lot of negative camber.

Prior to the new suspension, I had set the right camber plate all the way negative to match the left side that was more in the middle. Something was off with right vs. left. Whatever it was, the changes I made this summer corrected it.

Top view of left and right wheel and camber plate to show the difference.

Image

Image

Car on the ground. I still need to determine ride height (pretty close to stock height), adjust the strut/shock damping, and align the front end.

Image

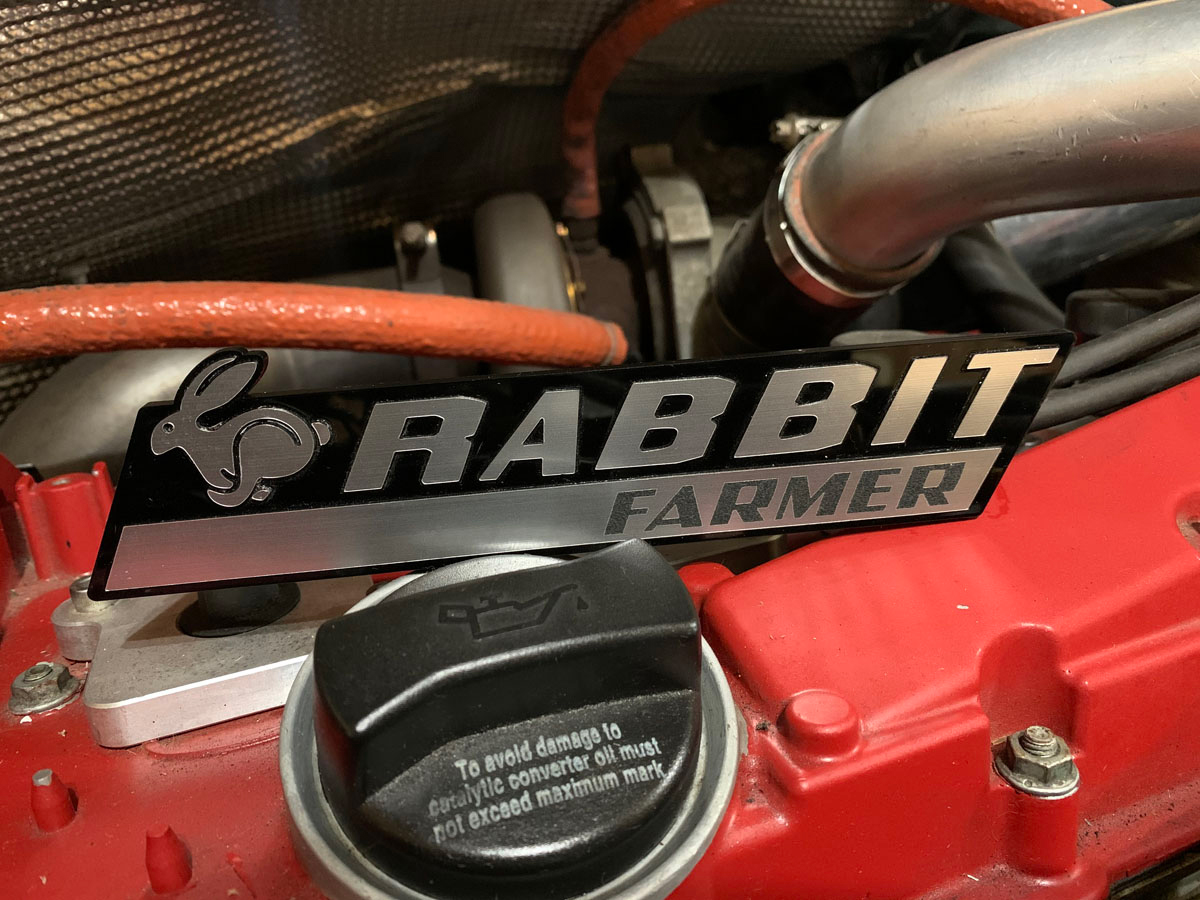
I forgot that I had this little gem. Custom made “Rabbit Farmer” badge for the back of the Scirocco.

Image

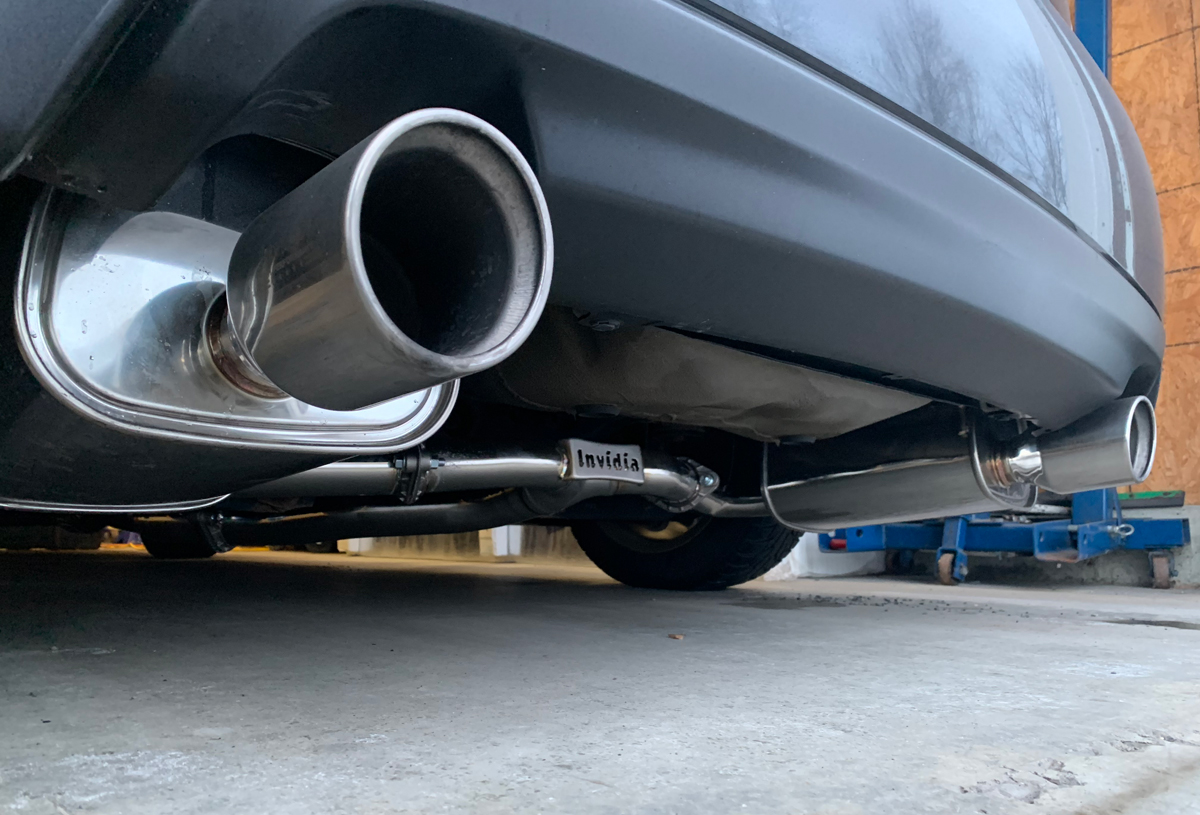
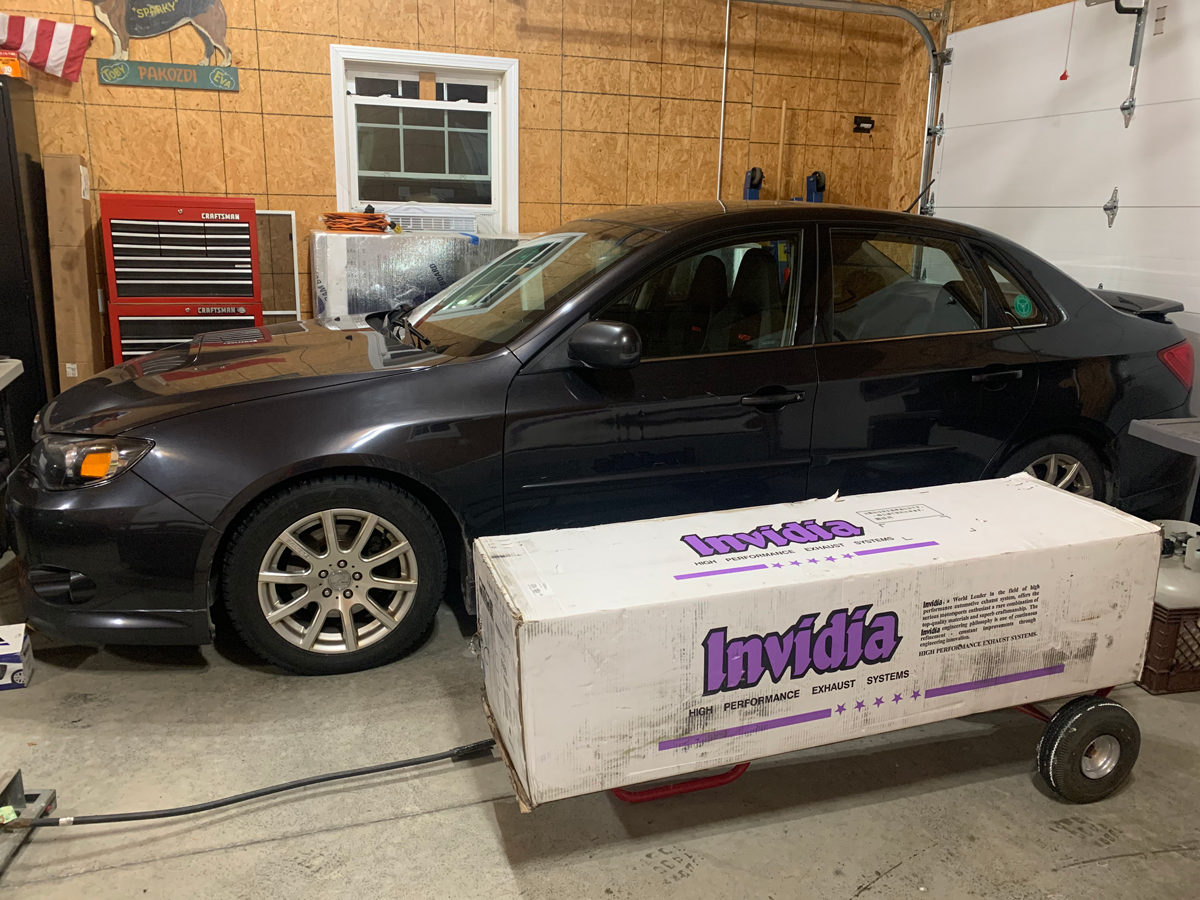
Then there is the 2009 Subaru WRX. It didn’t pass state inspection back in October due to a leaky exhaust system. It is the original… can’t expect it to last forever, especially with the salty winters in Vermont.

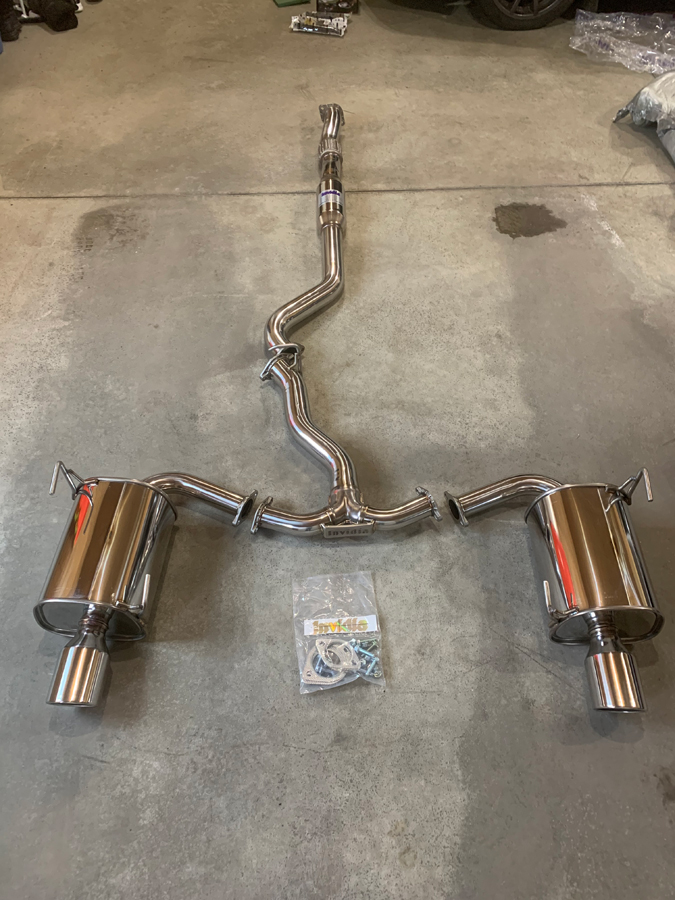
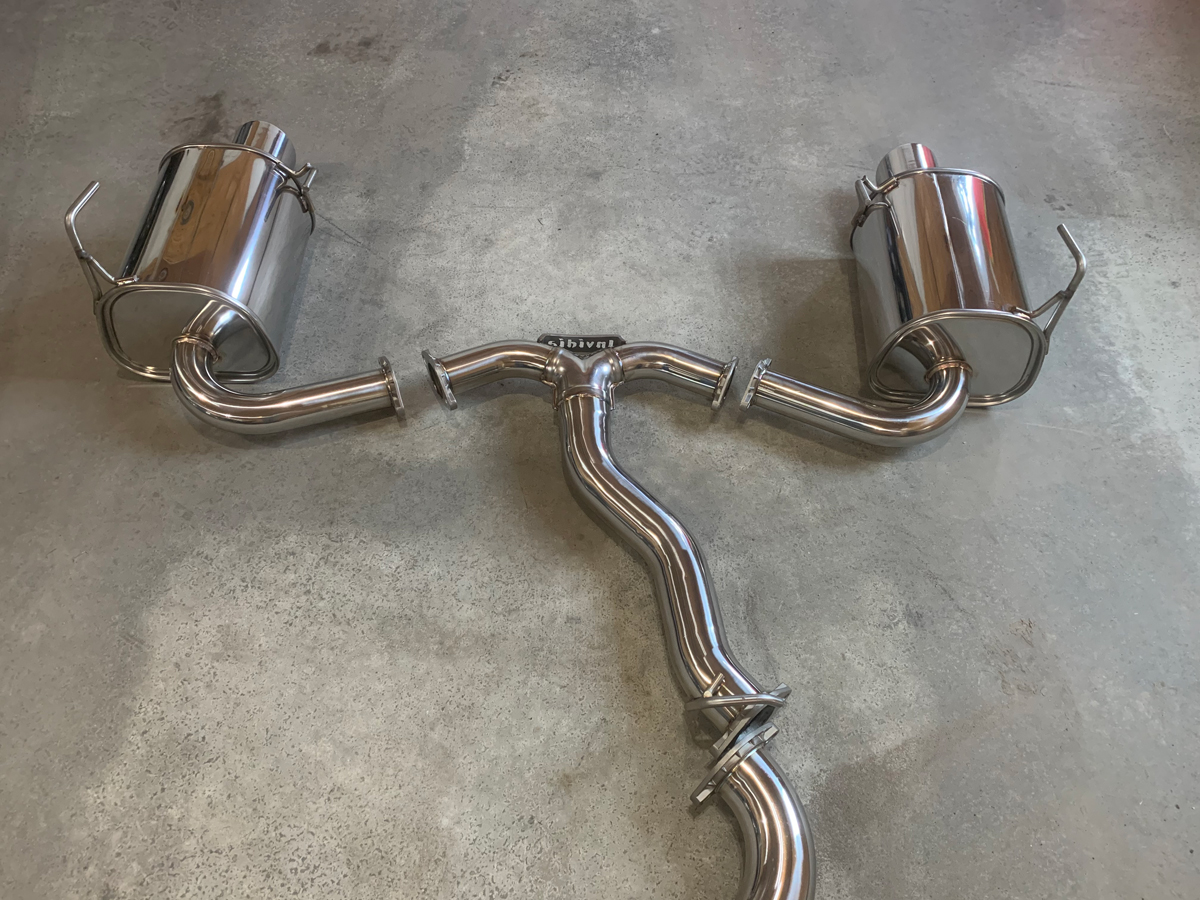
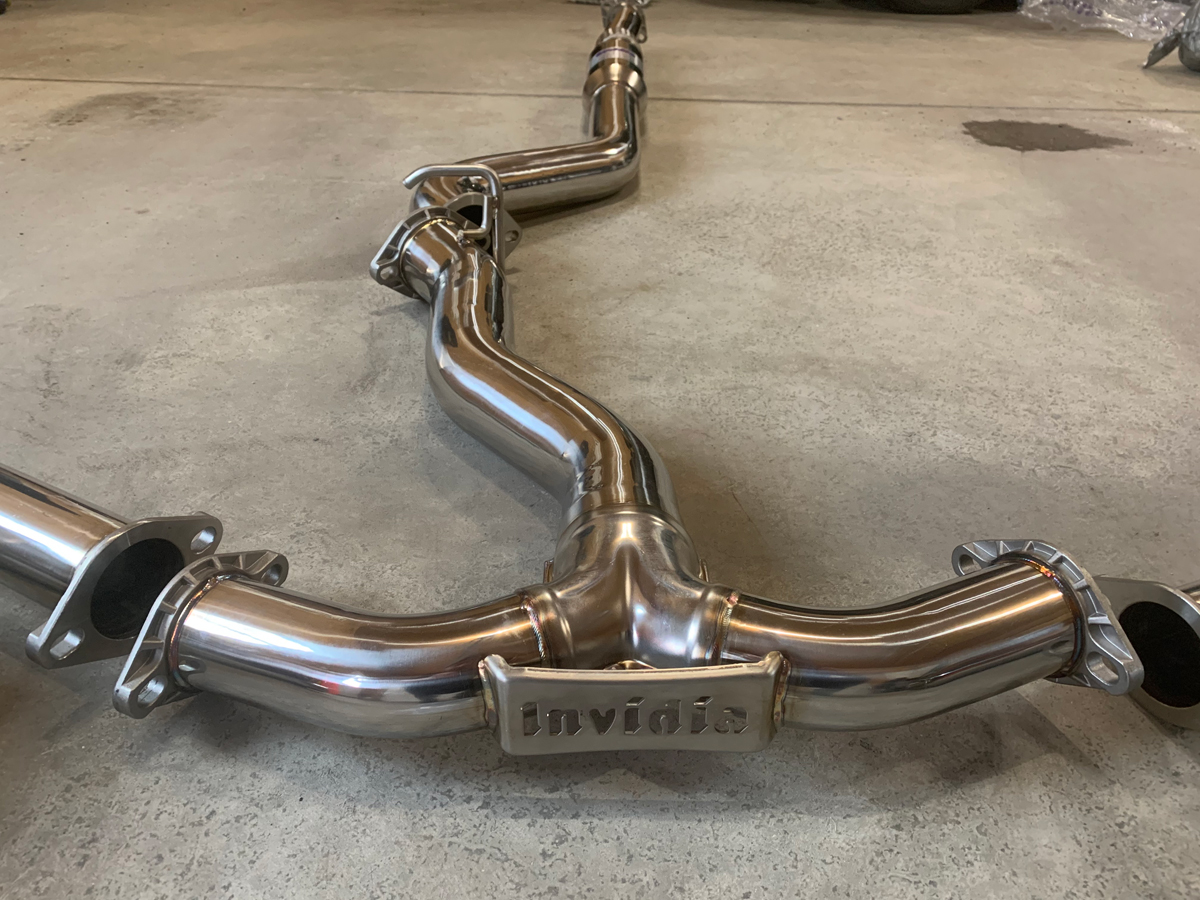
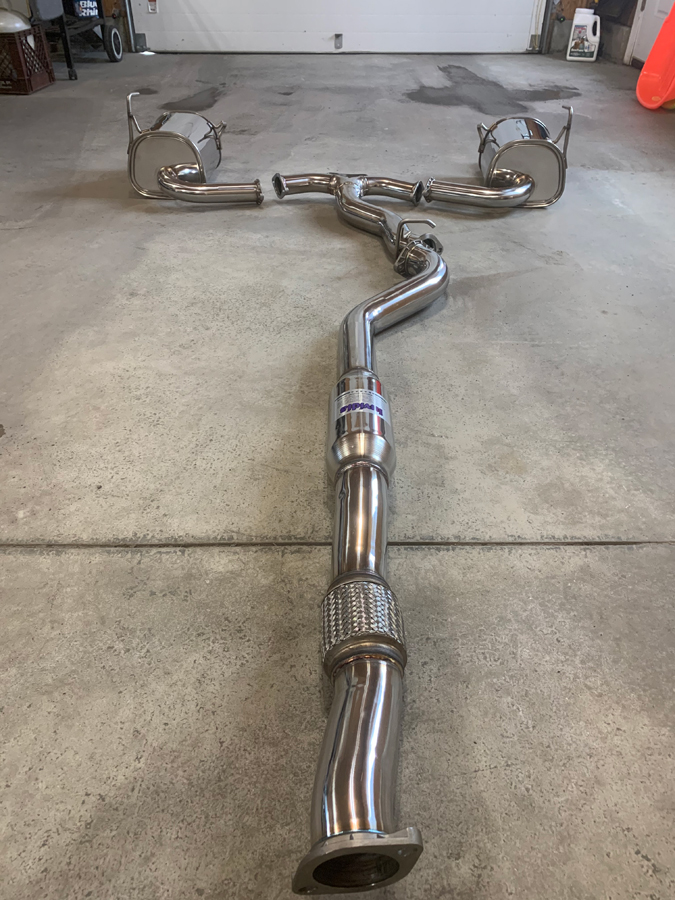
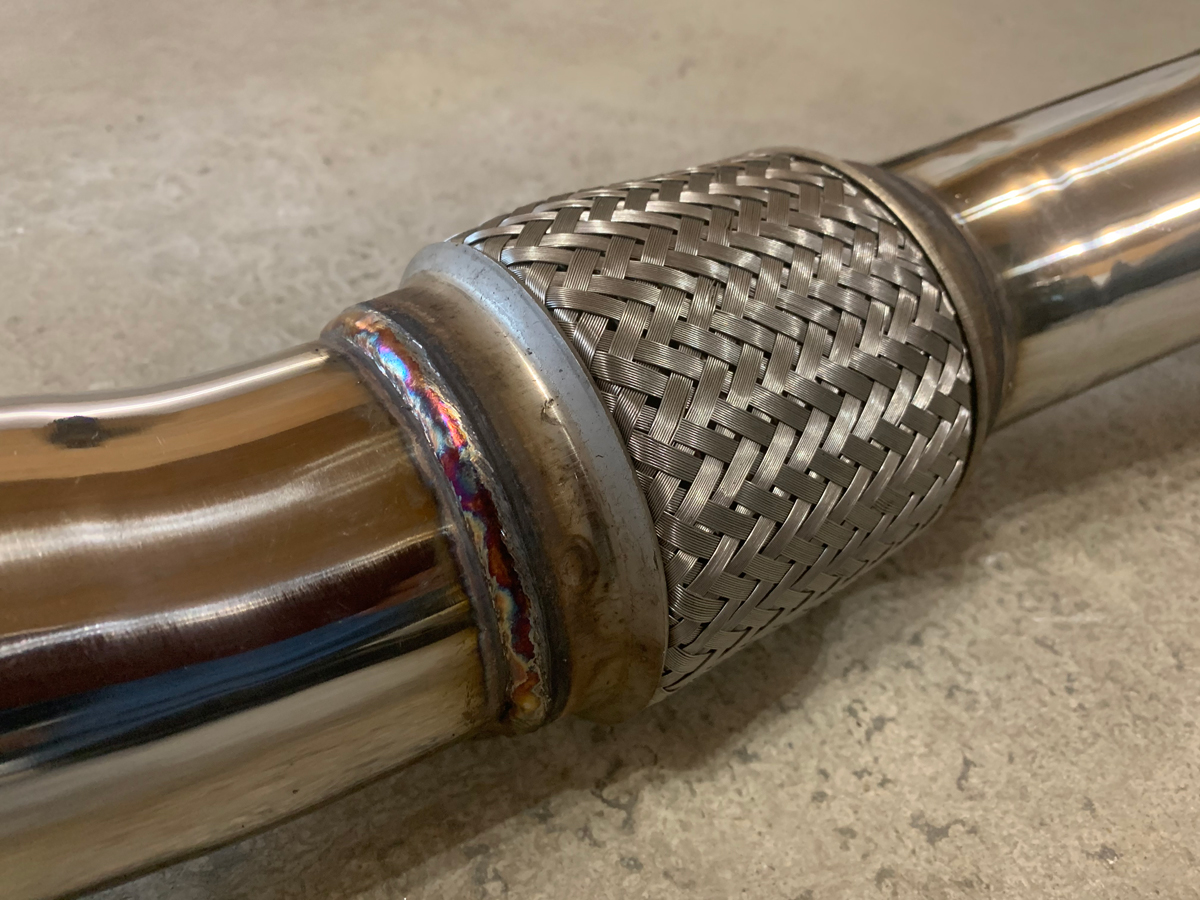
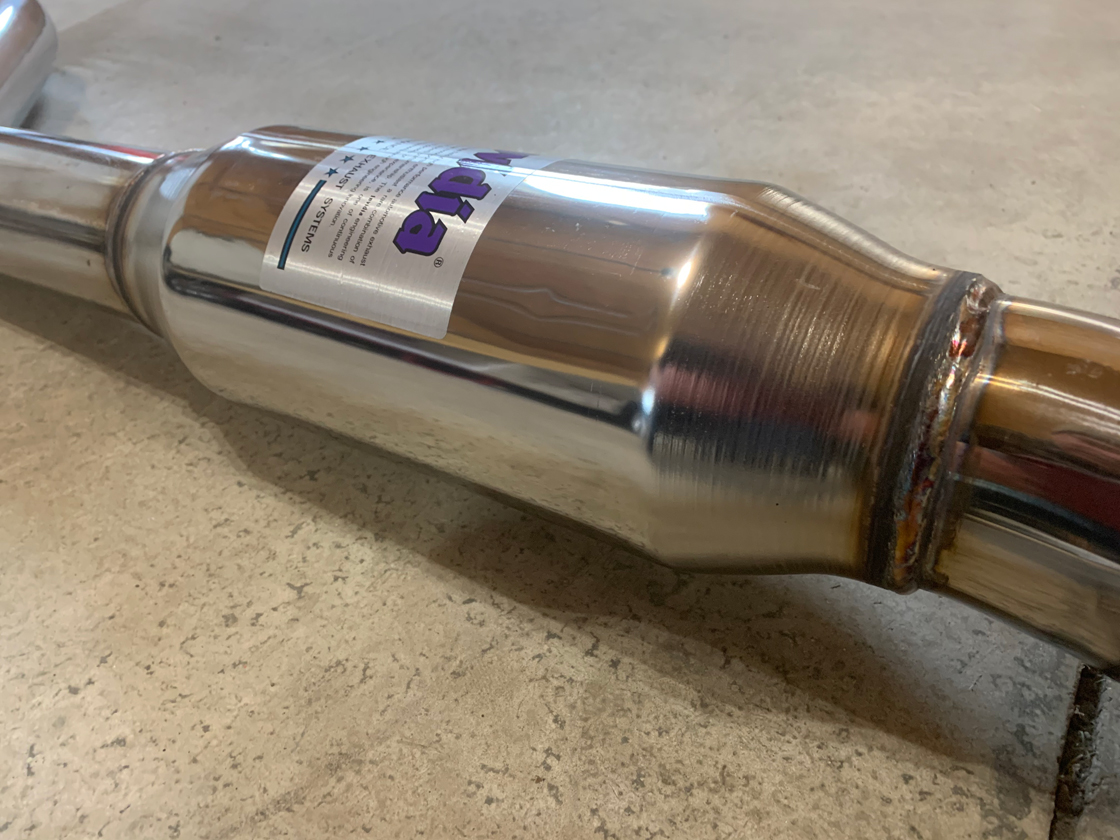
I have been trying to find the Invidia Q300 cat back exhaust (model number INVHS08SW4GT3) since October, but it was back ordered on every vendor’s website. I finally ordered it from RallySportDirect for $726 (with taxes) on Black Friday to get 10% off knowing that it was still on back order. The estimate at that time was early December, which changed to late December, then mid-January.

It arrived on January 18.

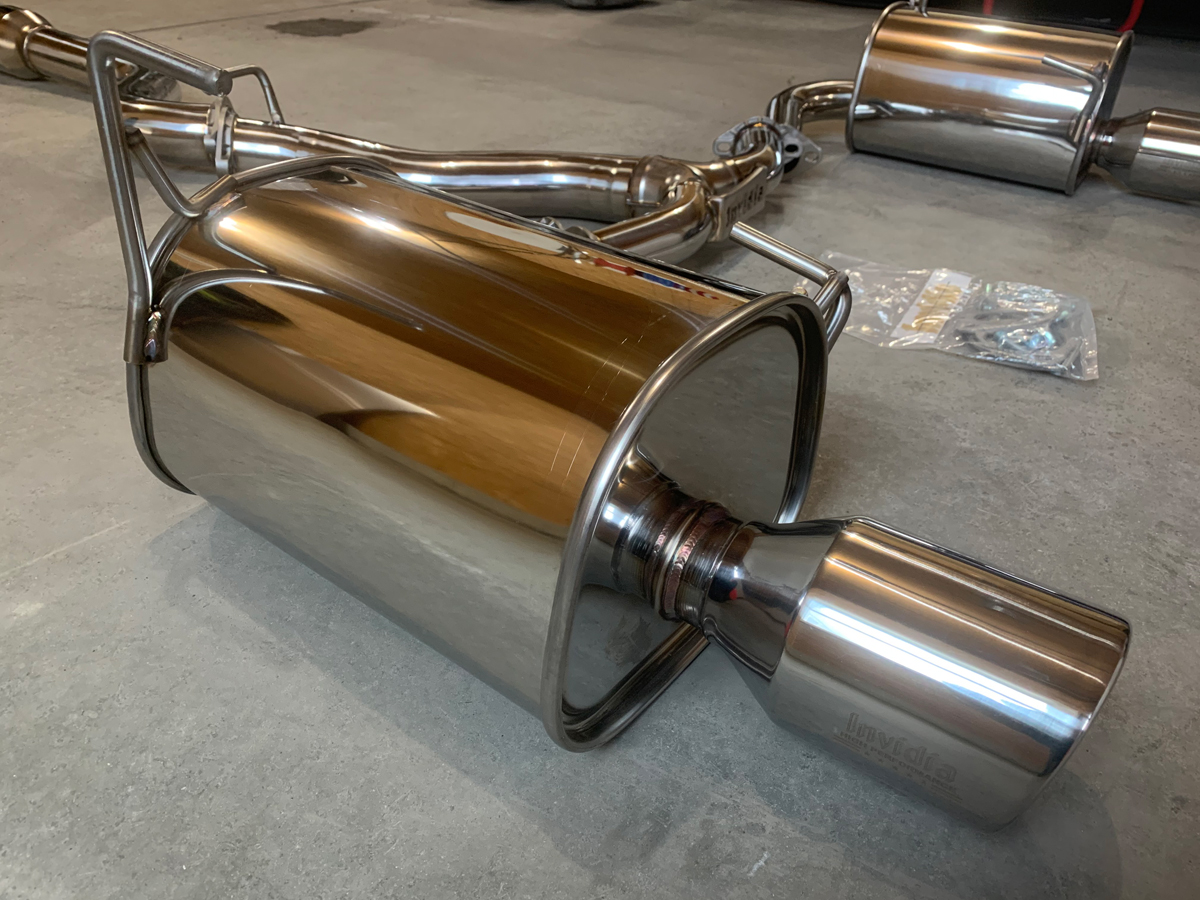
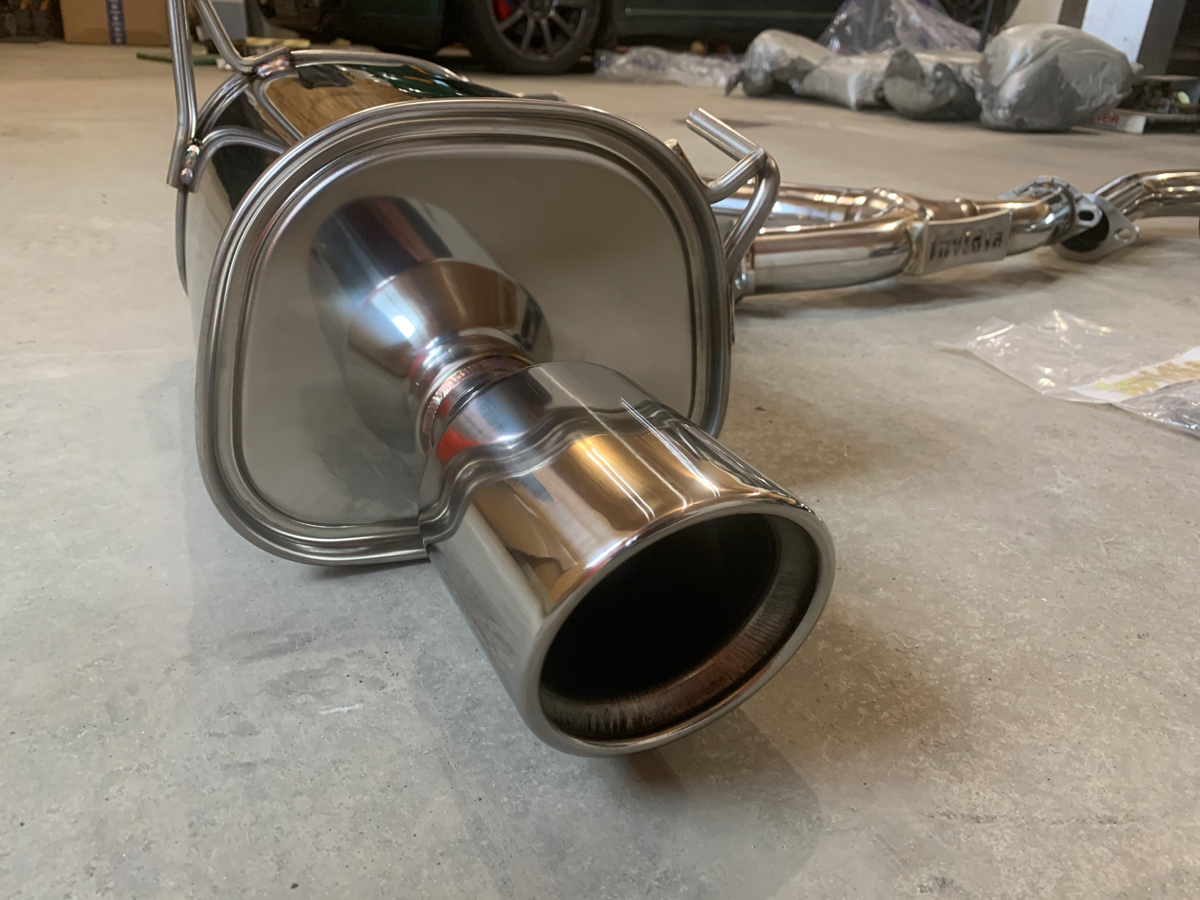
Based on reviews, the Q300 is not loud and doesn’t drone. I was looking for something a little better than stock and cheaper than an OEM Subaru exhaust. Oh… and stainless steel.

I would install the exhaust myself, except I know that I have to address a leaking shifter shaft seal on the back/top of the transmission. I plan to bring it to a shop for the transmission leak and exhaust install.

Then to Subaru for alignment and inspection.

Image

For my information for the next time I am taking everything apart at a race should I need the torque specs and forgot the Bentley at home:

Powersteering rack to subframe: 15 ft/lb + 1/4 turn
Subframe (all four bolts) to body: 74 ft/lb + 1/4 turn
Ball joint bolts to control arm (3 bolts): 15 ft/lb + 1/4 turn
Outer tie rod to hub: 33 ft/lb
Control arm (front bolt): 52 ft/lb + 1/4 turn
Control arm (back bolt): 52 ft/lb + 1/4 turn
Dogbone to bottom of transmission (2 bolts): 37 ft/lb
Inner axle bolts: Control arm (front bolt): 59 ft/lb
Axle bolt to hub: 184 ft/lb + 1/4 turn, back off 1/2 turn, roll car to rotate wheel 180-degrees, 184 ft/lb + 1/4 turn
Go Fast VW & Audi parts at FastAddiction.com
User avatar
Rabbit Farmer
Posts: 2261
Joined: Wed Jun 25, 2003 11:37 pm
AntiSpam: No
Location: Earth
Contact:

Re: Rabbit Farmer's various VW Projects

Post by Rabbit Farmer »

Invidia Q300 cat back exhaust (model number INVHS08SW4GT3) from www.rallysportdirect.com/ for the 2009 Subaru WRX.

Unpacking to check out the construction. Only one small dent in shipping; there was some metal to metal contact in the package... there was more packing between the exhaust and the outside of the box than between the exhaust pieces.

Seems to be a nicely constructed exhaust system. Looking forward to getting it on the car. Included bolts and gaskets for the three-bolt flanges. I need to determine what I am going to do with exhaust hangers (stock or aftermarket). The car is pretty stock.

Image

Image

Image

Image

Image

Image

Image

Image
Go Fast VW & Audi parts at FastAddiction.com
User avatar
Rabbit Farmer
Posts: 2261
Joined: Wed Jun 25, 2003 11:37 pm
AntiSpam: No
Location: Earth
Contact:

Re: Rabbit Farmer's various VW Projects

Post by Rabbit Farmer »

More progress.

More pictures than words.

1980 VW Scirocco MK1 with 1.8T

Getting closer with cage, camber plates, jack points, etc. at Kales Custom (Joey Kale)

Image

Body plate to support the camber plates almost done. Very strong and functional. Will have to get a little creative with the hood to work around these.

Image

Image

Image

Image

Image

2001 VW Golf MK4 with 1.8T

Smaller hotside to the turbo.

Turbo is GTX2863R with 42mm external WG / 6852 housing ; previously it was the 3652 housing. Just purchased the 2552 housing to spool quicker. I believe this is the smallest I can get for my turbo that is a direct replacement.

I had to get schooled how to read these numbers on the housing as they didn't make sense to me. Hopefully I was paying attention.

Essentially, just reverse the first two numbers for the A/R.

Previous 3652 (.63 A/R)
Current 6852 (.68 A/R) which is larger... I actually wanted to go smaller from the .63
New 2552 (.52 A/R)

Smaller A/R should make things spool up a little quicker. Fingers crossed.

I am still looking to replace the 034EFI engine management and go with VEMS.

With the new .52 A/R hotside, desire to go with pump fuel, and VEMS, we will have a very different driving car this summer. I assume we will have lower power numbers (less speed in the straights), but hopefully have better acceleration out of the corners.

I thought of trying 15" wheels this summer (better gearing.... I hope), but with the excess supply of 17" take-offs from Vermont SportsCar, I will have to stay with 17" for now.

Image

2009 Subaru WRX Impreza 2.5

I would have installed the new cat back exhaust myself, but I also need the seal on the shifter rod (unsure exactly what it is on this car) is known to leak. Since I wasn't sure what was needed for that project (or how to do it), I brought the car to Cheese Factory Automotive (Colchester, Vermont) for the exhaust install and address the transmission leak.

Done quick and correctly. Very happy with the result. Now to get that inspection sticker that expired in October.

Image
Go Fast VW & Audi parts at FastAddiction.com
User avatar
Rabbit Farmer
Posts: 2261
Joined: Wed Jun 25, 2003 11:37 pm
AntiSpam: No
Location: Earth
Contact:

Re: Rabbit Farmer's various VW Projects

Post by Rabbit Farmer »

Volkswagen MK1 Scirocco

In the words of Ozzy… “Mama I’m Coming Home!”

Joey laying out some boards to make the transition to the ramp easier (the car was too low). Jumping on the internet bandwagon with Bernie doing the assist.

Joey took lots of pictures during the build. I will share after I get them.

Image

Image

Image

Image

Image

Volkswagen MK4 Golf

I ordered the replacement FIA 6-point harness (driver’s side only). I think I must have missed the part in the description that stated these were for harnesses that mount to the bar in the back of the car.

No problem… I will just roll up the excess and put a ziptip around it.

Image

Image

The difference with this harness is the release is attached to the two anti-sub straps.

My concern with this is having the bar that connects the two points being uncomfortable on top of my legs. I will have to pay attention when adjusting (the installation process) to ensure it is in the correct location.

I have the old race seat in the Golf at the moment as the new seat is in the Scirocco for the cage building. What I did notice is that the release does not fit through the hole on the bottom of the old seat… means that I have to partially uninstall the race seat to bring the anti-sub straps through the top of the seat vs. installing the straps and feeding the release through the hole in the mounted seat.

The good news is that the new seat (which belongs in the Golf) has a huge hole in the bottom to make the installation much easier. Whew!

Image

Next… I have to adjust the height of the suspension in the Golf.

I realize that I was cranking the coilover collar up (raise car) a lot trying to get to stock ride height. I want to start with the stock ride height to get the suspension geometry correct.

Stock is 15.5” front and 15.25” rear measuring from the center of the wheel to the lip on the fender. (I have also seen 395mm front and 390mm rear which makes the rear a little greater than 15.25”)

It seems that I was wasting a lot of spring travel (compressing the single spring trying to get the height correct). So… I decided to add a second spring to the mix.

I changed the setup from a “main and helper” to a “main and tender”.

New spring is ERS-175-250-200 (number printed on spring)

(3.05” free height) - (2.5” diameter) - (200 #/in spring rate)

I had a hard time trying to determine how the first number worked on the Eibach springs.

Eibach part number: 0175.250.0200
(175) Load at block height: 350 pounds, travel is 1.750 in.
(250) Coilover spring inside diameter (in): 2.50” (63.50mm)
(200) Spring rate: 200 lb/in
Spring is 3.05” (77.47mm)

Things I need to further research:
* Block height (I think this means fully compressed spring)
* Preload (excessive preload of the coil spring increases the force to start shock movement)

Image

Image
Go Fast VW & Audi parts at FastAddiction.com
User avatar
Rabbit Farmer
Posts: 2261
Joined: Wed Jun 25, 2003 11:37 pm
AntiSpam: No
Location: Earth
Contact:

Re: Rabbit Farmer's various VW Projects

Post by Rabbit Farmer »

Good article that talks about Docol R8 tubing. This is what we used in my MK1 Scirocco cage.

https://www.rcnmag.com/tech/docol-r8-a- ... abrication
Go Fast VW & Audi parts at FastAddiction.com
User avatar
Pascal
Posts: 65
Joined: Thu Jul 16, 2009 10:11 pm
AntiSpam: No

Re: Rabbit Farmer's various VW Projects

Post by Pascal »

Next time you need to remove the seat or harness, there should be tiny little holes on the back of the cam lock that correspond with where each belt clips in. If you stick something in the hole you can release the cam lock from the crotch belt and make it easy to feed the rest of the strap through the seat. I usually use a 2.5mm allen key.
User avatar
Rabbit Farmer
Posts: 2261
Joined: Wed Jun 25, 2003 11:37 pm
AntiSpam: No
Location: Earth
Contact:

Re: Rabbit Farmer's various VW Projects

Post by Rabbit Farmer »

Pascal wrote: Sun Apr 04, 2021 6:24 pm Next time you need to remove the seat or harness, there should be tiny little holes on the back of the cam lock that correspond with where each belt clips in. If you stick something in the hole you can release the cam lock from the crotch belt and make it easy to feed the rest of the strap through the seat. I usually use a 2.5mm allen key.
P
Thanks for info. Good to know. :)
S
Go Fast VW & Audi parts at FastAddiction.com
User avatar
Rabbit Farmer
Posts: 2261
Joined: Wed Jun 25, 2003 11:37 pm
AntiSpam: No
Location: Earth
Contact:

Re: Rabbit Farmer's various VW Projects

Post by Rabbit Farmer »

-------------------------------------------------------
**** 1980 Volkswagen MK1 Scirocco ****
-------------------------------------------------------

Sitting in the garage… planning time for transmission, suspension, etc.

Removed the seat to reinstall it in the Golf in preparation for a track event.

Image

Purchased a new helmet to replace my current Simpson Voyager Evolution SA2010 (size 7 1/2).

I originally ordered the Bell M8 because of the large eye port, but they were not available until June 2021.

Plan B: I ordered a G-Force Nova Helmet SA2020 (size Large) in flat black, a smoke visor (to replace the clear… perhaps I should have gone with an even darker visor), plus some new HANS mounting posts.

I like the fit and it is a bit lighter than my old helmet.

Image

New HANS posts

Image

Single my helmet already has the threaded insert, I did not need the washer/nut combo that goes on the inside of the helmet.

Image

-------------------------------------------------------
**** 2001 Volkswagen MK4 Golf ****
-------------------------------------------------------

Time to get the Golf ready for the 2021 hillclimb season, and more importantly, a Test and Tune track event at Club Motorsports (I love this track).

Winter is over and need to find a place for the little snowblower.

Image

Tried to do my own alignment. I have done this before, but it was more tweaking on an existing properly aligned car vs. new suspension, new steering rack (well, just the tie rod ends come into play), new ride height, control arm bushing, etc. etc.

I was out of my element and did not have a lot of experience to know how to do everything correct.

But… there is that darn track event coming up and I needed to get it close.

Goal is -2.30 camber and 1/16” toe out.

I set the camber on both sides to -2.30 (I didn’t take the time to zero the level on the floor… that played into my numbers not quite being correct based on the “real” alignment I got after the track event).

Image

Did 1/16” toe out… well, I did it in CM as it was easier to see on the tape measures.

Image

Ordered a new window net. The mesh is the original and the web is new. (24” wide by 18” tall)

Image

Car is all together and ready for track event… after a much needed car wash. Last time I washed it was prior to the September 2019 hillclimb (Mt. Ascutney).

Image

Loaded and ready to hit the road. One thing that I want to do with the trailer this summer is add interior lights and decorative lights on the awning. Lights would run from a deep cycle battery in the trailer and the battery would charge when connected to the truck. Plus… some cabinets and drawers as digging through bins to find stuff suuuuucccckkkkssss.

Image

Welcome to Club Motorsports in the b-e-a-you-tee-ful town of Tamworth NH.
https://clubmotorsports.com/

Image

Some pictures of all the cars and drivers. Lots of cool cars. Some cars/drivers that I race with at the hillclimbs.

Lots of really cool and fast cars.

Love this purple 2016 Porsche GT3 RS. Fastest time of the day. Hard launches and drove it like it should be driven. Very impressive driving Mr. V. Campbell.

Image

Frog Racing

Image

Chris shake down of the GTR in preparation for Pikes Peak Hillclimb

Image

Image

Image

Our local hillclimb “fast car/driver”… the Super Chicken II

Image

How about a car with no gears or clutch? We had to push him while he engaged the starter to get going. Only way to completely stop is to turn off the engine.

Image

Image

Image

Image

Image

Image

The “Mutt”. Older Subaru body with STI setup.

Image

Image

MK2 Golf with turbo VR6

Image

Image

Image

Image

Image

And now back home after the track event to get a professional alignment at Twisted Wrench in South Burlington, VT. They did the previous alignment on the Golf and did a good job.

Image

Took my about an hour to make this image to try to capture the before and after measurements. The before numbers show my lack of alignment skills. Yellow is before and Green is after measurements. The colors do not signify in or out of spec… just two colors to make it easier to read.

My instructions to them was -2.30 front camber and 1/16” toe out. Everything else just seemed to work out.

Image

And this little gem. A mint vase from my mother’s 1962 (her guess on the year) VW Bug. Includes shiny new looking mounting bracket and original box. Pretty cool

Image

-------------------------------------------------------
**** 2009 Subaru WRX ****
-------------------------------------------------------

Well… the plan is to sell it this summer.

Plan for next car is AWD. Might be Subaru STI or WRX. Don’t know yet.

I do not need a car during the summer as I can drive my truck. I don’t drive the truck in the winter except for infrequent trips to the hardware store and dump when the roads are clear… followed by a rinse down when I get home.

I figure the 2012 F250 crew cab 6.7 diesel should be the last truck I ever own… less than 30k miles on it at the moment. Taking care of it to make it last 40 years.

It does need better headlights.
Go Fast VW & Audi parts at FastAddiction.com
Post Reply