Progress on the Scirocco.
Sometimes you have to go backwards to go forward.
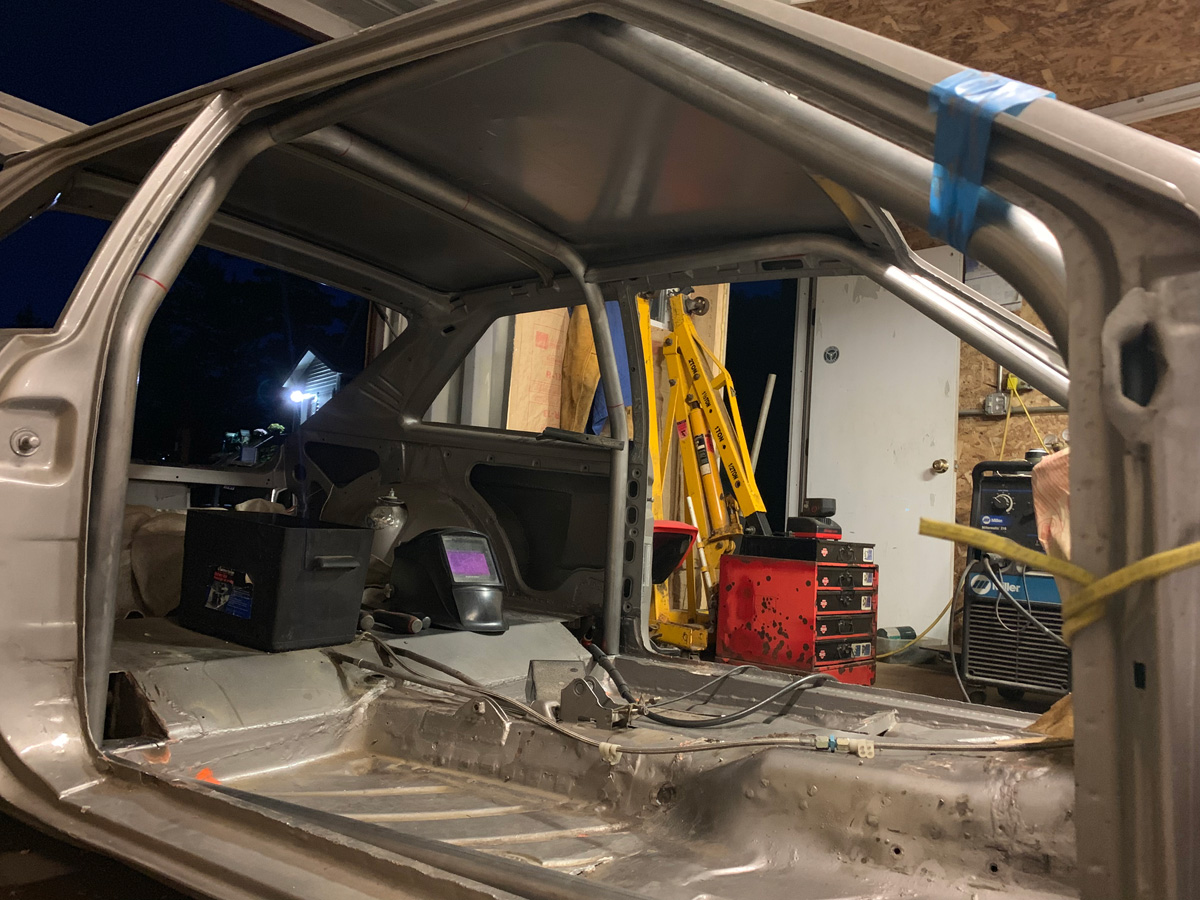
Short version is that I labeled and removed the entire wiring harness and removed the cage.
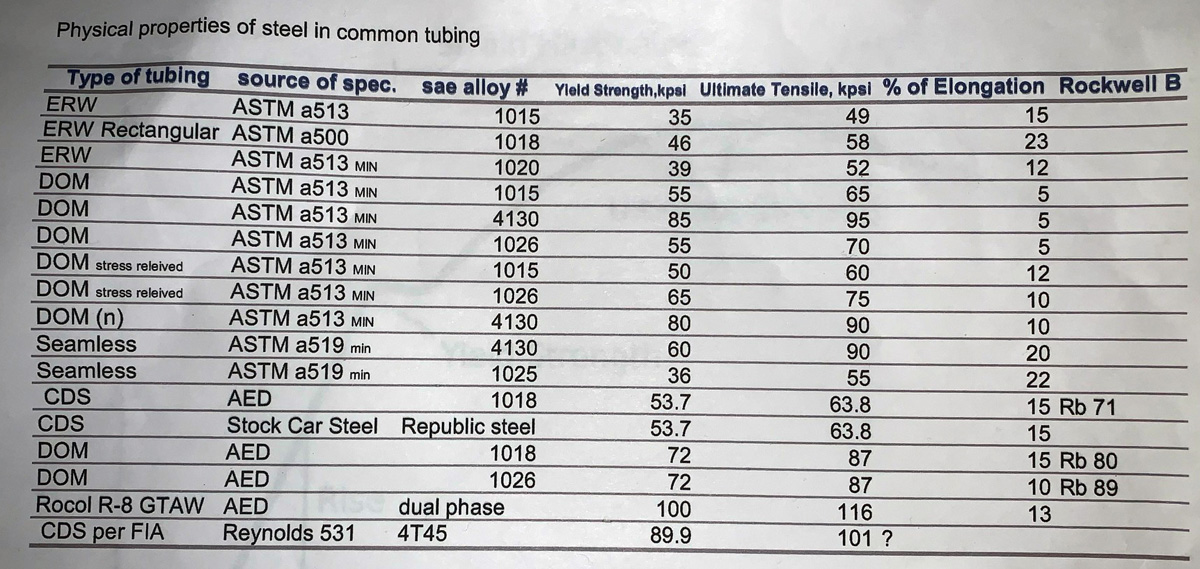
Long version with some pictures of some of the cool stuff along the way and did some exciting reading of the FIA 253J specs for cages. Exciting, I know!
-----------------
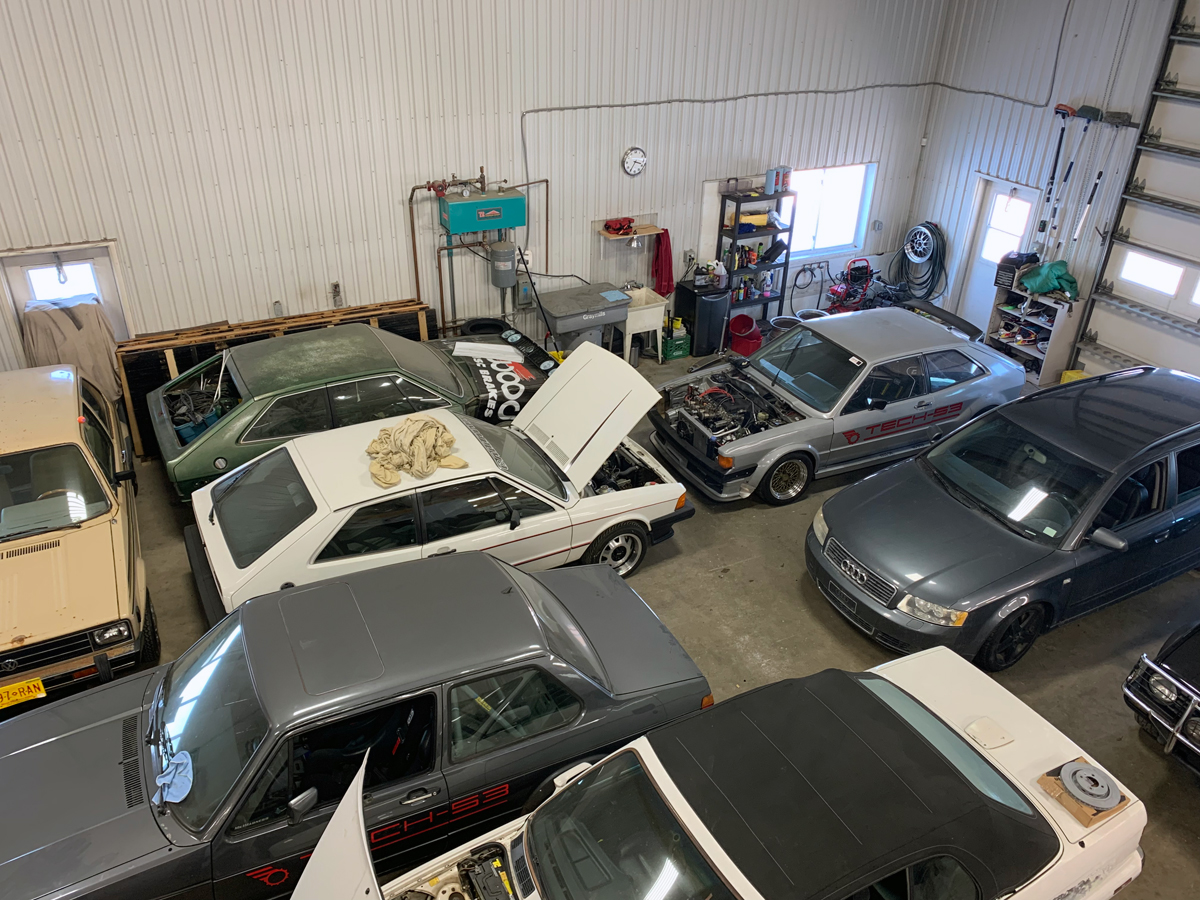
When looking through my photos trying to find images of when Bill first showed up with his car, I came across a few neat photos to share. Regarding photos of Bill’s car… I think they are real photos and before I had anything digital to take a picture. One day I will scan the old stuff in to share. Until then… sit!
One of the other Sciroccos at the hill was Dan’s MK2 (Bill’s son). This was a lot wilder than Bill’s MK1 as it was a V6 N/A AWD car (used to be 5 banger Audi turbo).

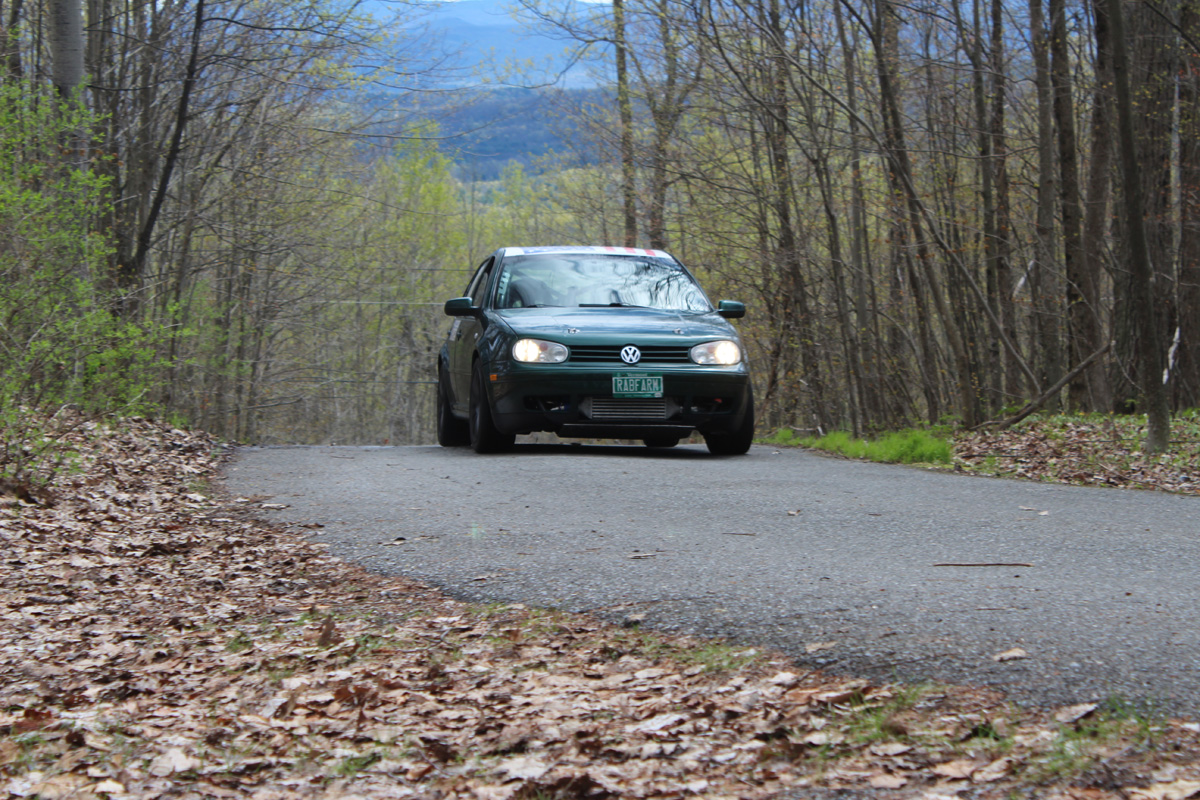
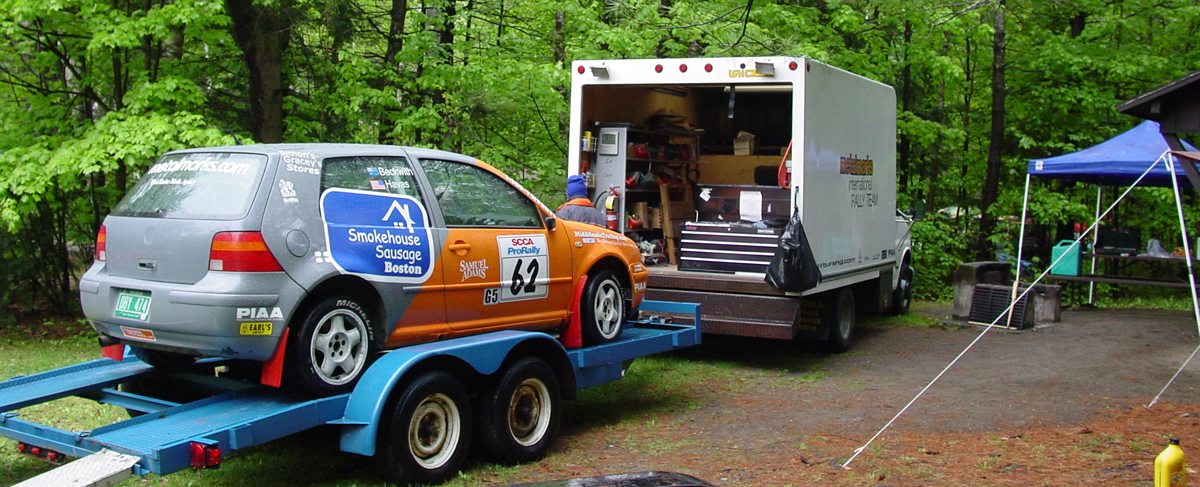
Next… and unrelated, just happens to be the same event where I found the MK2, is Chris Havas’ MK4 rally Golf. He built the cage in my Golf. There… I tied it (loosely) to the verbosity induced story.
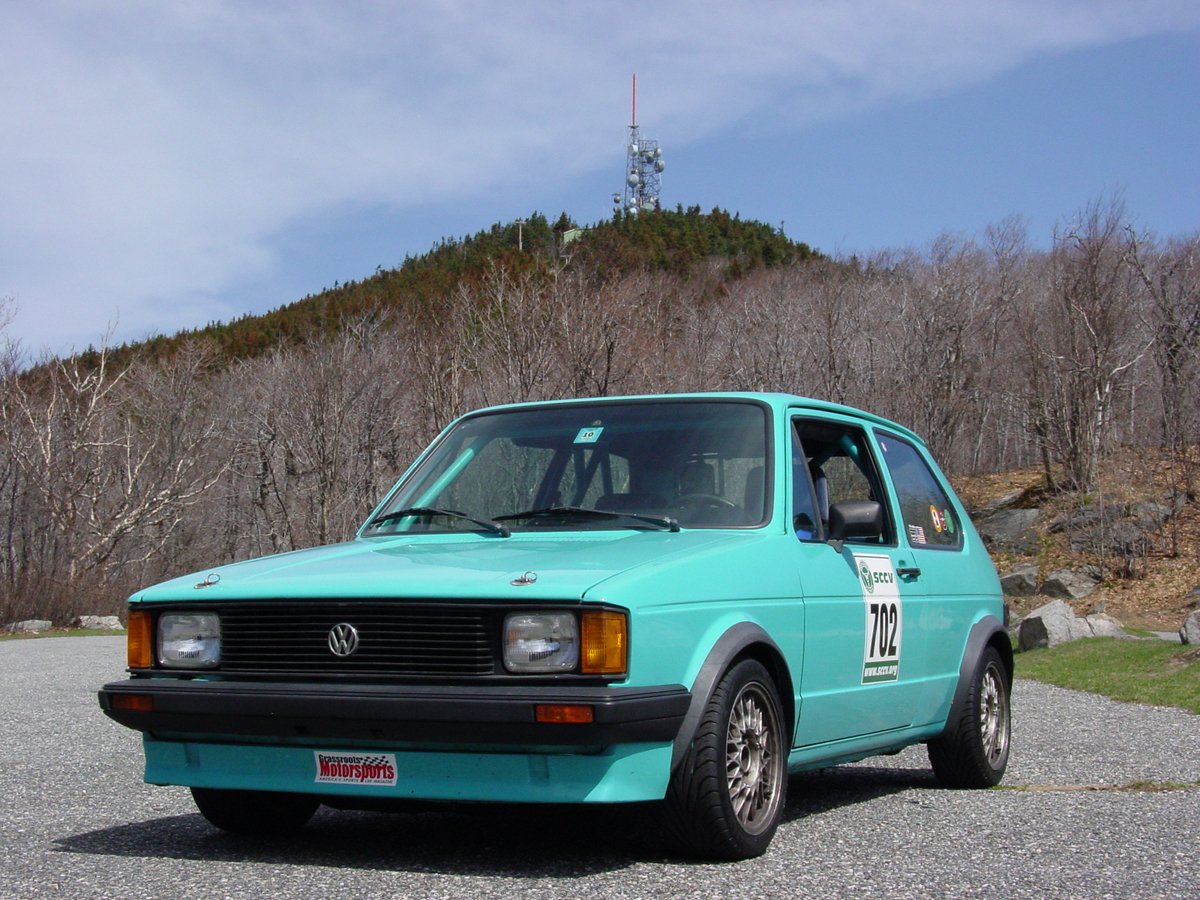
And… same event. My old MK1 Rabbit 1.9 liter 12:1. First car I raced with a cage… yet, Chris did that cage also.
…And now back to your regularly scheduled program…
There were some things that I have always been curious about this car. I looked over the car over the years when Bill owned it, but never really got to examine and try to understand what he did.
On the front of the car were two… well, nipples… where the outer headlights would normally mount. Bill actually had tassels on them.
One went through a flat grate, through what looks like a standard clothes dryer tube, to the custom interior fan system (more to come below).
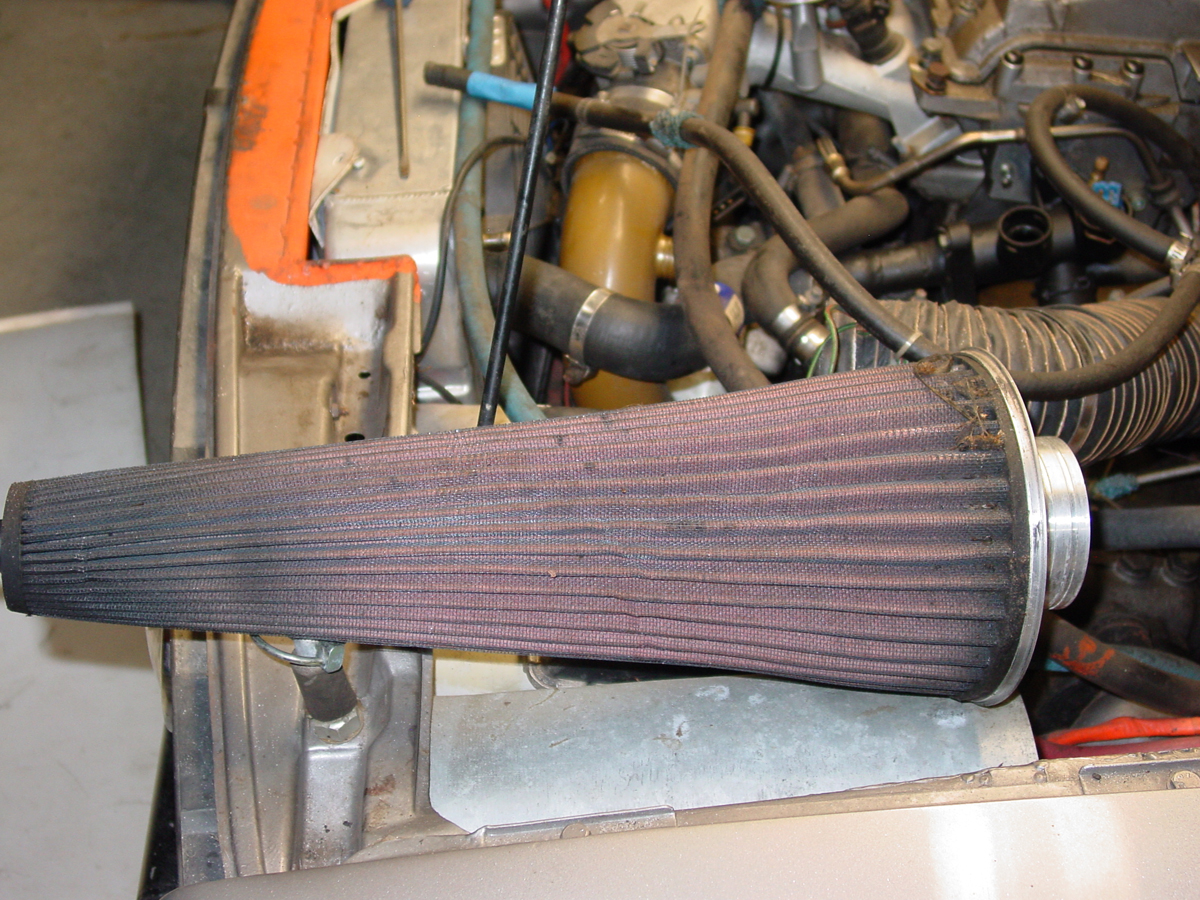
The other was the air filter for the engine.
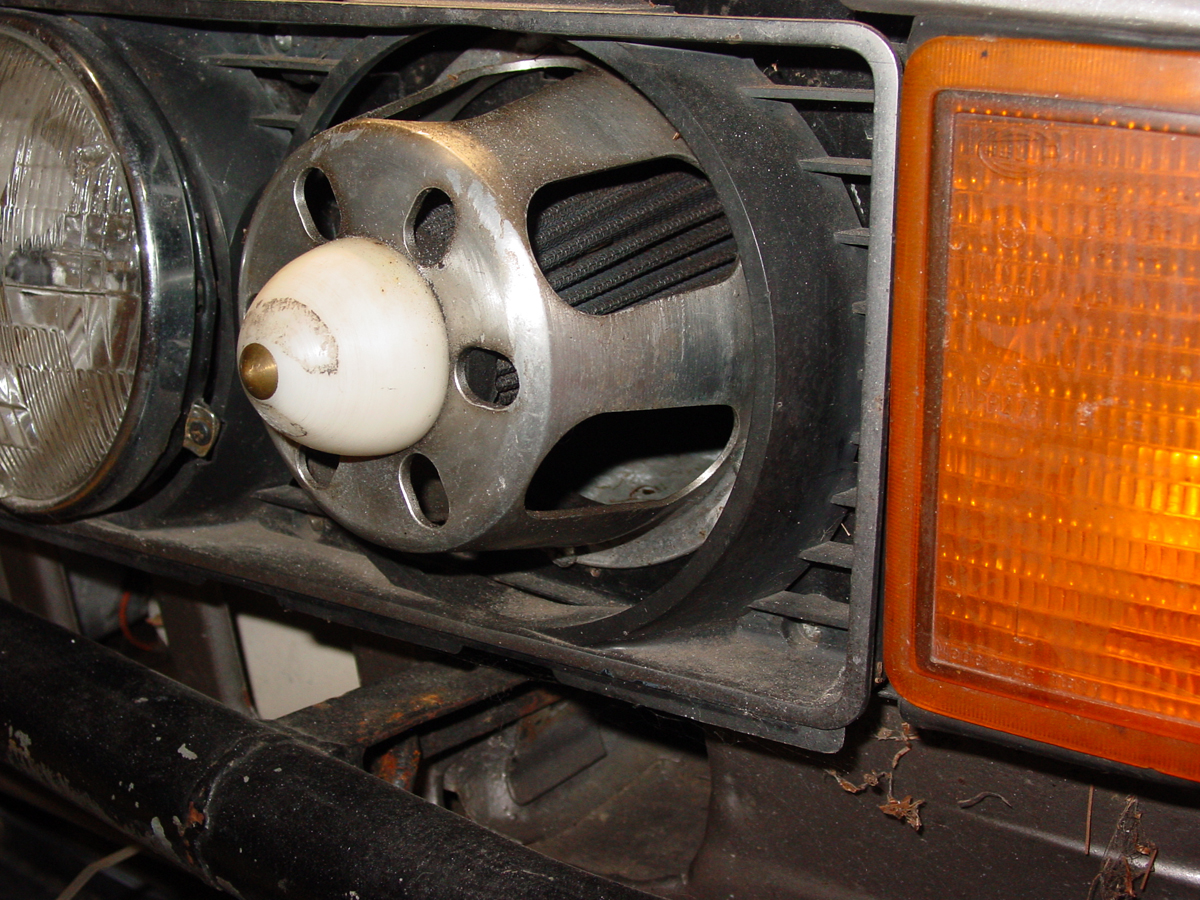
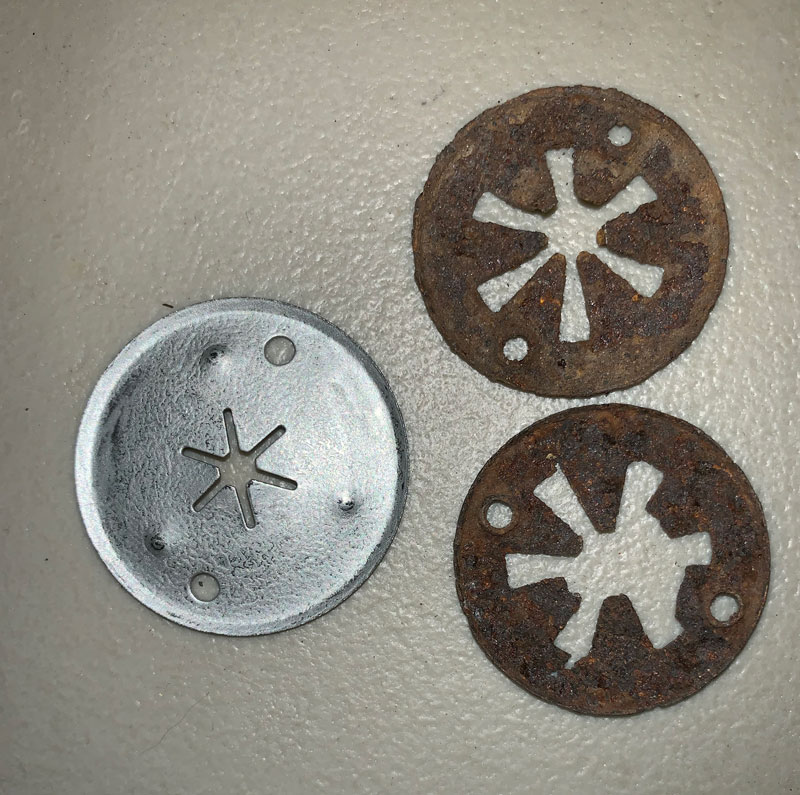
Unscrew the nipple to remove the cover to access the end of the cone filter
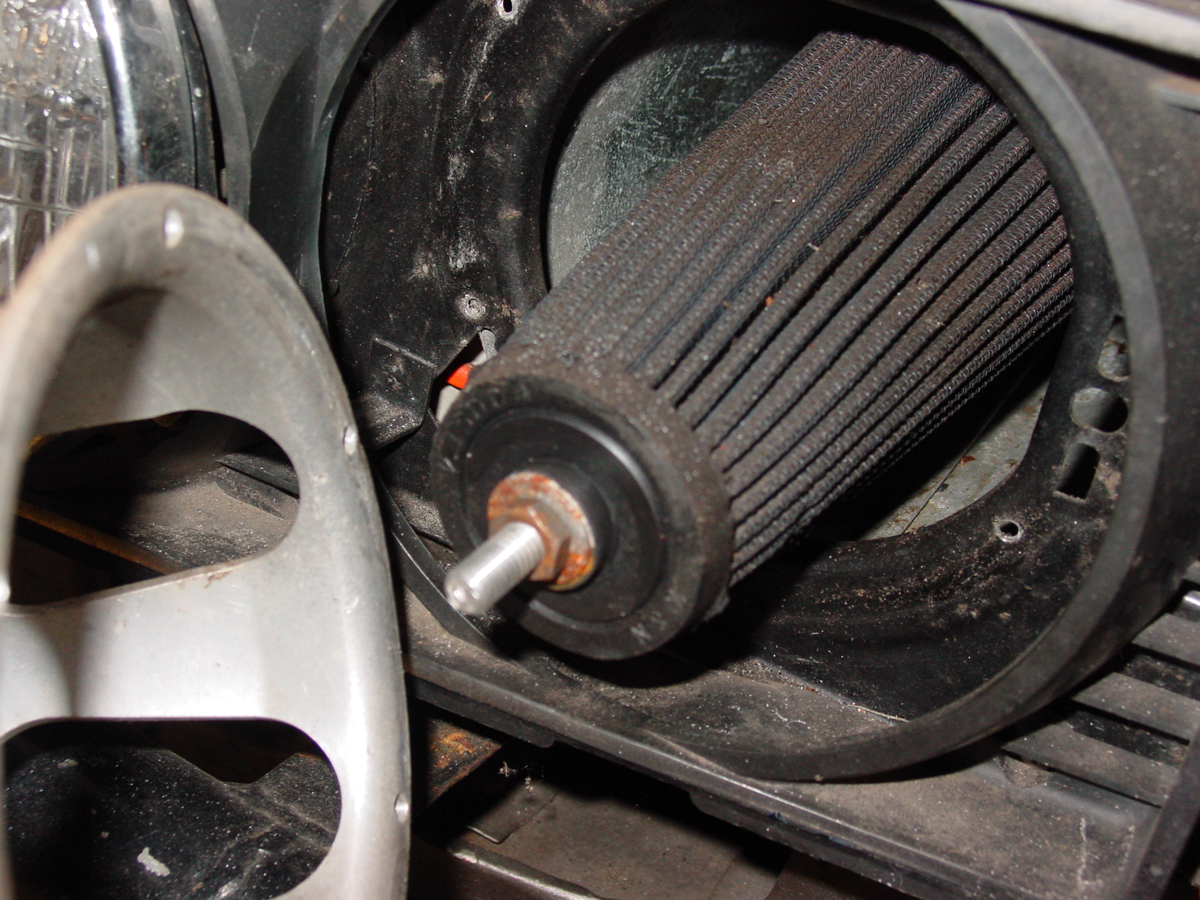
A very large cone filter.
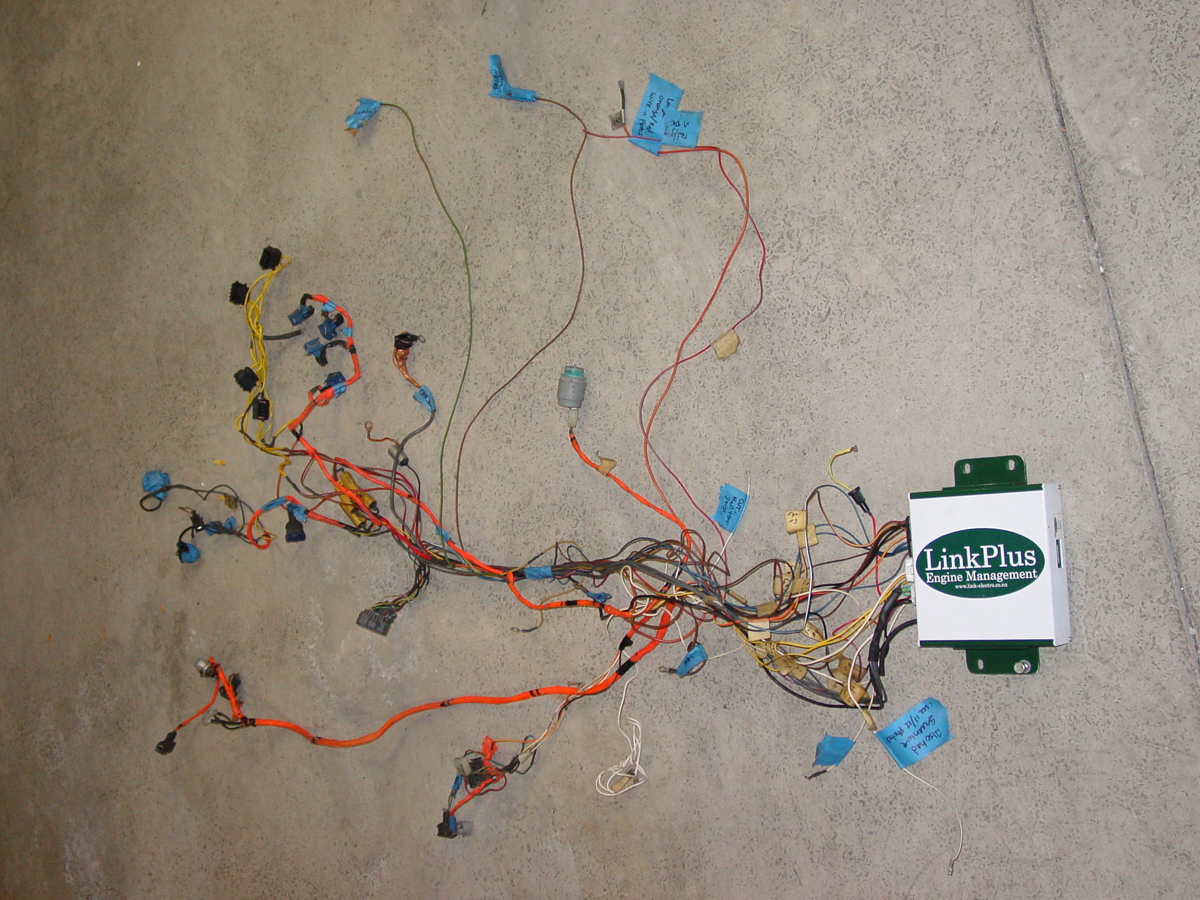
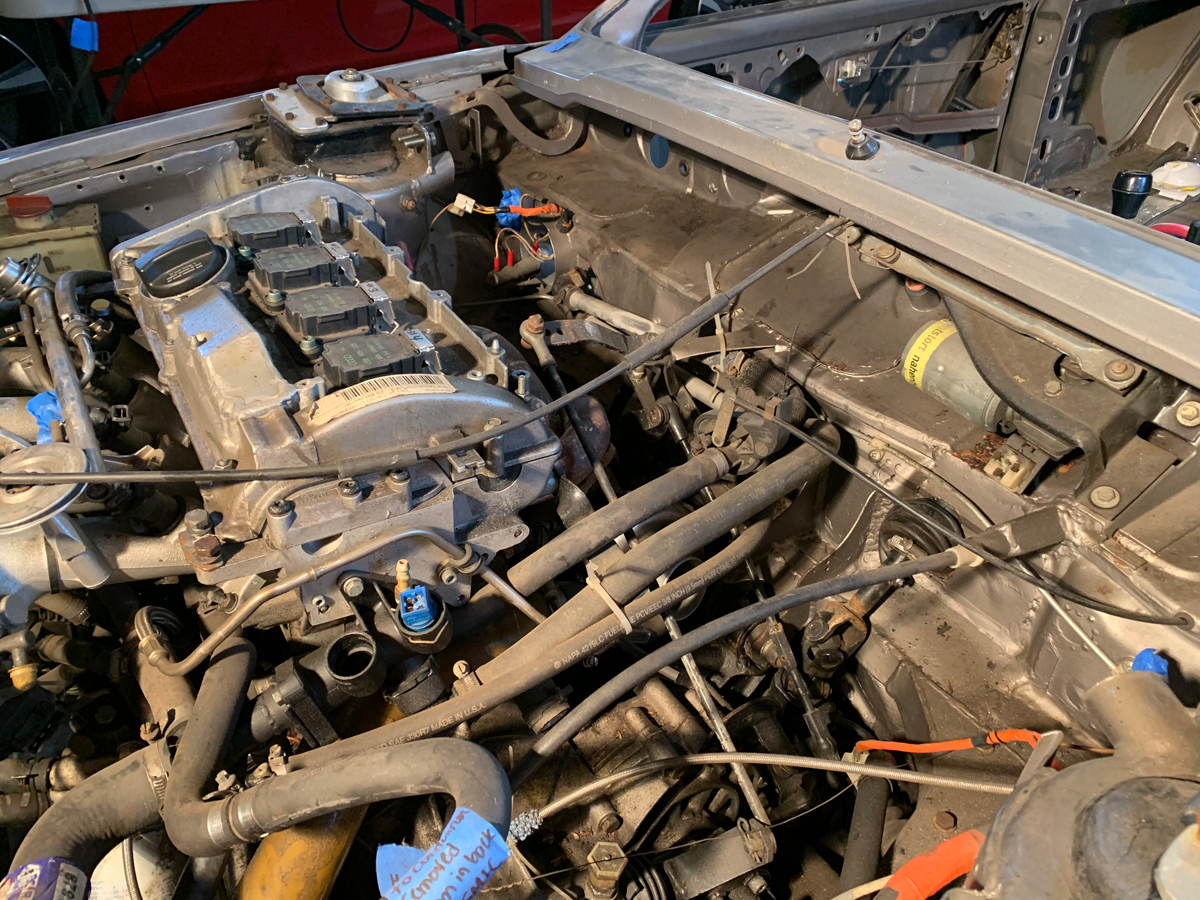
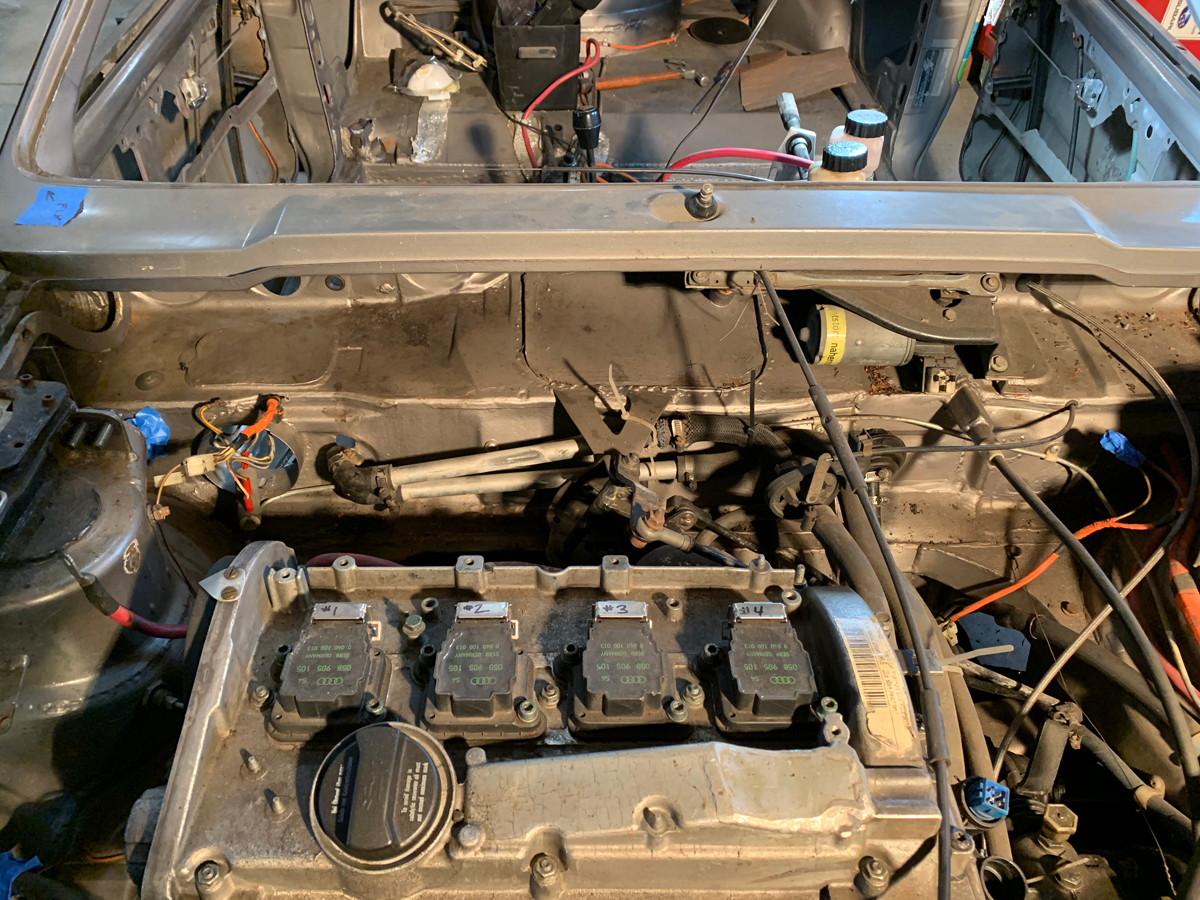
Labeled and removed the entire wiring harness. Generally, it seemed the orange wrapped wires were to connect the stock lights, fans, alternator, etc. in the car while the non-orange wires were for the Link Plus Engine Management system.
The Atari 2600:
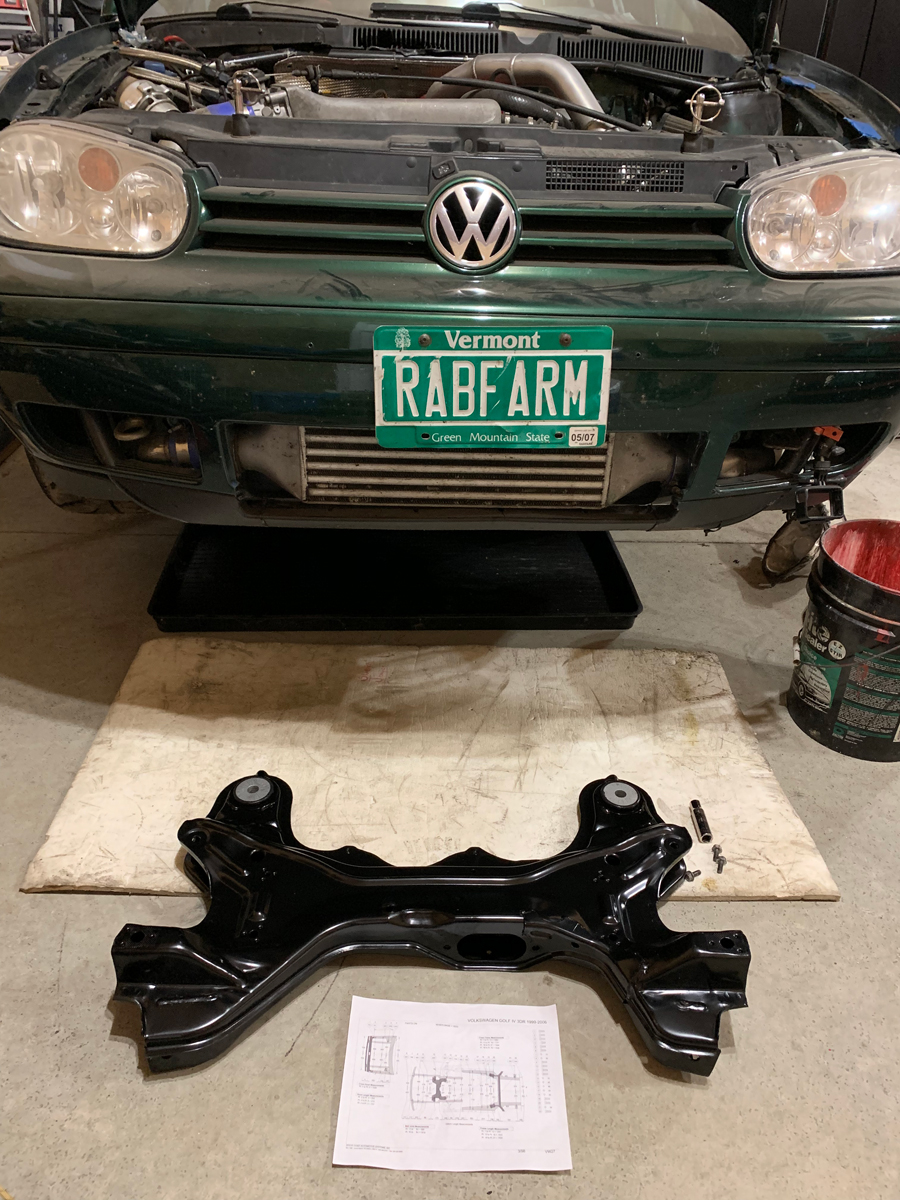
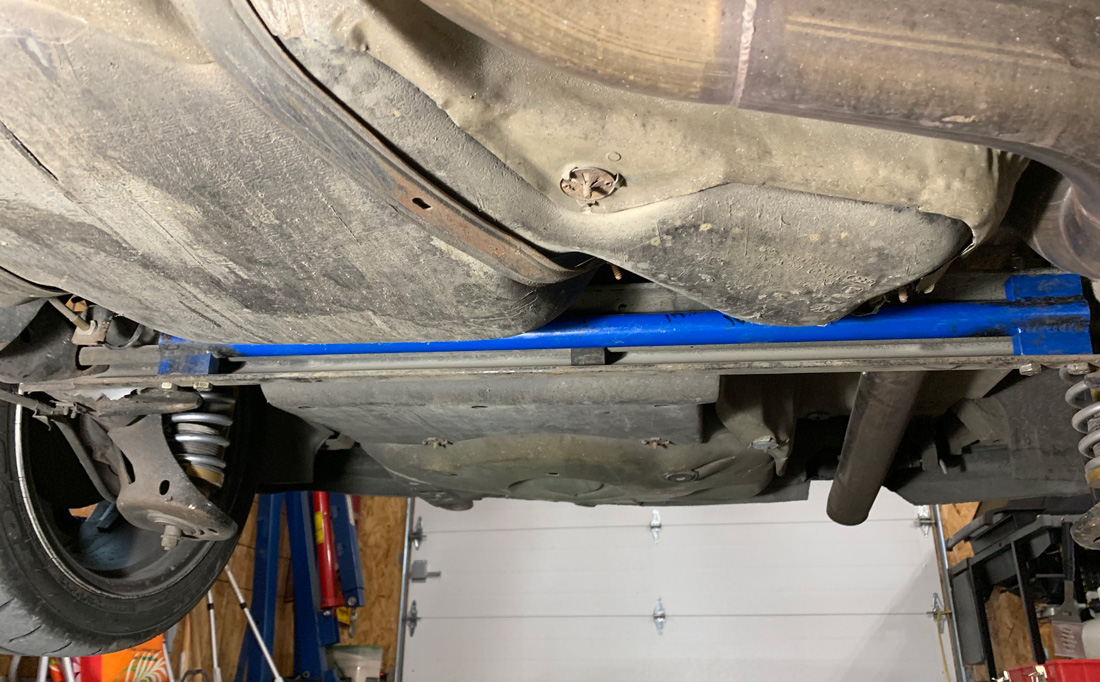
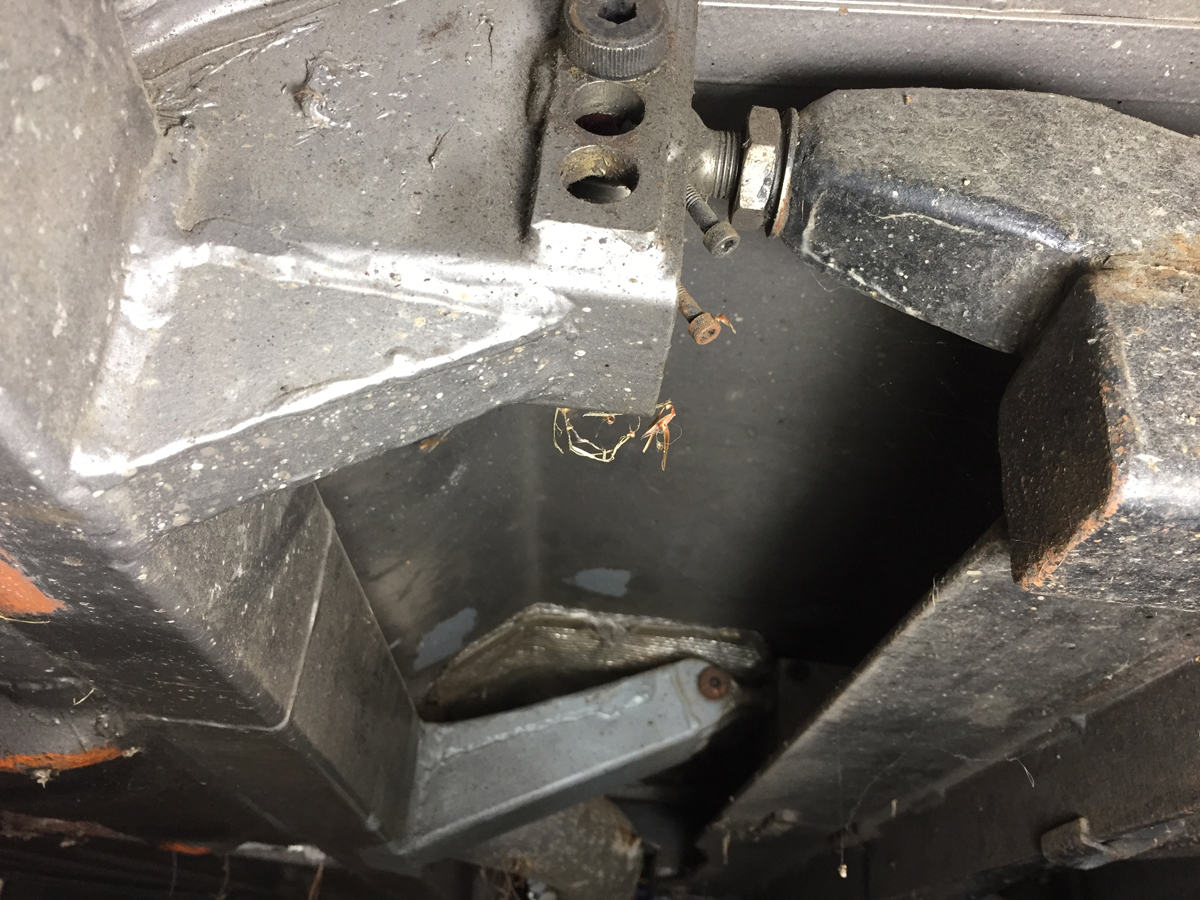
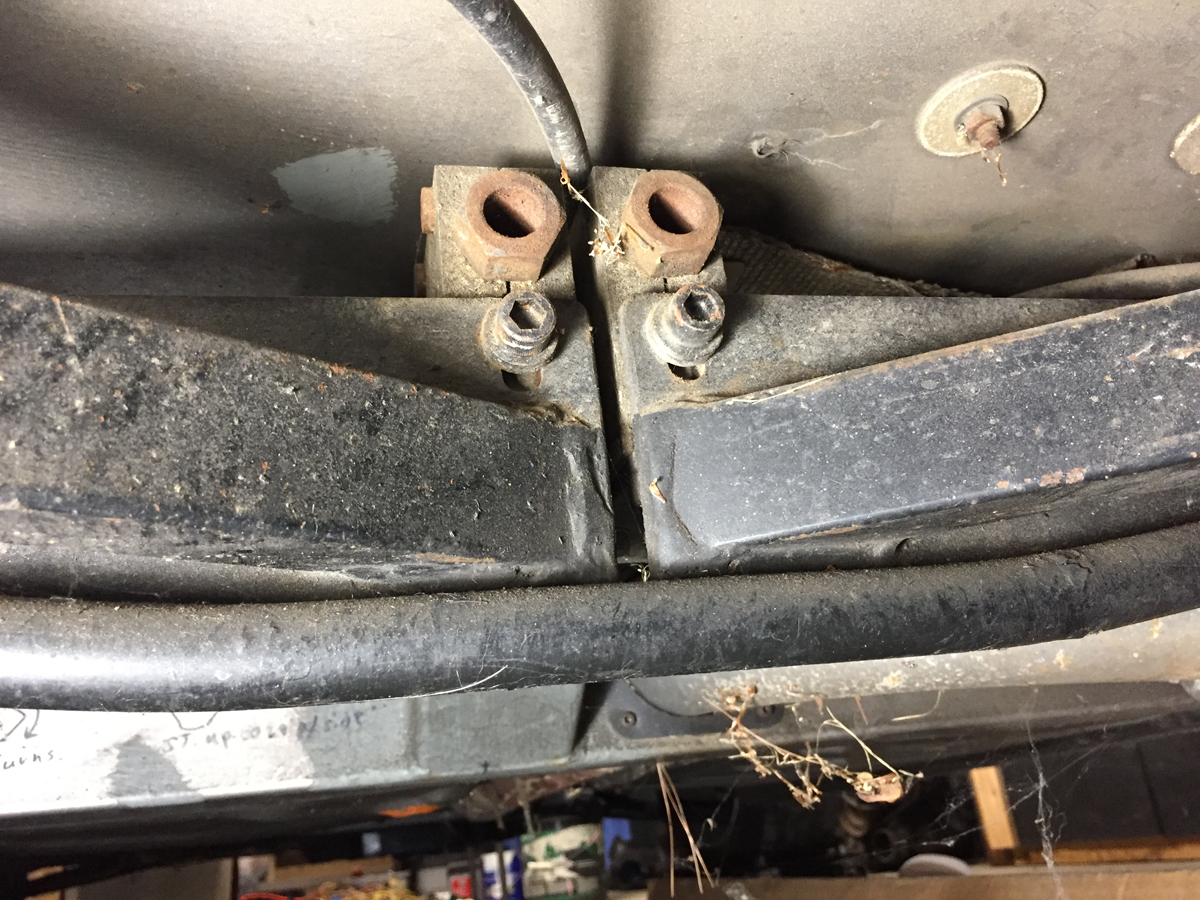
Let’s take a look at that rear suspension. When I get it on a lift and clean it up, I should be able to get a better understanding how it did work when independent and how it currently works (solid beam).
This is the point on the driver side where it mounts to a very reinforced frame (same on passenger size). This frame continues to the front of the car going through the rockers (they were split open). I am unsure if the frame in the rocker panels is the same size as what was used in the rear.
Center mounting mount.

Showing how the independent suspension worked.
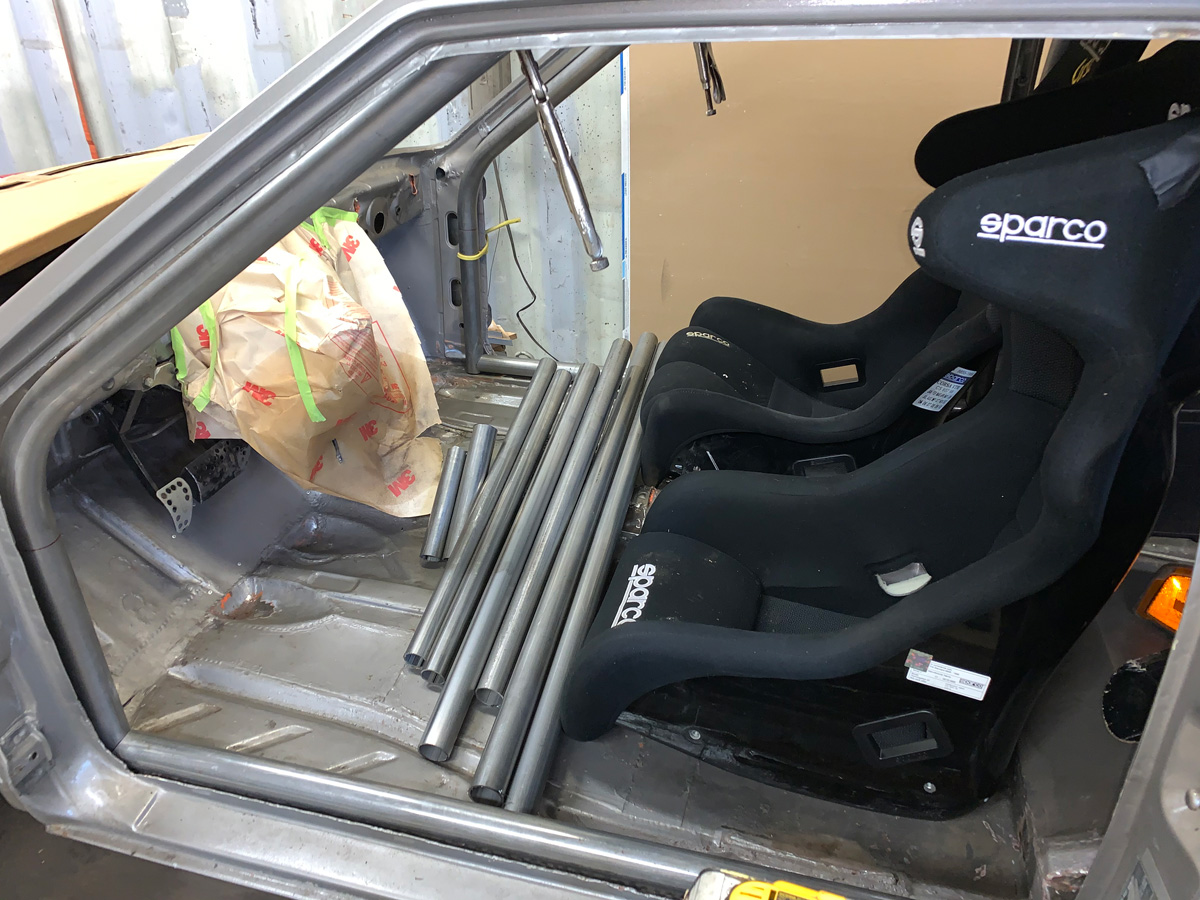
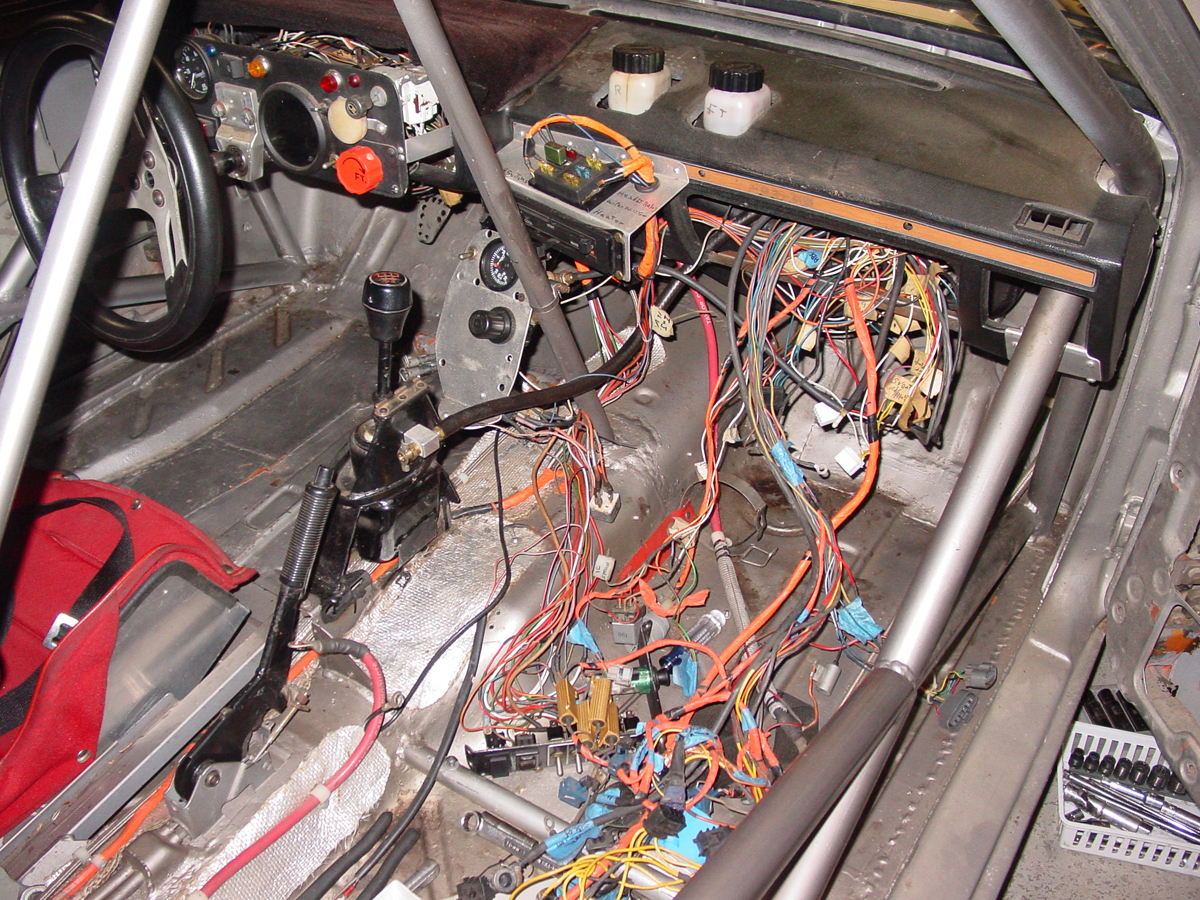
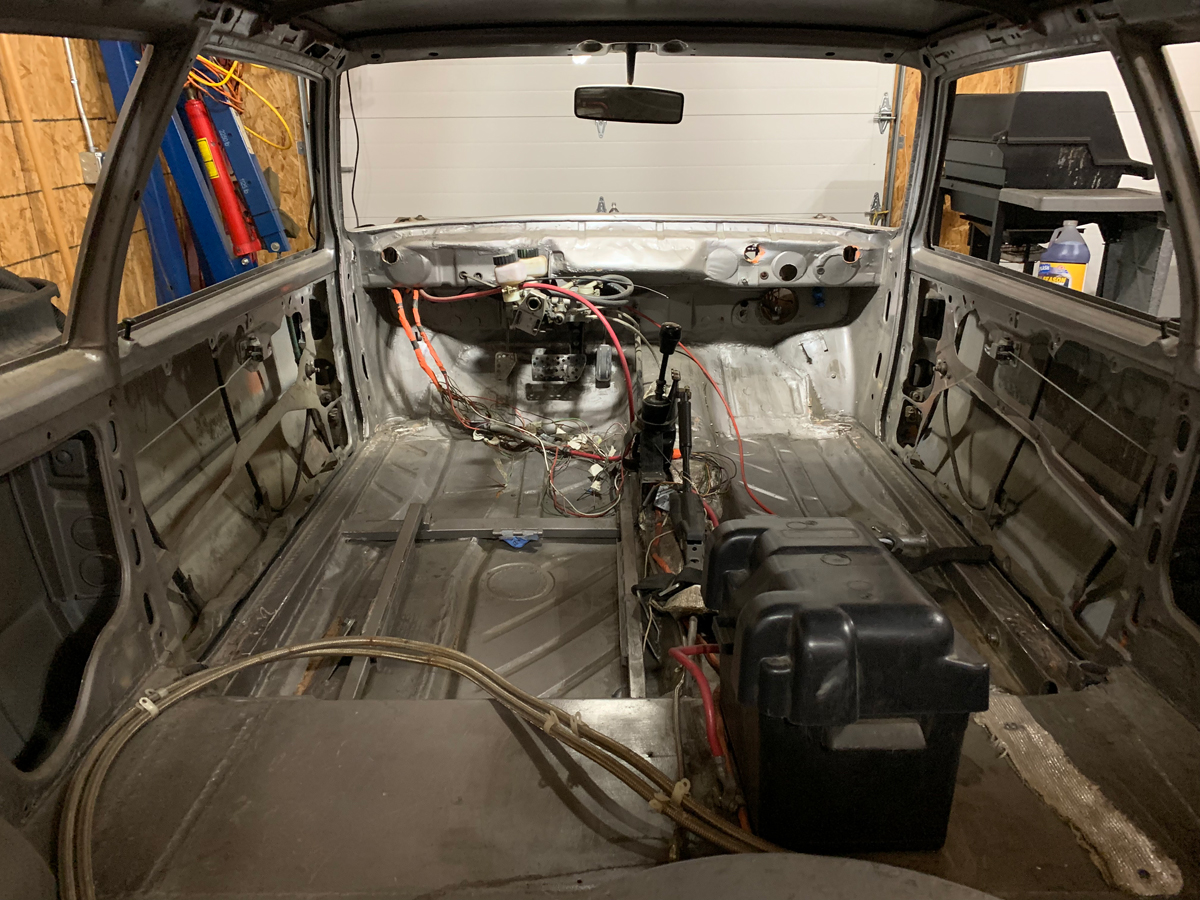
Moving back inside..
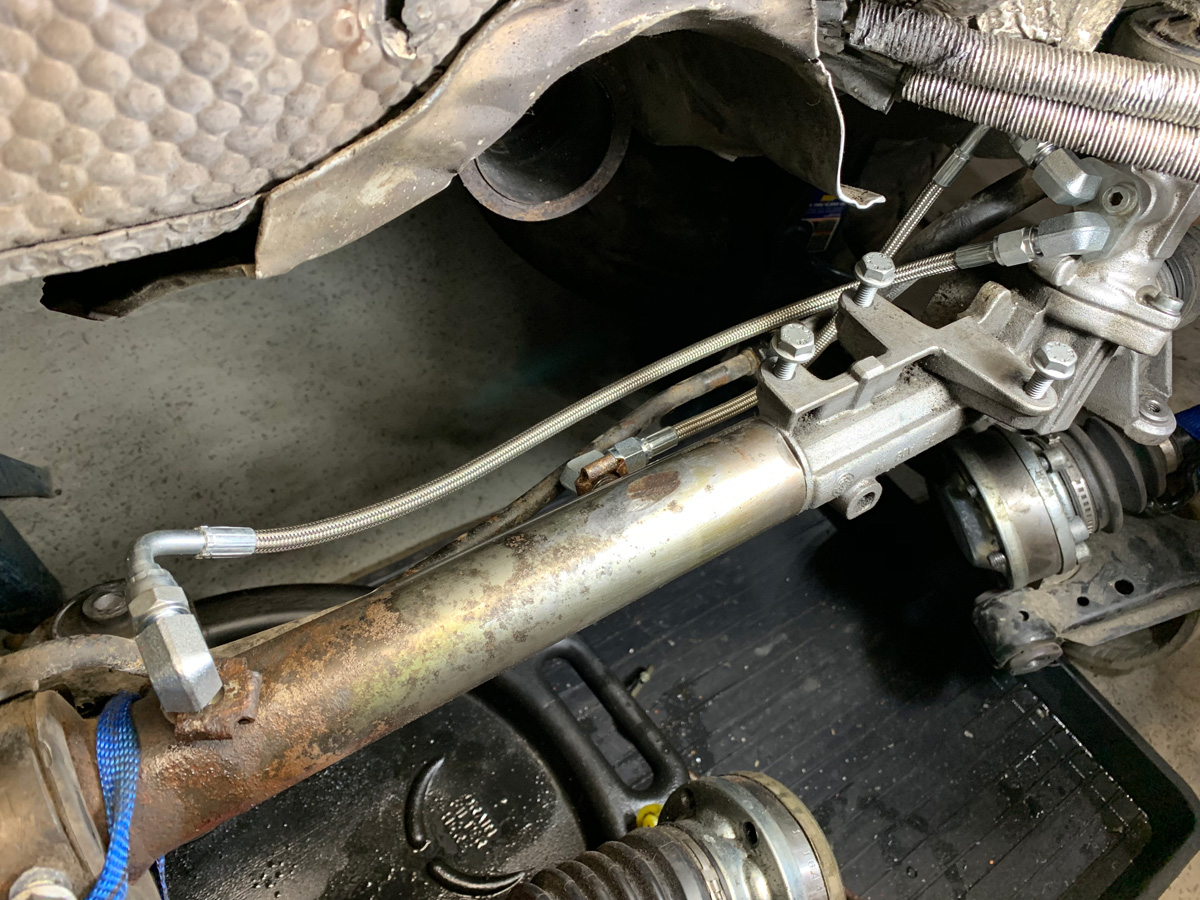
Custom mounting of the steering column (does not pass through the firewall in the stock location… and goes to the power steering rack mounted on a MK2 Golf subframe); brake master cylinder (there is no brake booster); giant brake pedal, etc.
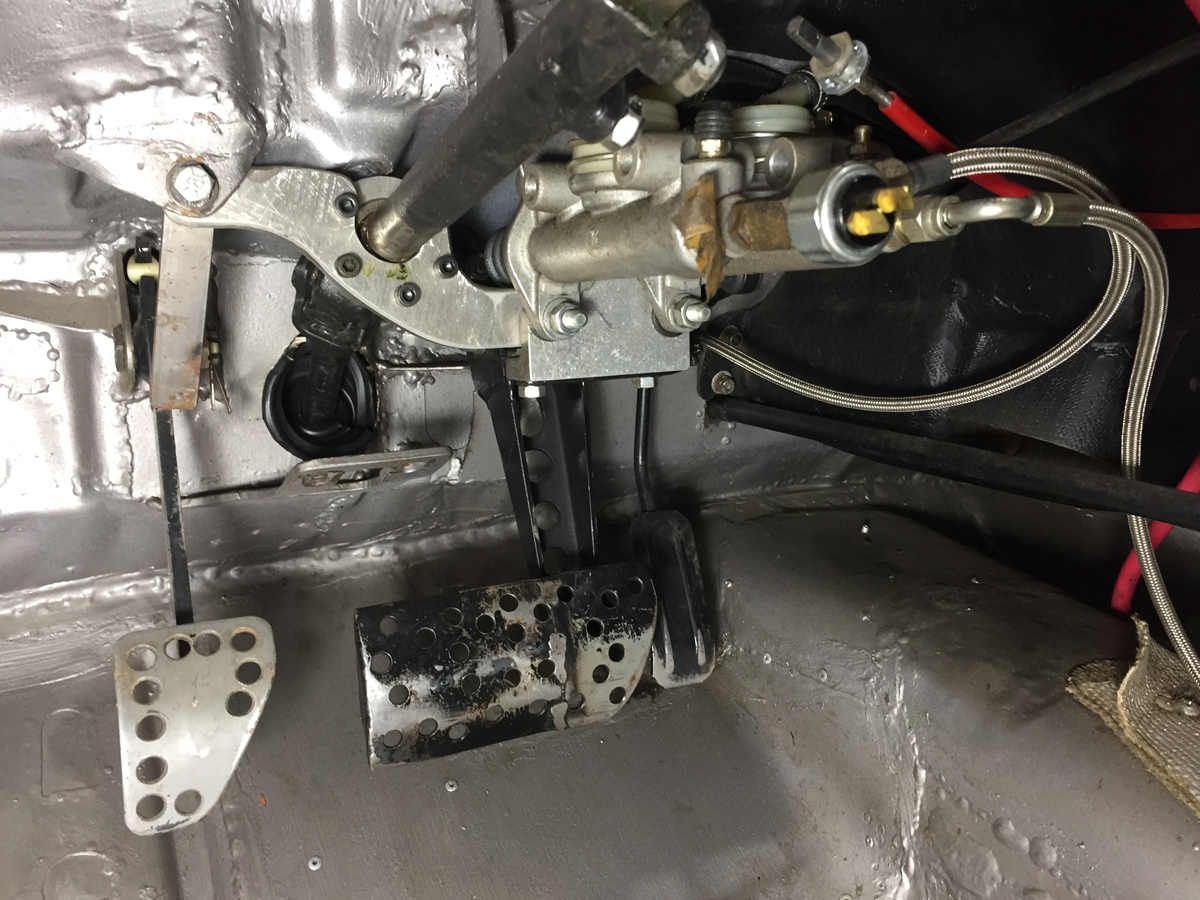
Steering column upper mount and indentions for feet on the floor.
Inside there is the raised shifter with the rod going through the firewall… this is normally under the car in the tunnel.
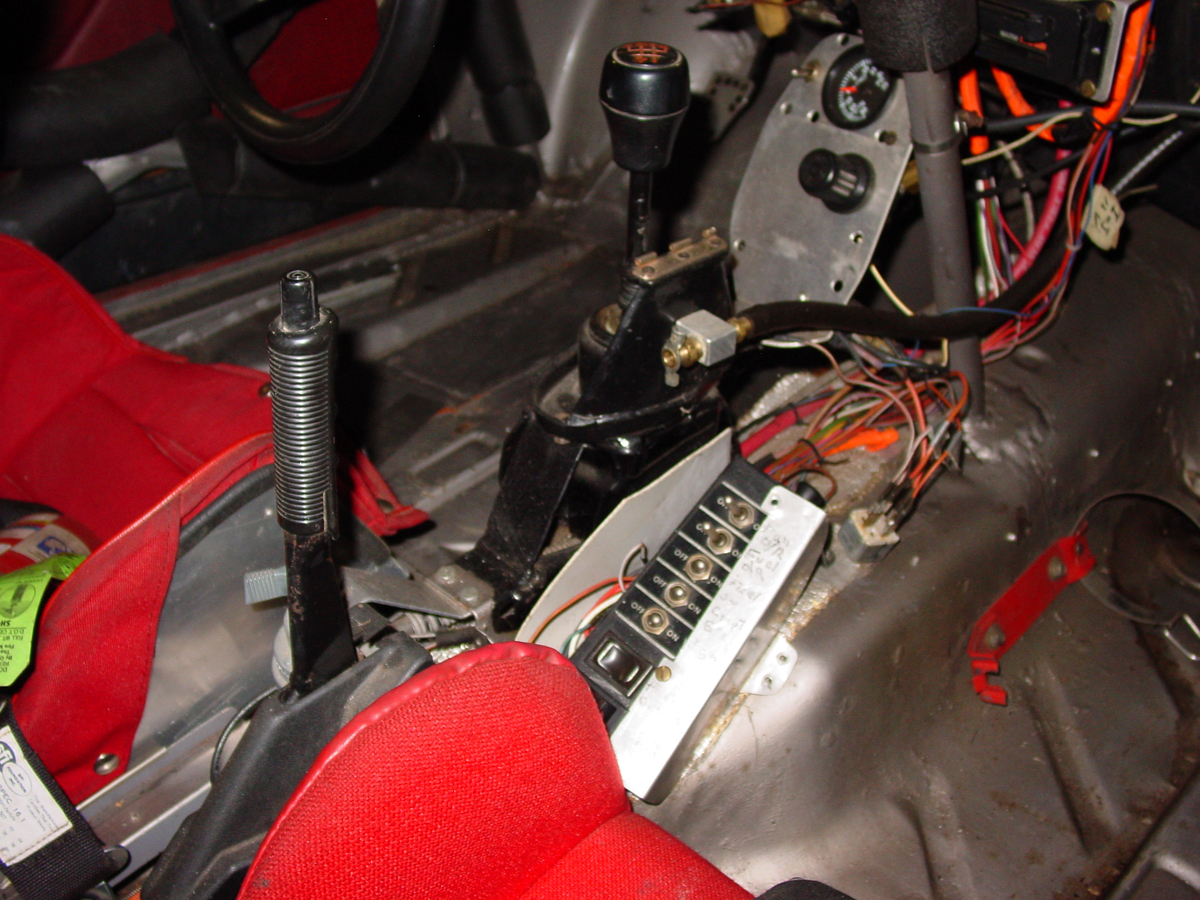
The following pictures do not do this justice. When I remove the engine, I will make sure to get photos of this excellent engineering. This creates a very solid feeling shifter. Think about the level of effort and creativity that went into this!
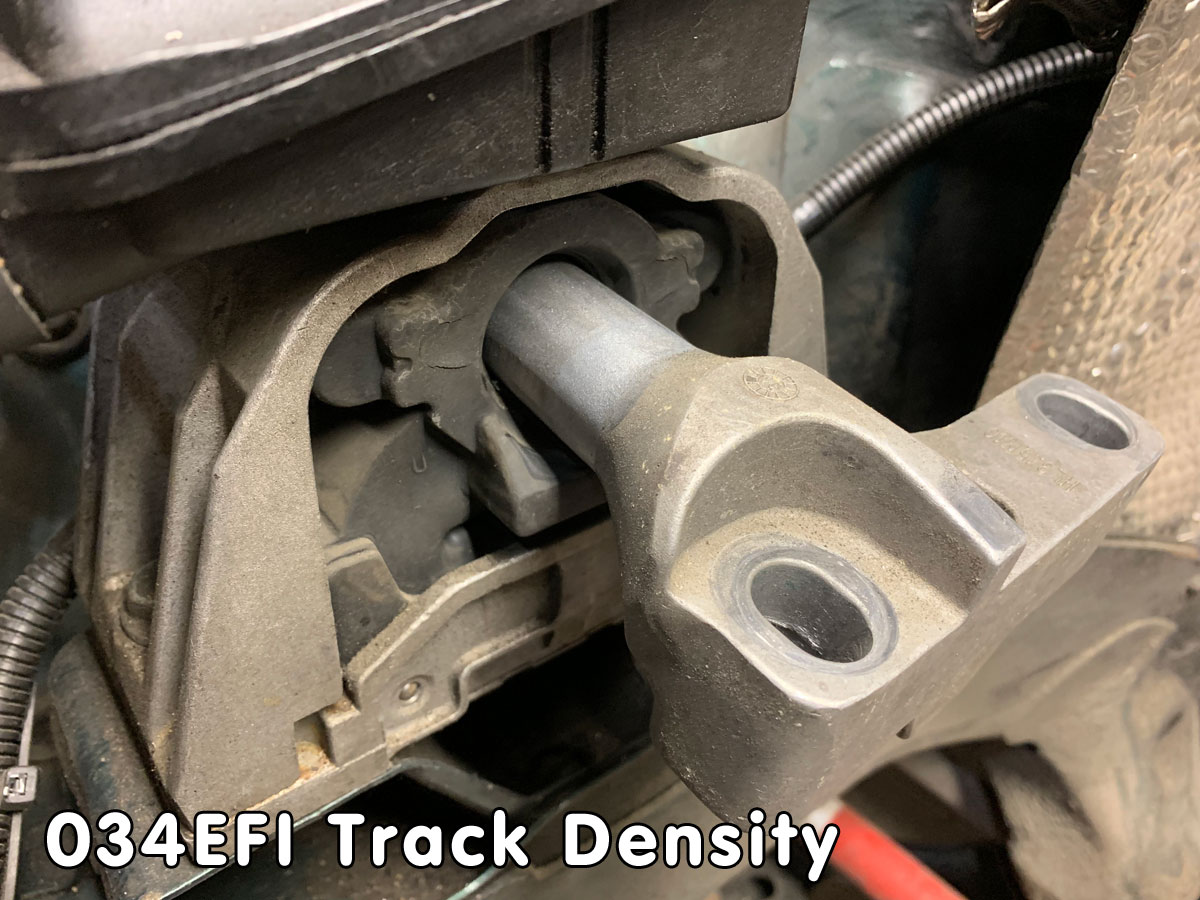
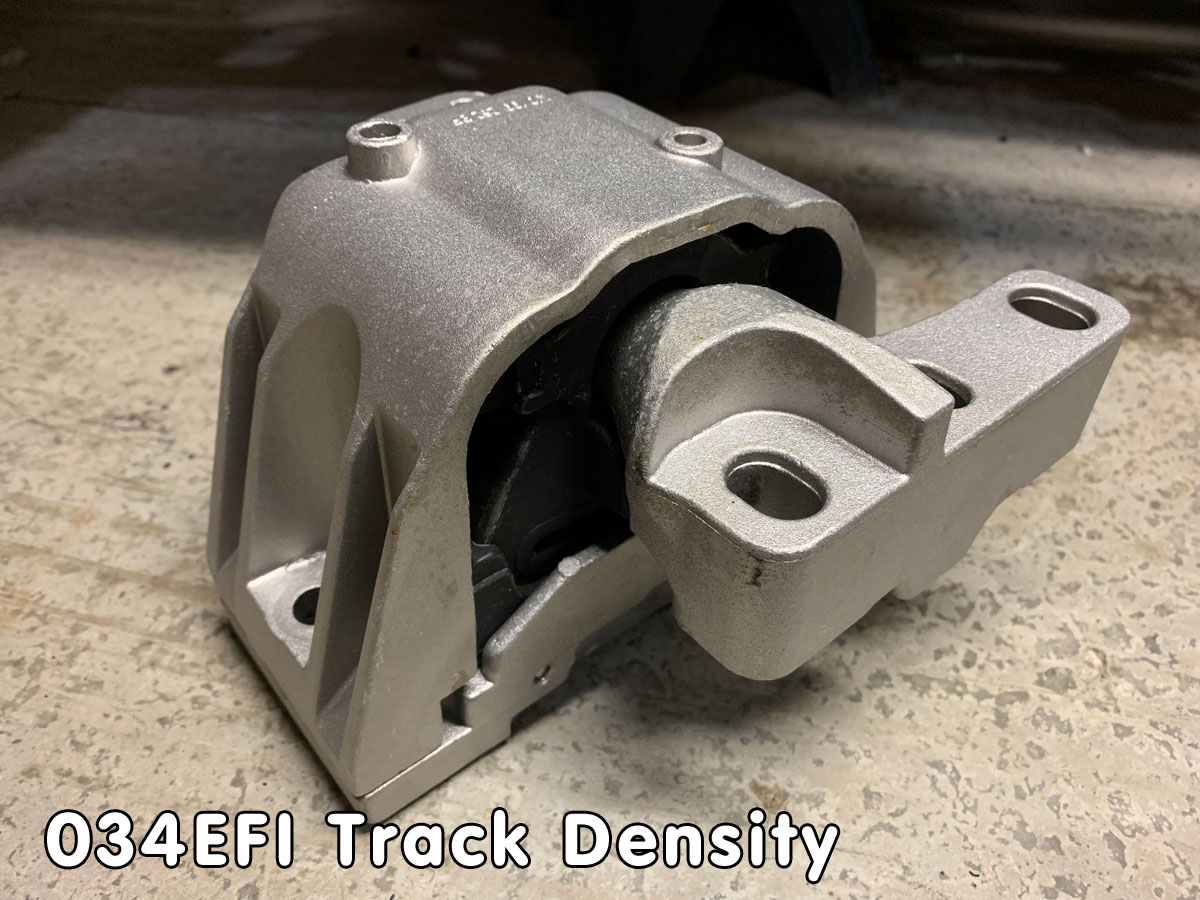
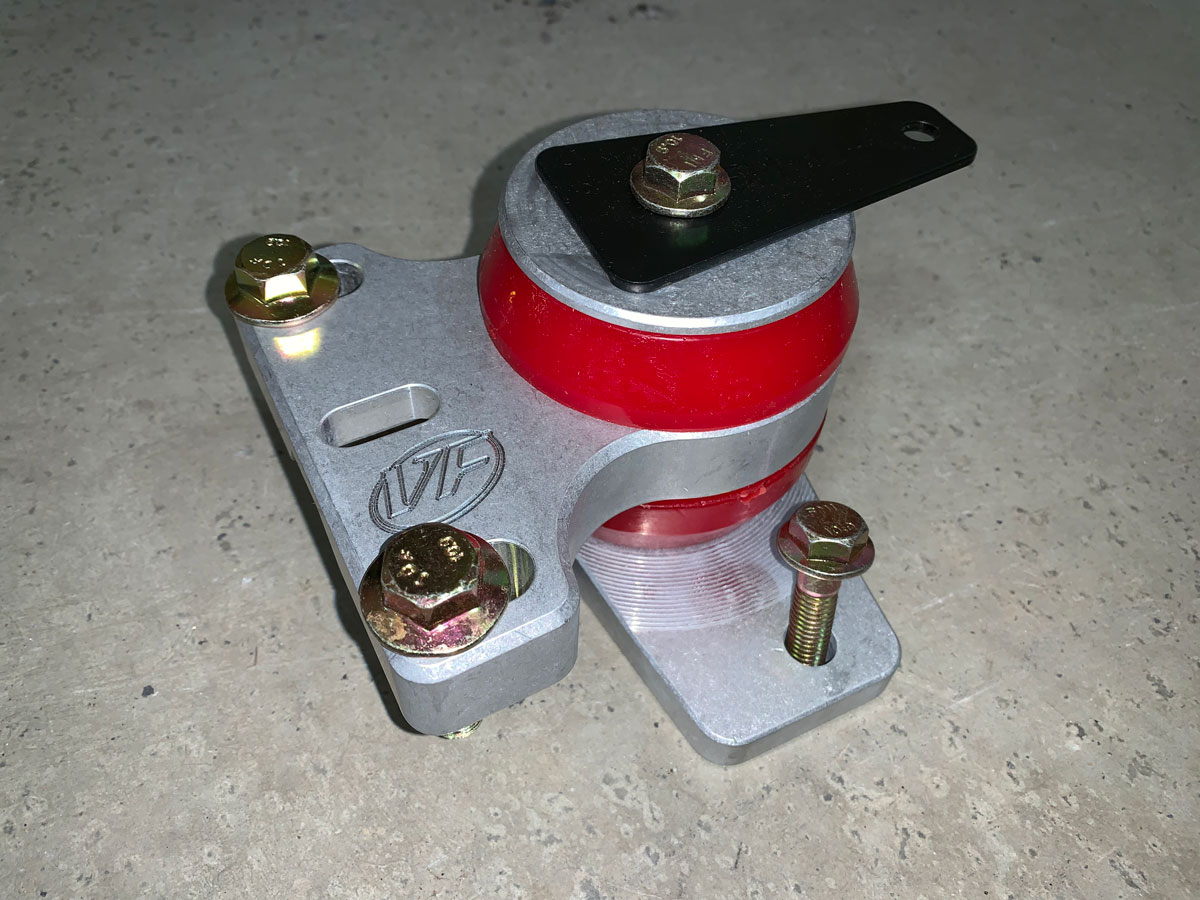
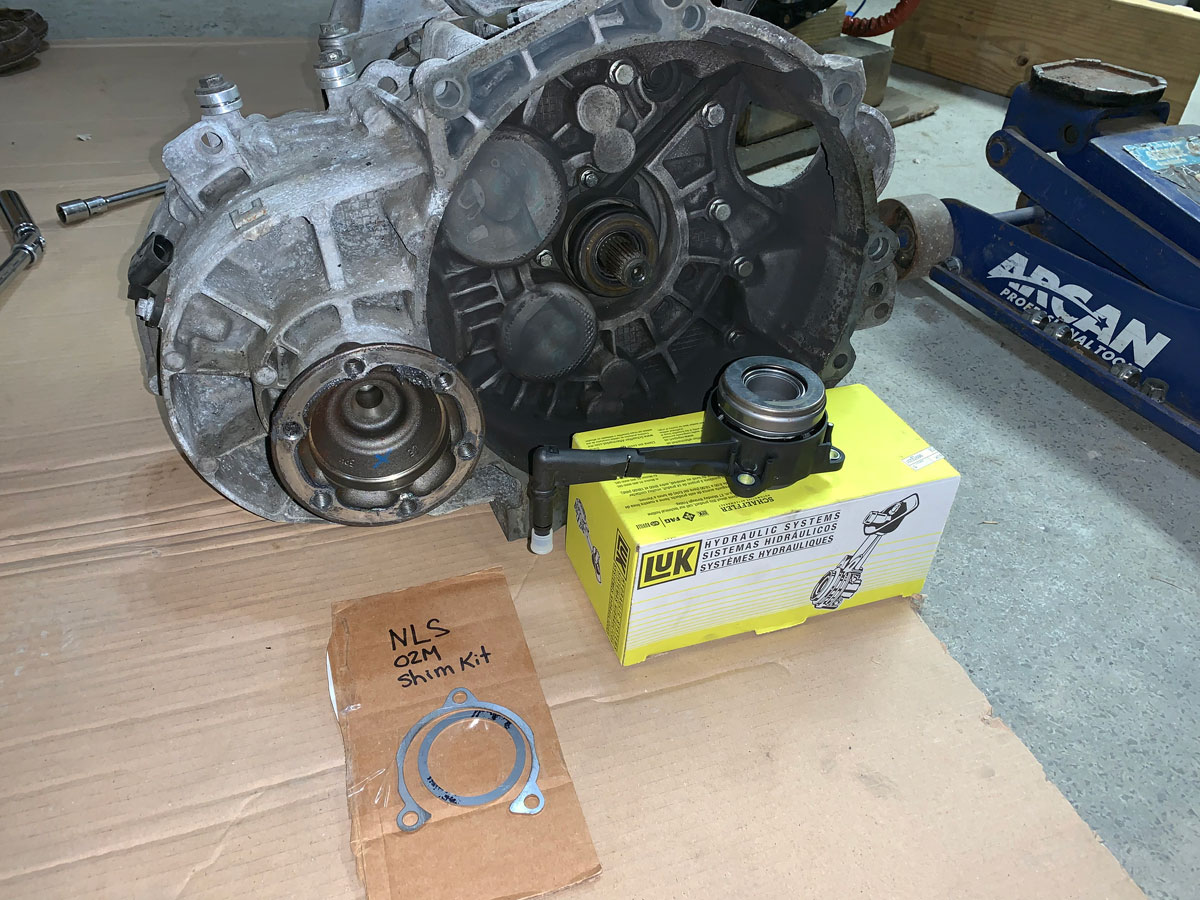
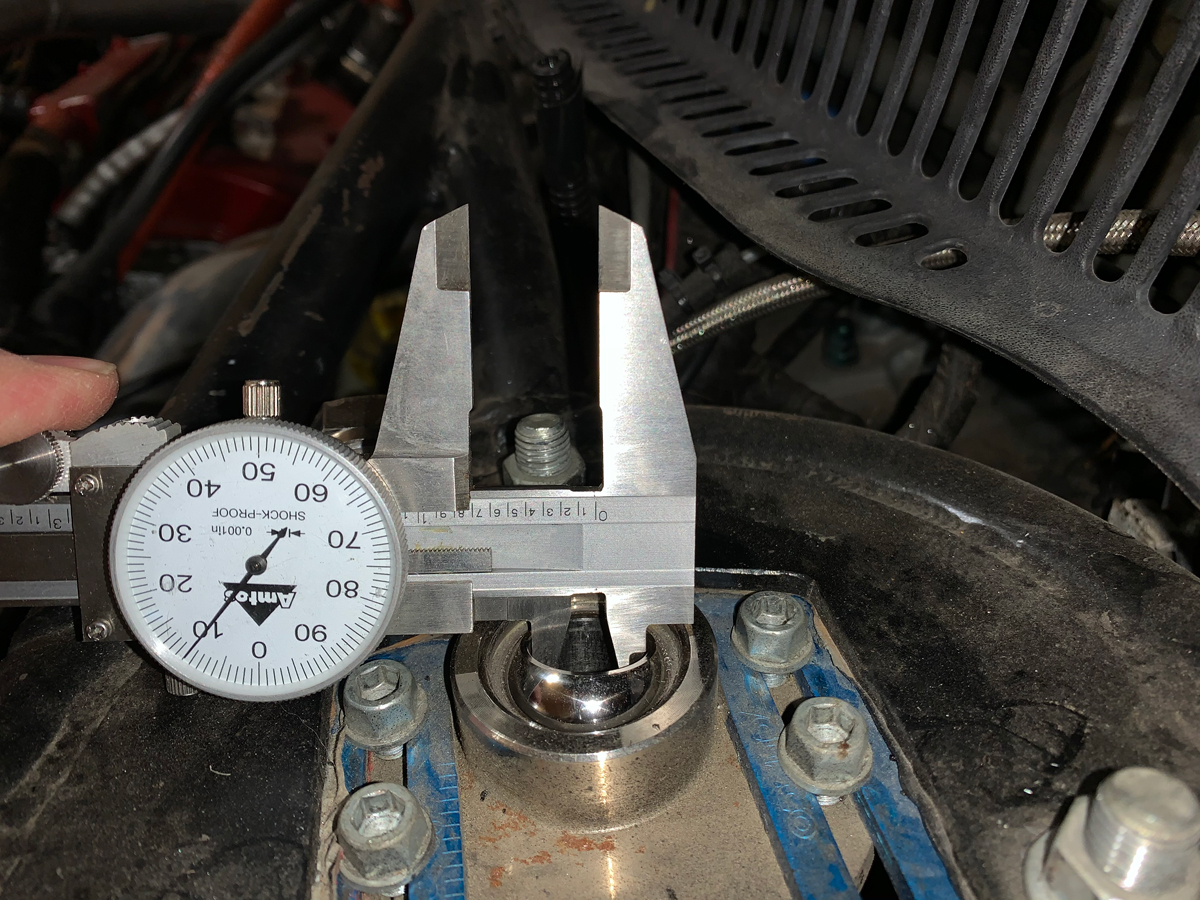
The plan right now (and I need to do some measuring to make sure everything fits; especially with ground clearance) is to use the 02M 6-speed cable shift transmission.
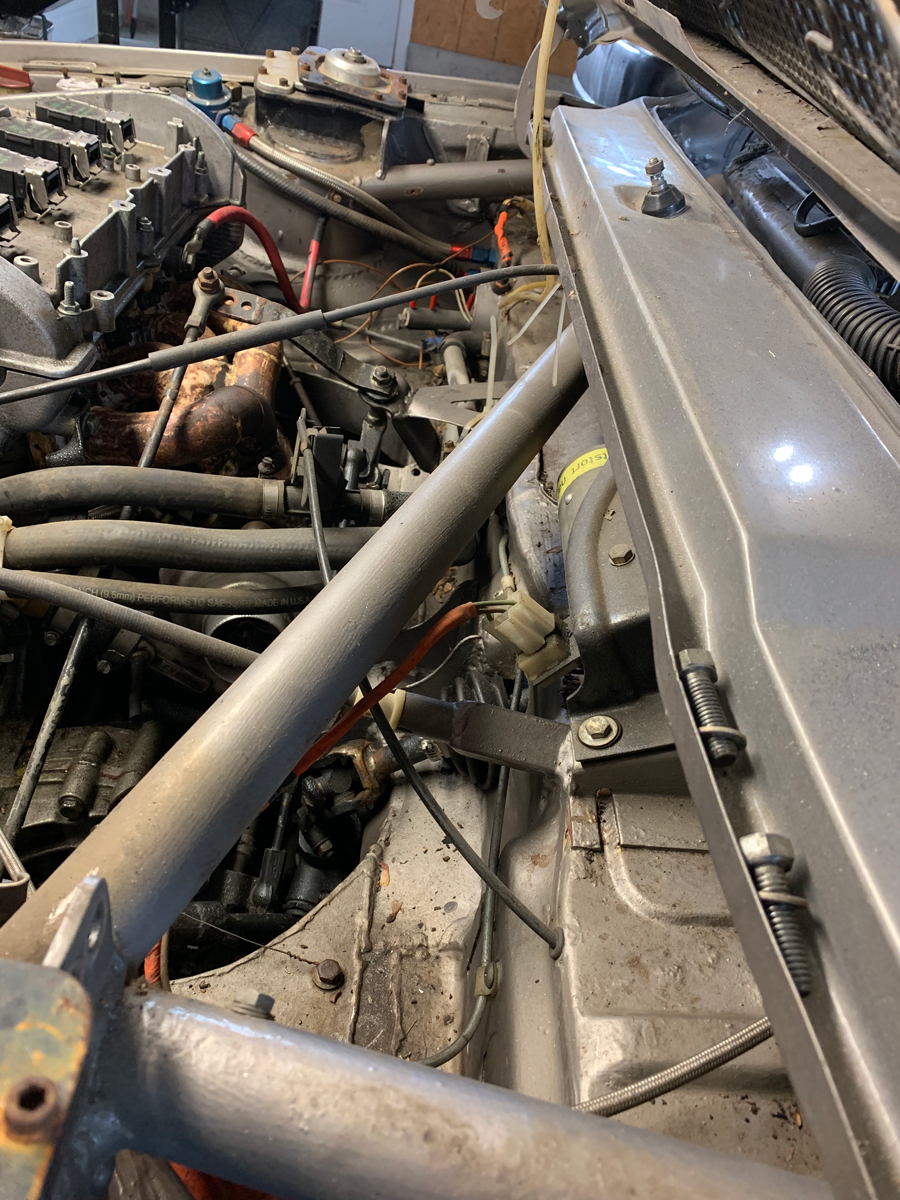
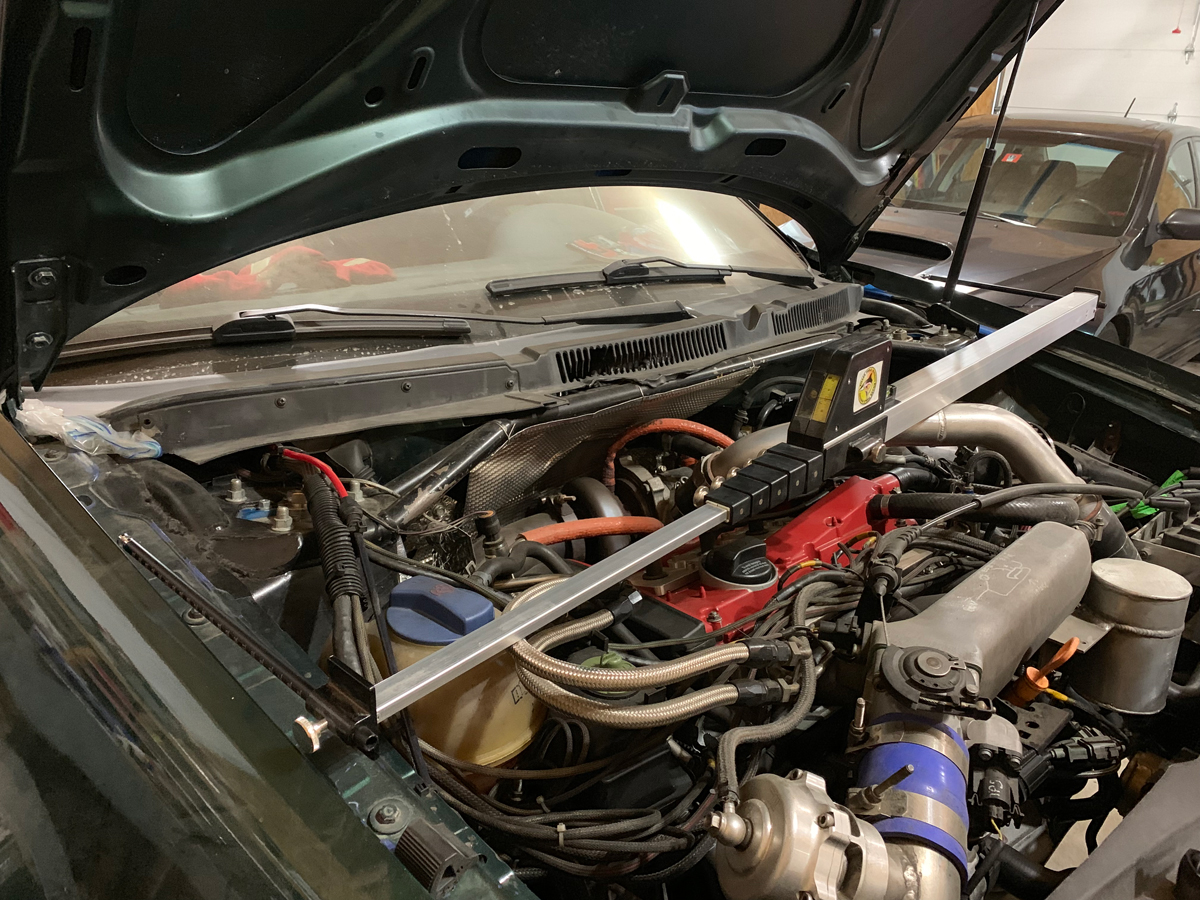
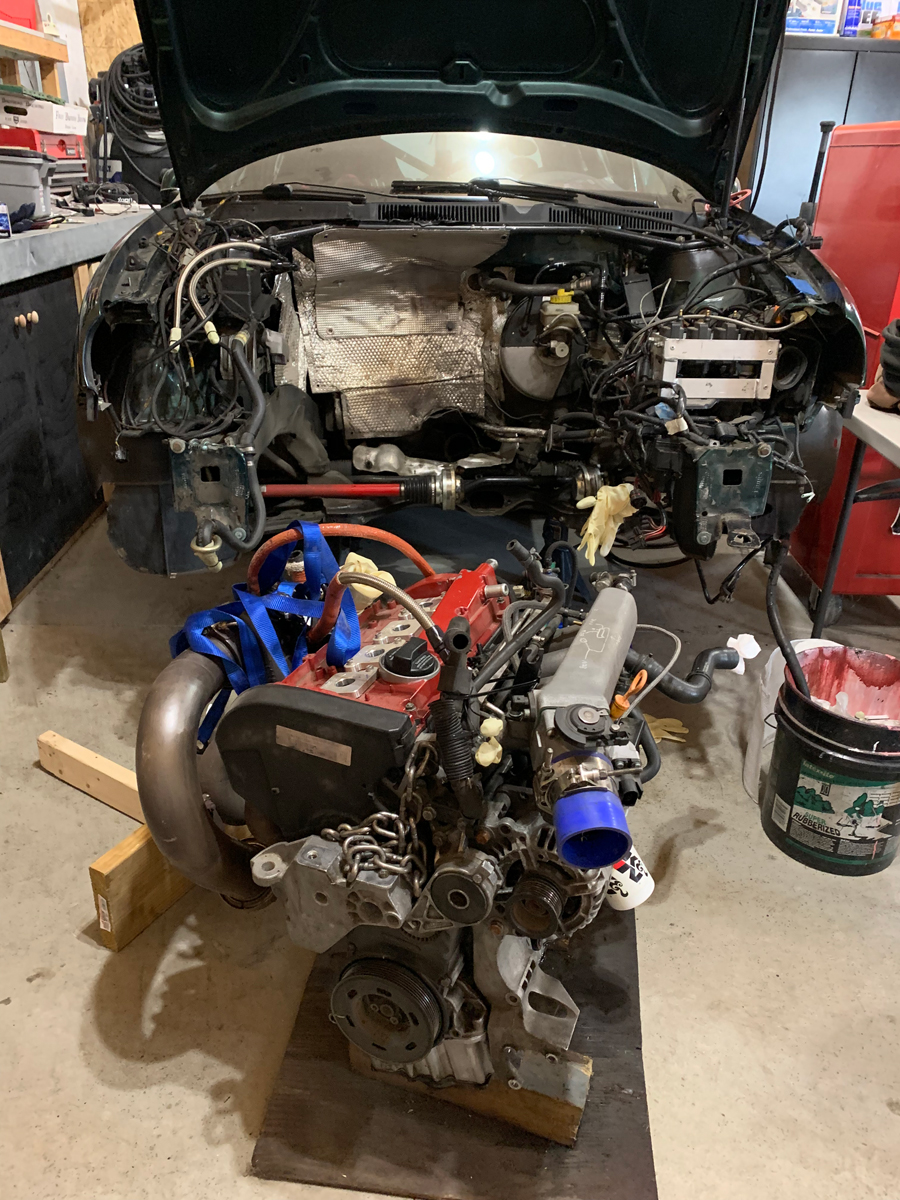
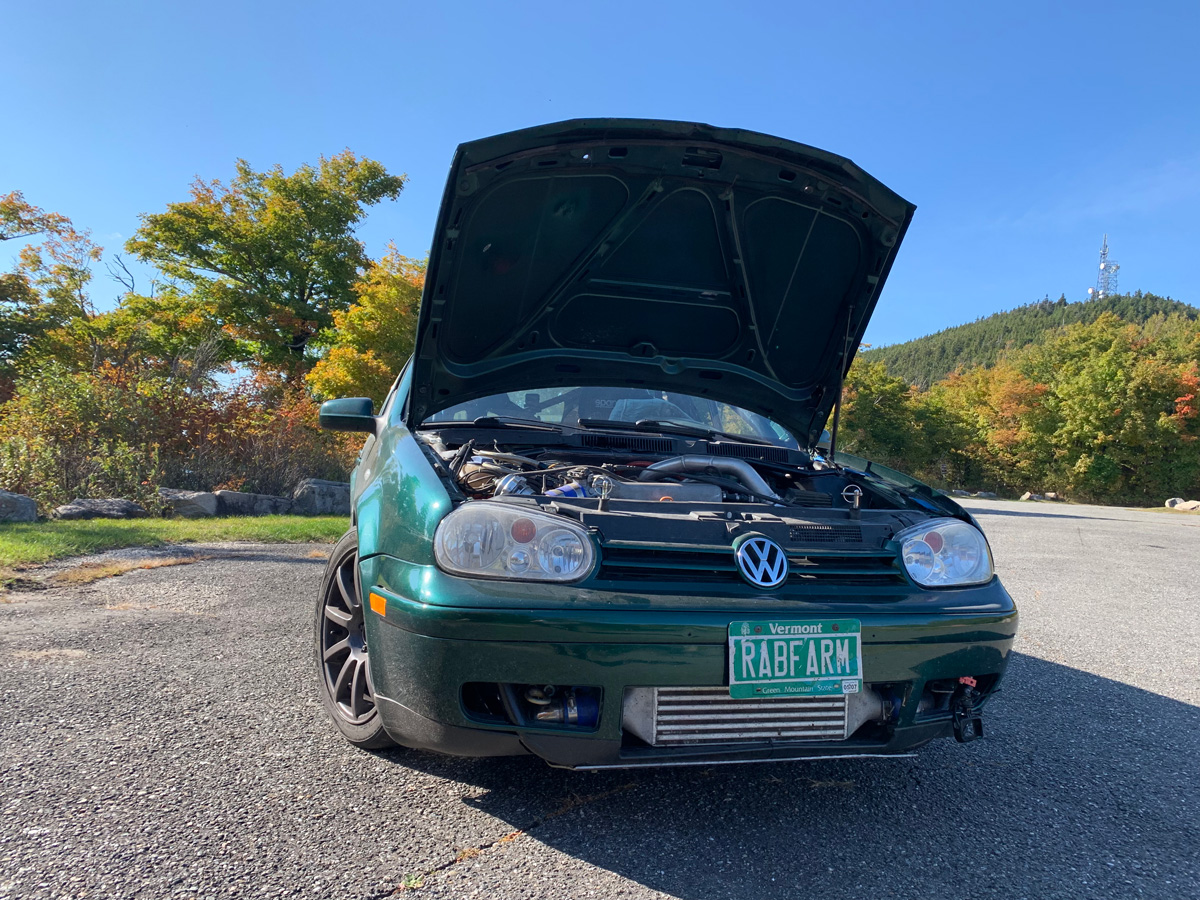
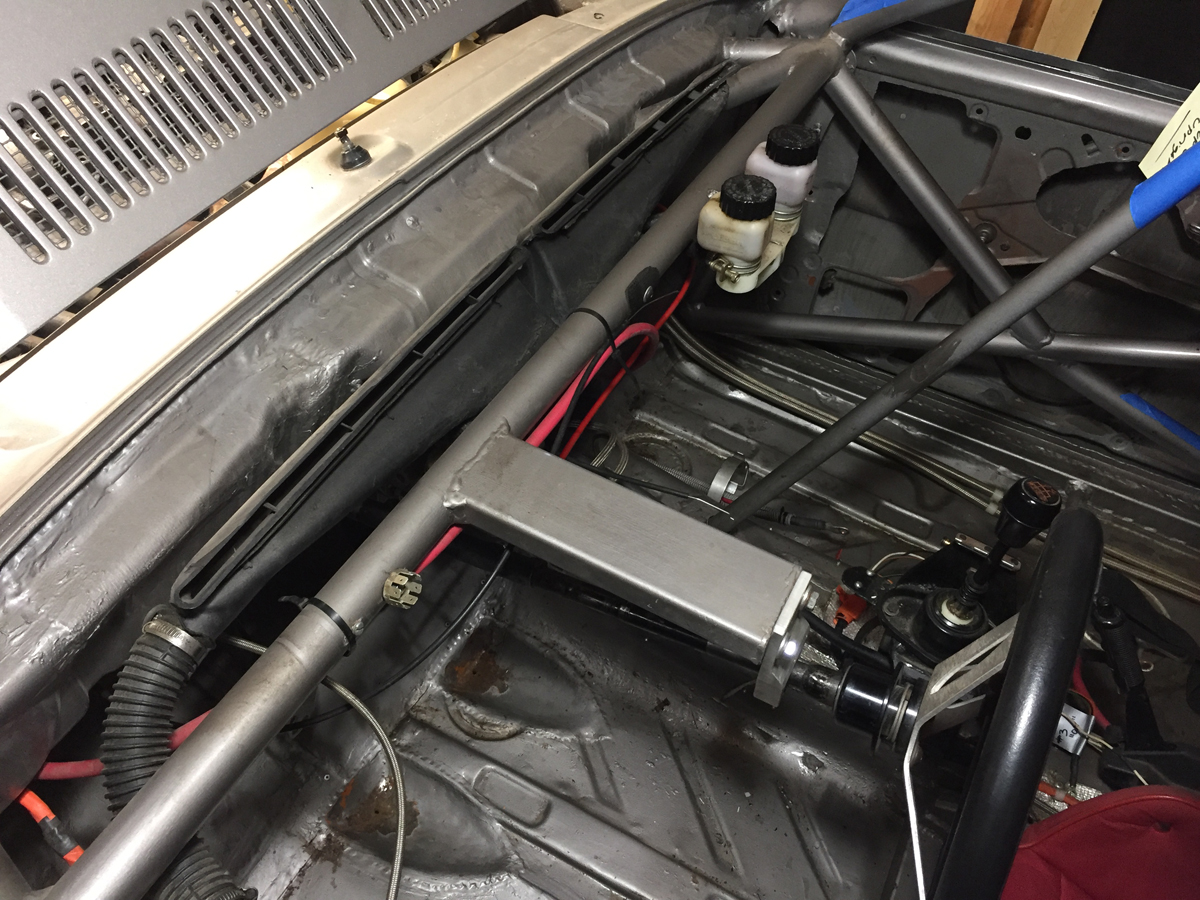
Moving under the hood gives a lot of stuff to look at… the stock interior airbox/fan location is blocked off; the interior heater lines go through the firewall in a different spot, and what is the large hole in the fire wall with all the wires?
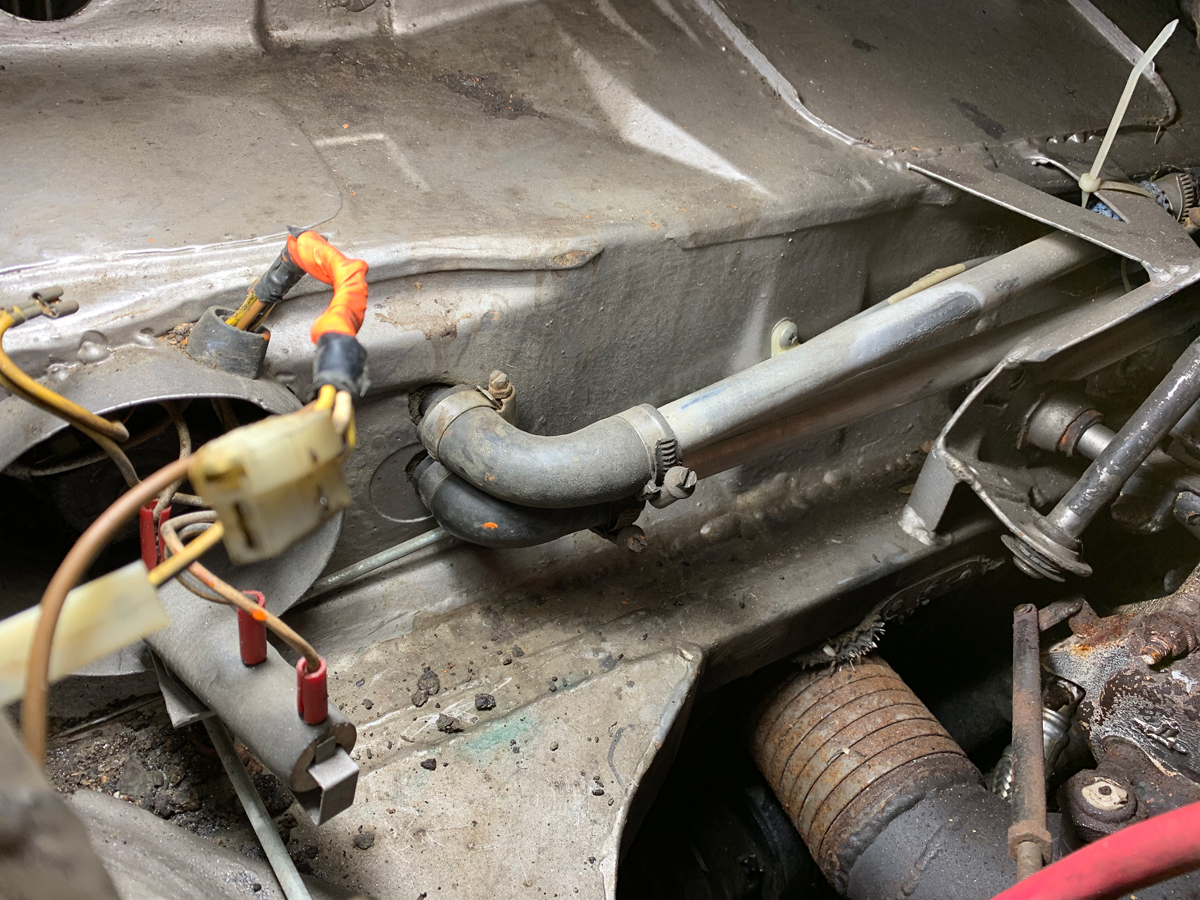
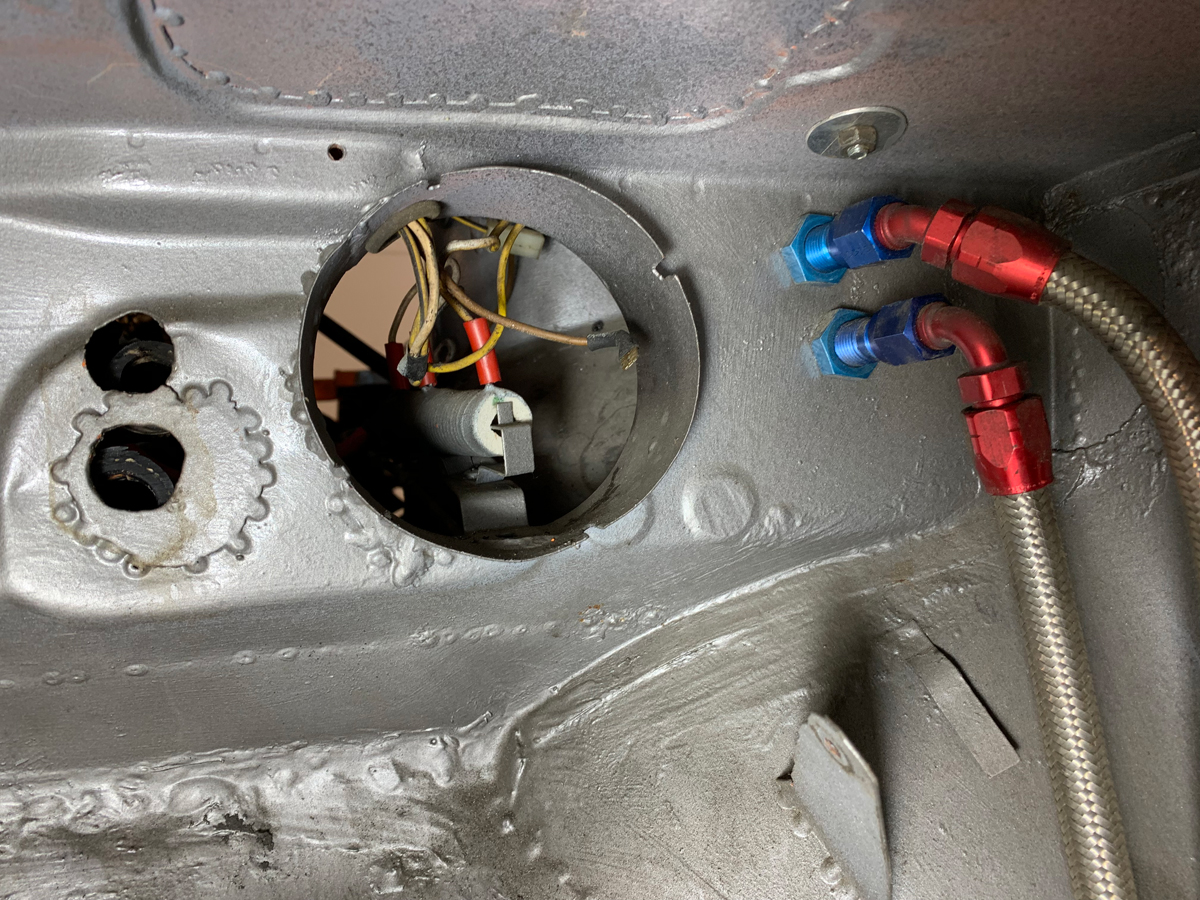
Another picture of that hole… this is where that dryer vent tubing mounted to bring fresh air into the car. I don’t know what that thing is with the three wires with red covers is.
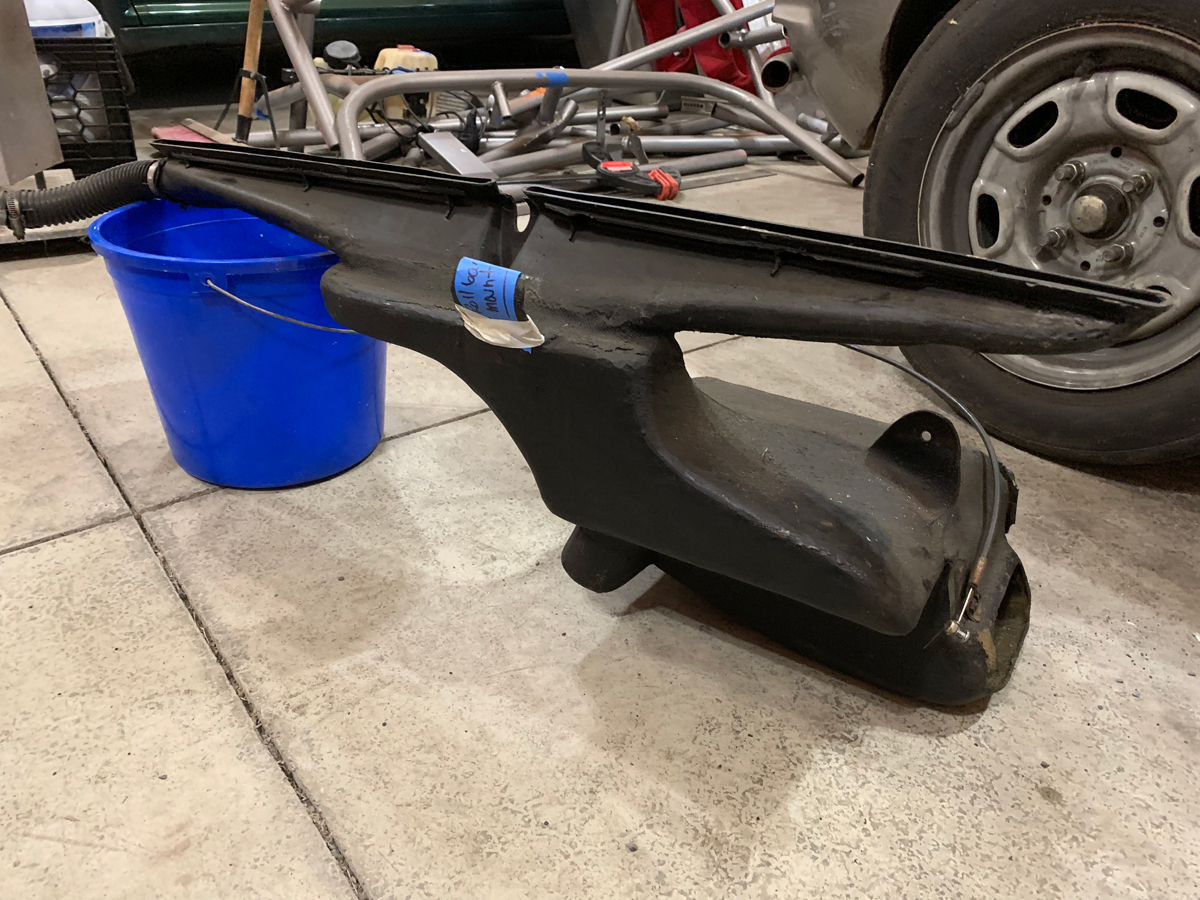
Inside is the fan…
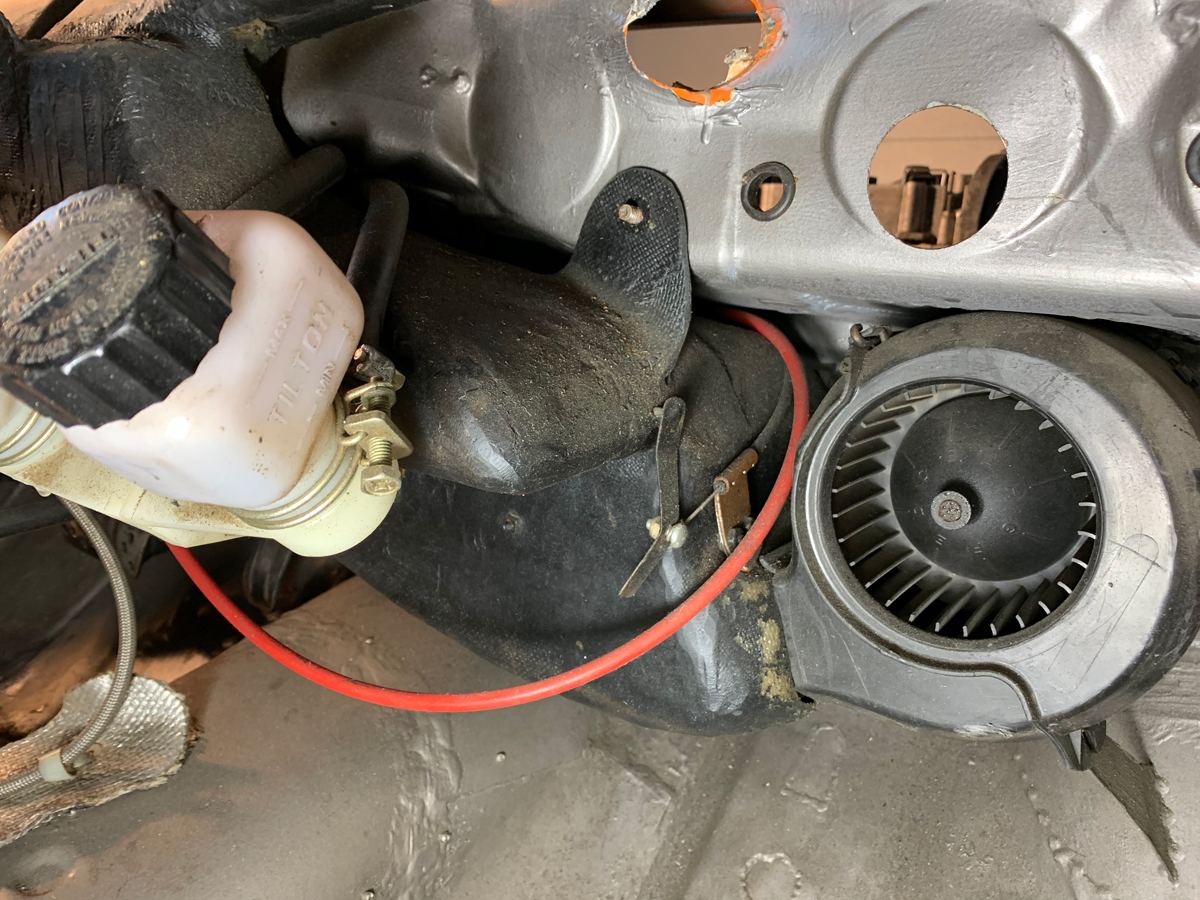
And a custom airbox.
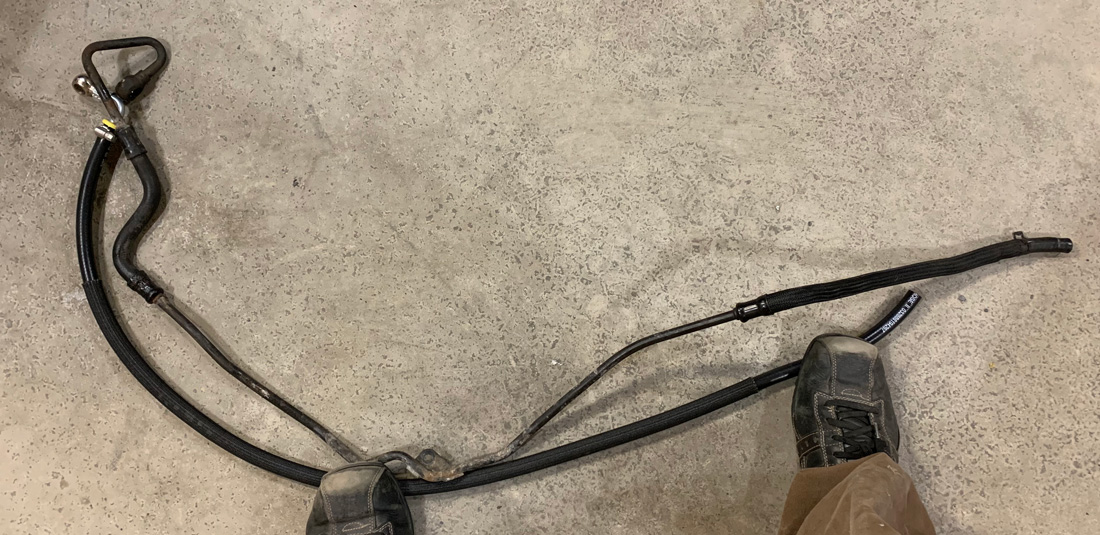
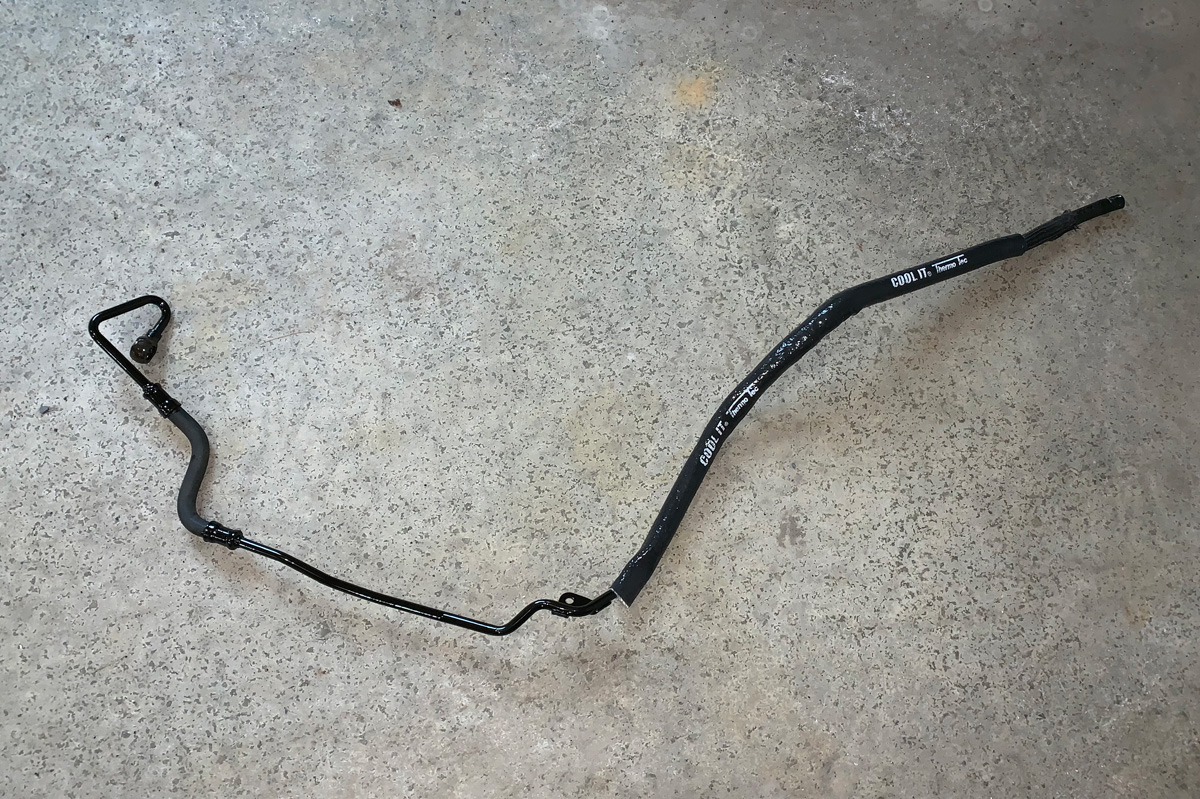
The fuel lines come from the back of the car, runs along the floor, and then goes through the firewall. Pretty slick.
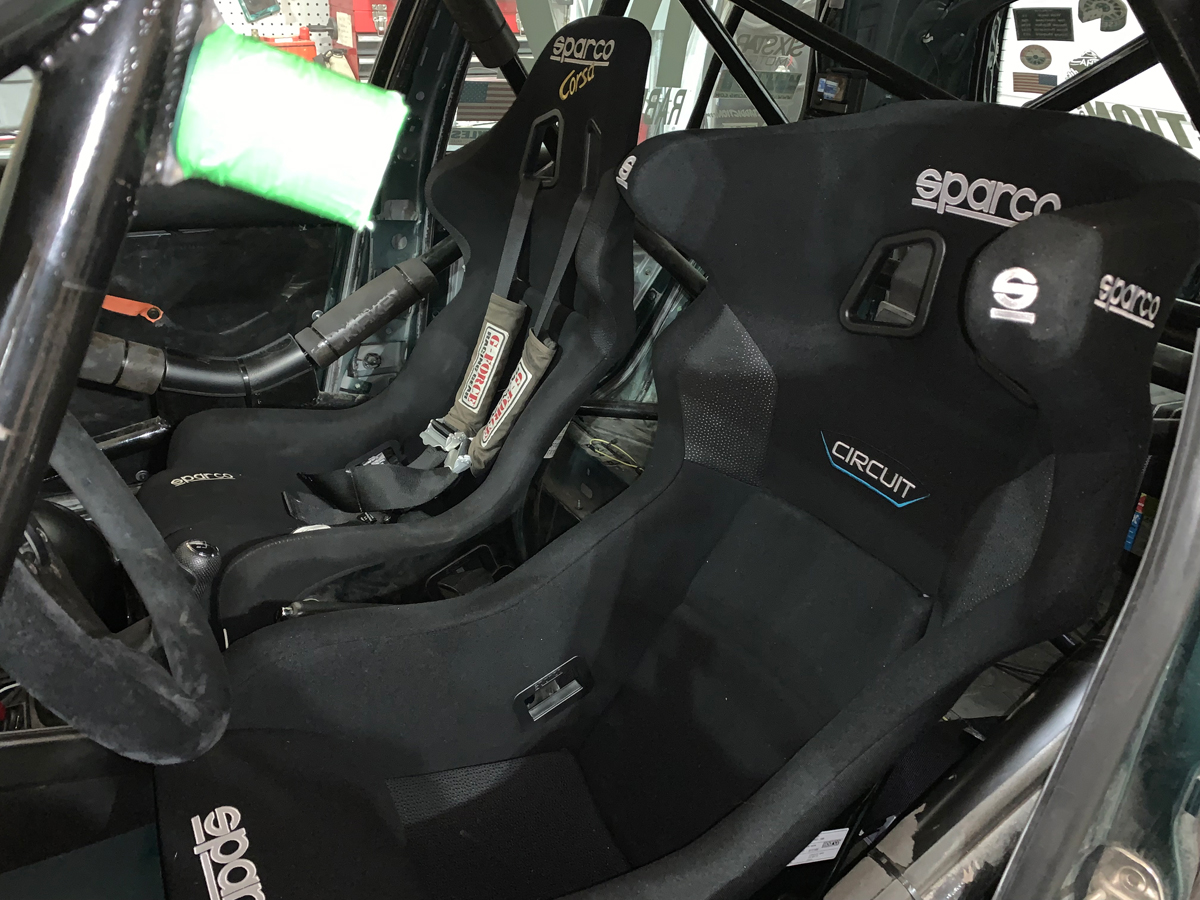
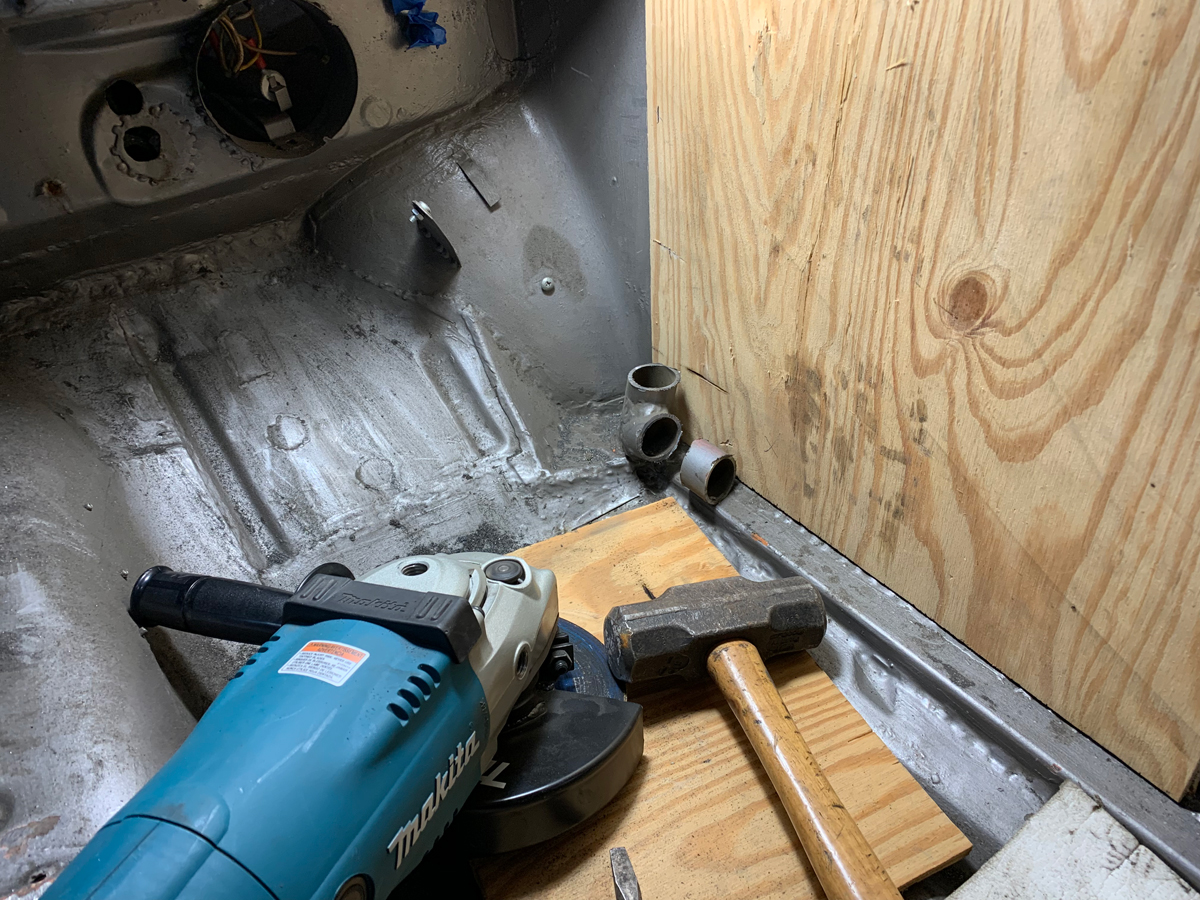
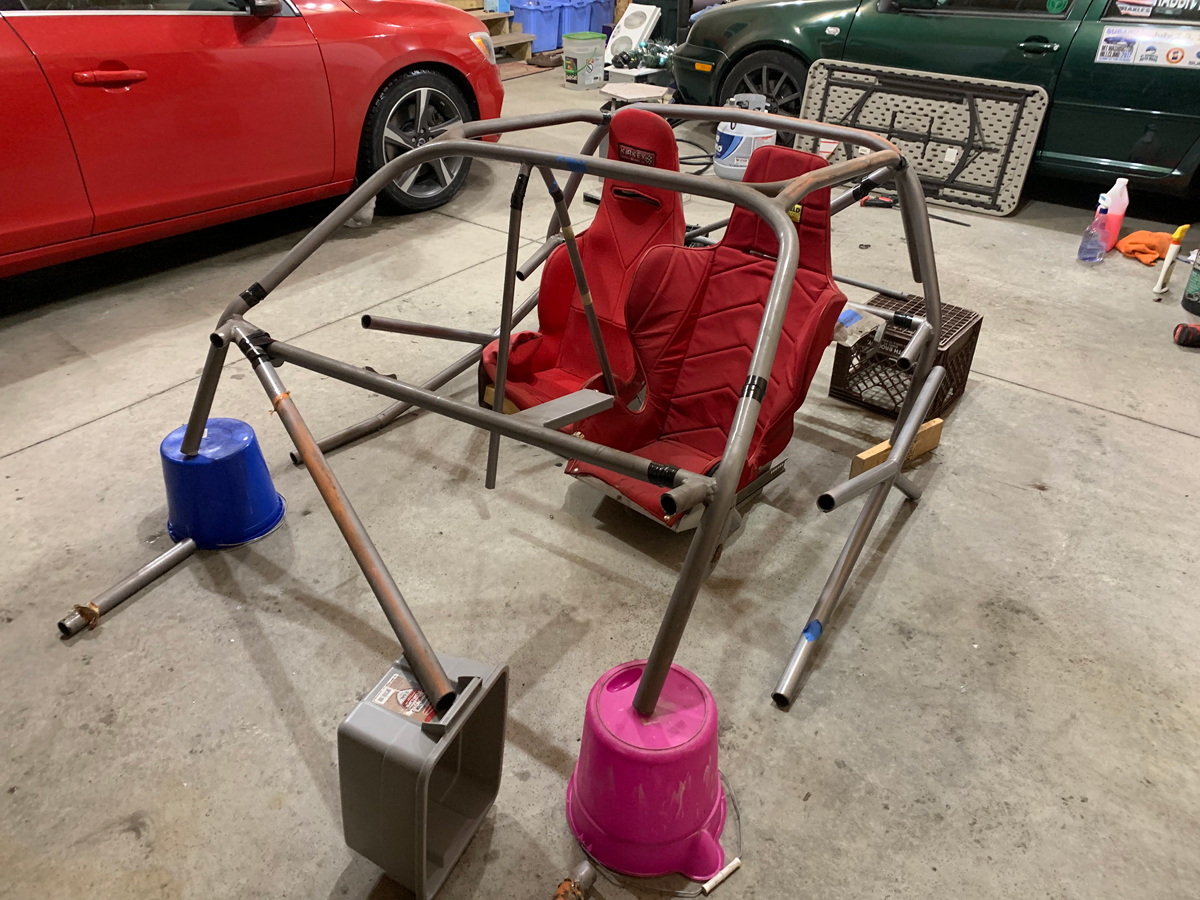
Time to cut out the cage…
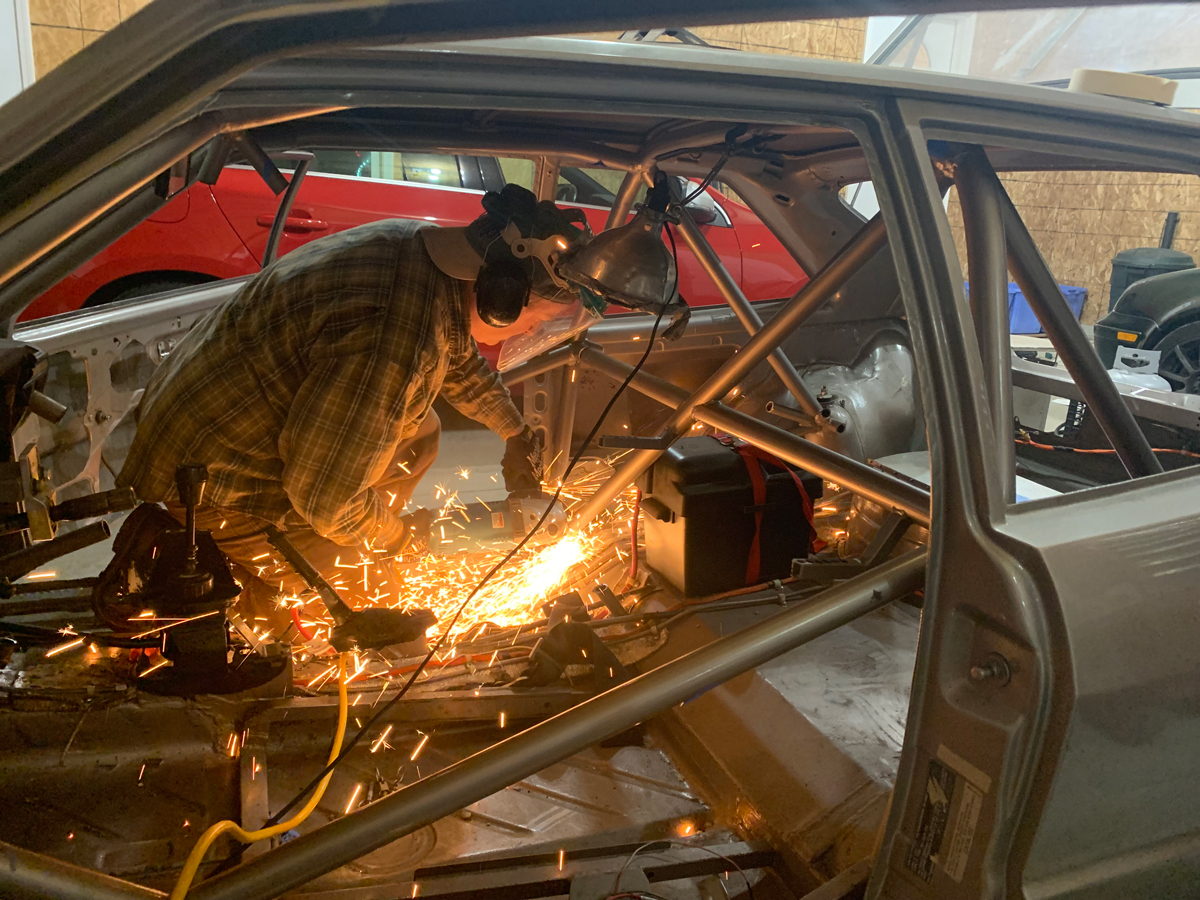
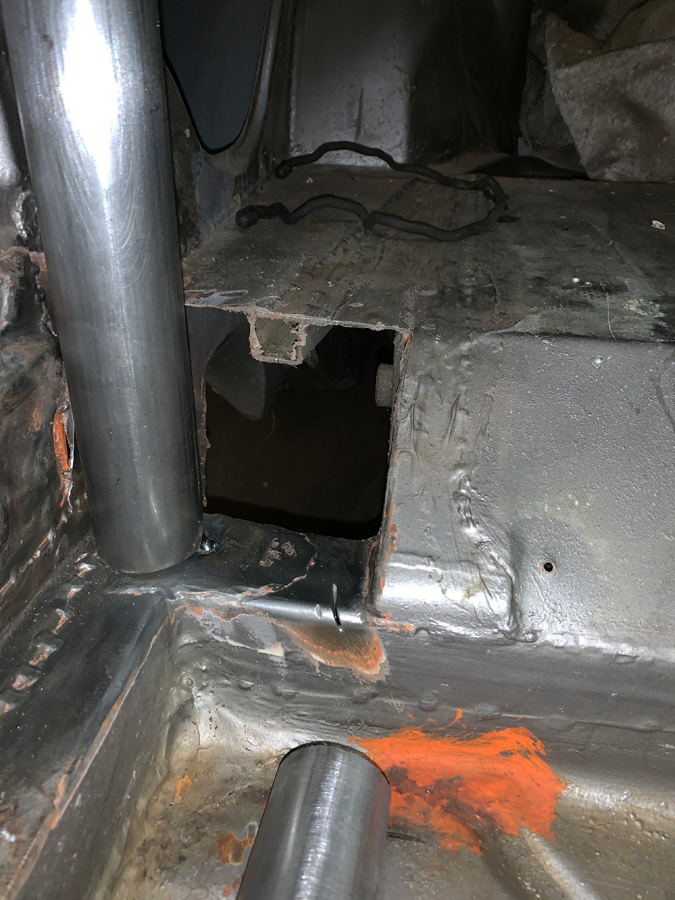
Removing the large sections of the cage was easy with the new AC/DC 7” angle grinder with a cutting wheel. Wood is there to protect the car when the cutting wheel jumps while cutting.
The hard part was dealing with where the cage actually mounted to the car as it was difficult to get the cutting wheel in there. I had to keep sectioning the tubes until they were down enough to use the 7” grinding wheel to make it flush with the body.
Done!
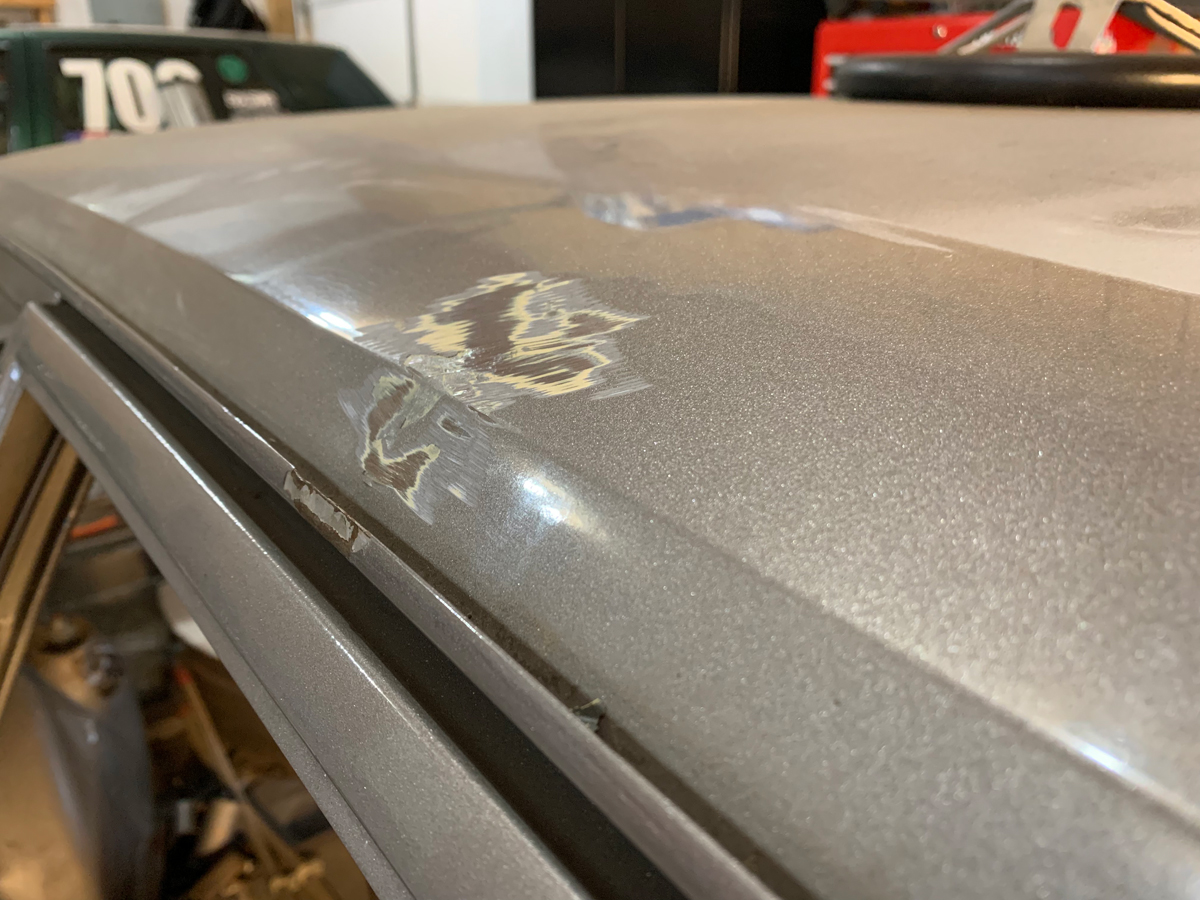
A dent in the roof.
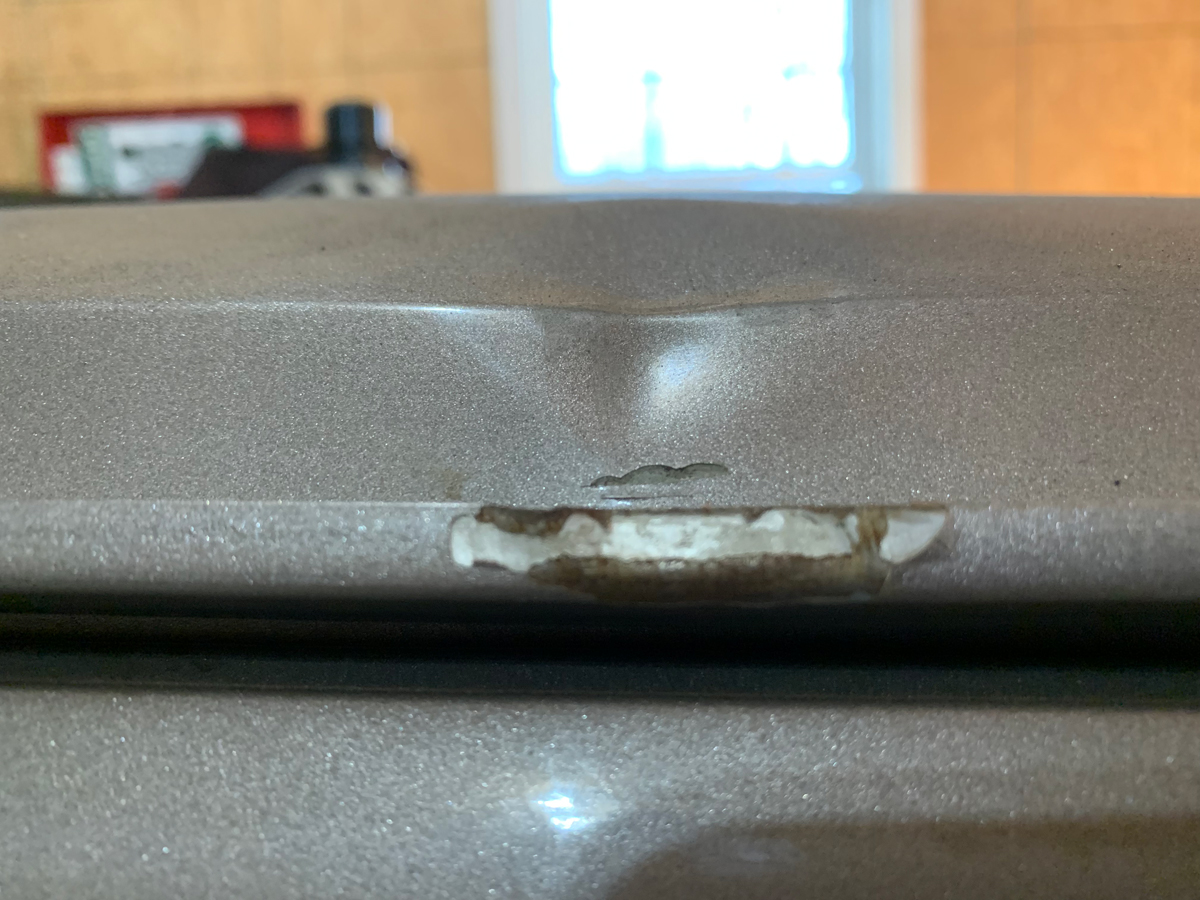
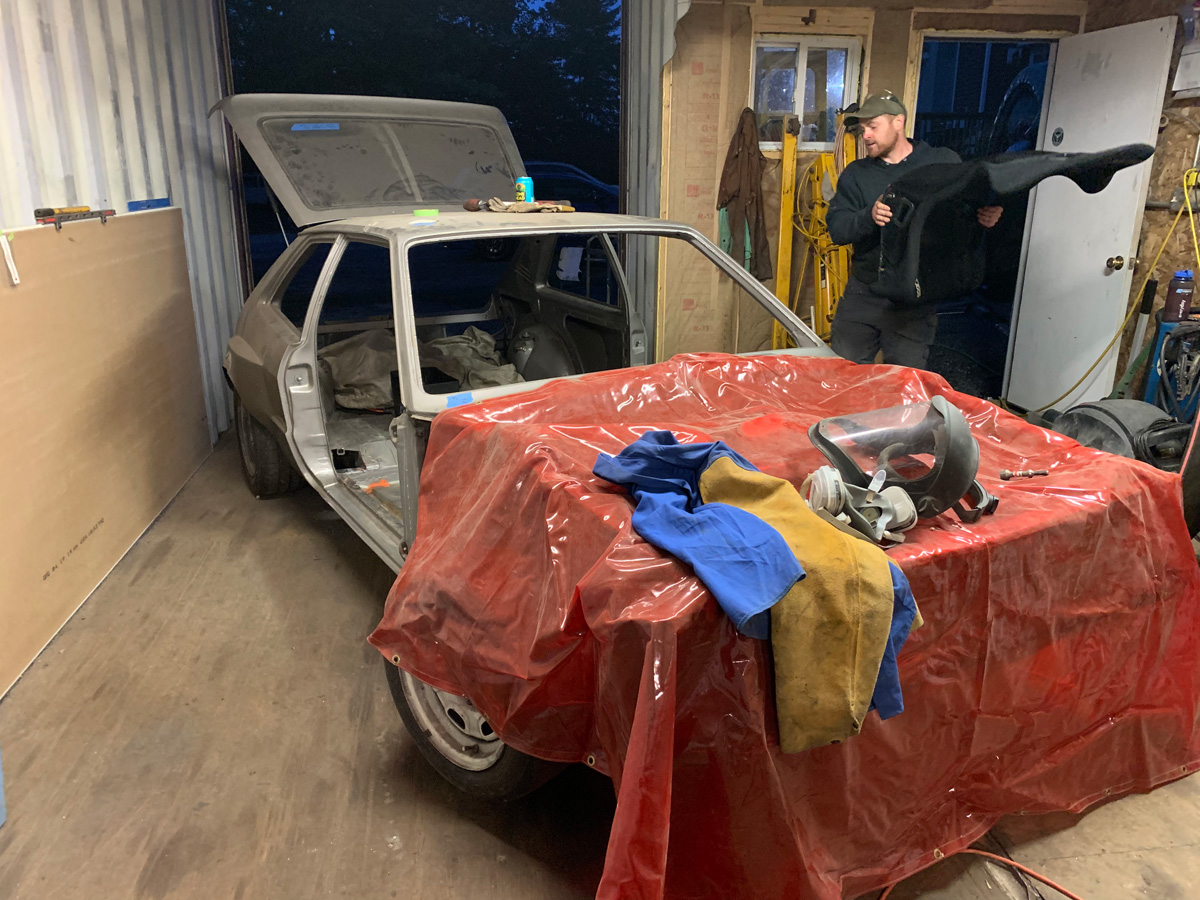
Since the cage was out, Jodi (Creep), who is doing the body work and a lot of the fabrication to make my modern stuff work in an older car, fixed the dent. Not too exciting, but this is actually the FIRST step forward in this project.
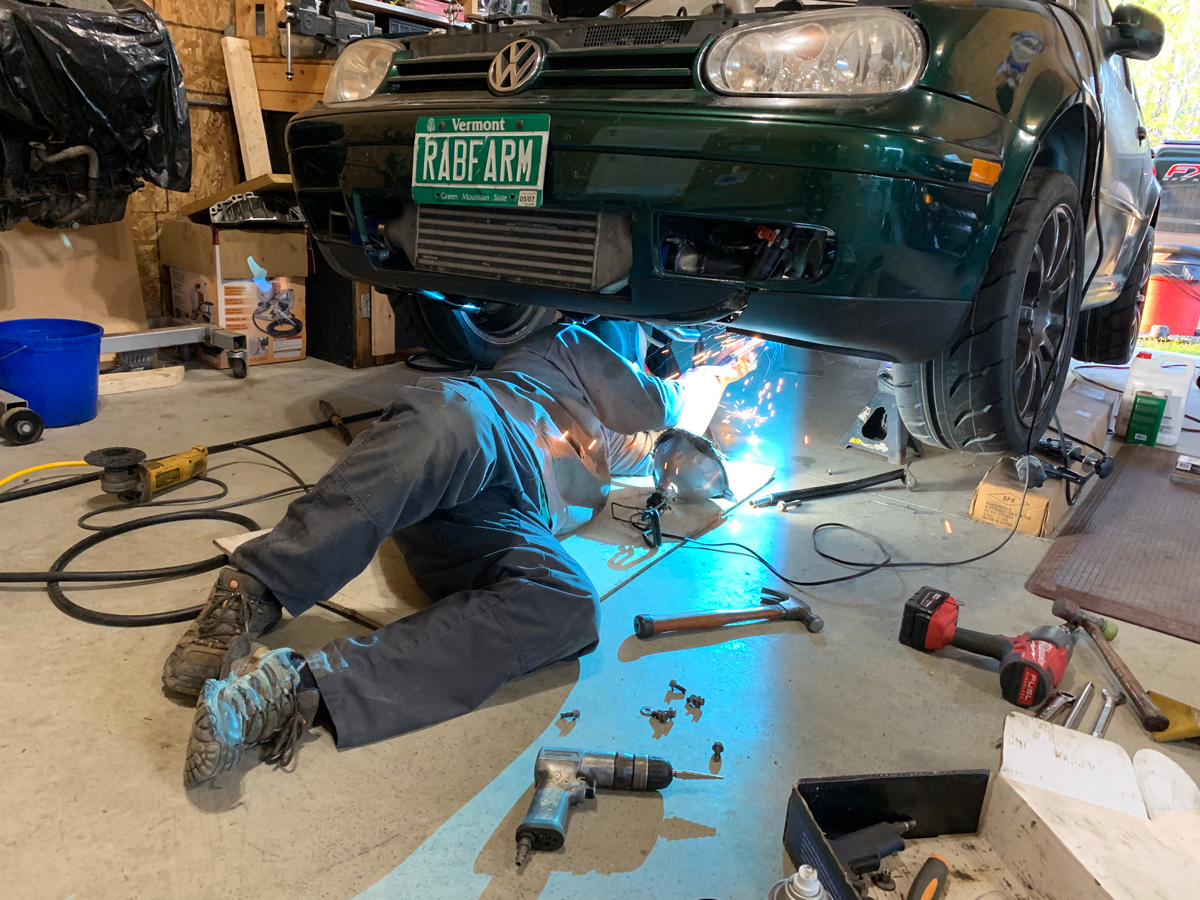
What happens when the wife goes to bed early and I don’t want to do anything that makes a lot of noise. No alcohol was involved in this little adventure.
Coming in the next exciting issue of Rabbit Farmer Chronicles:
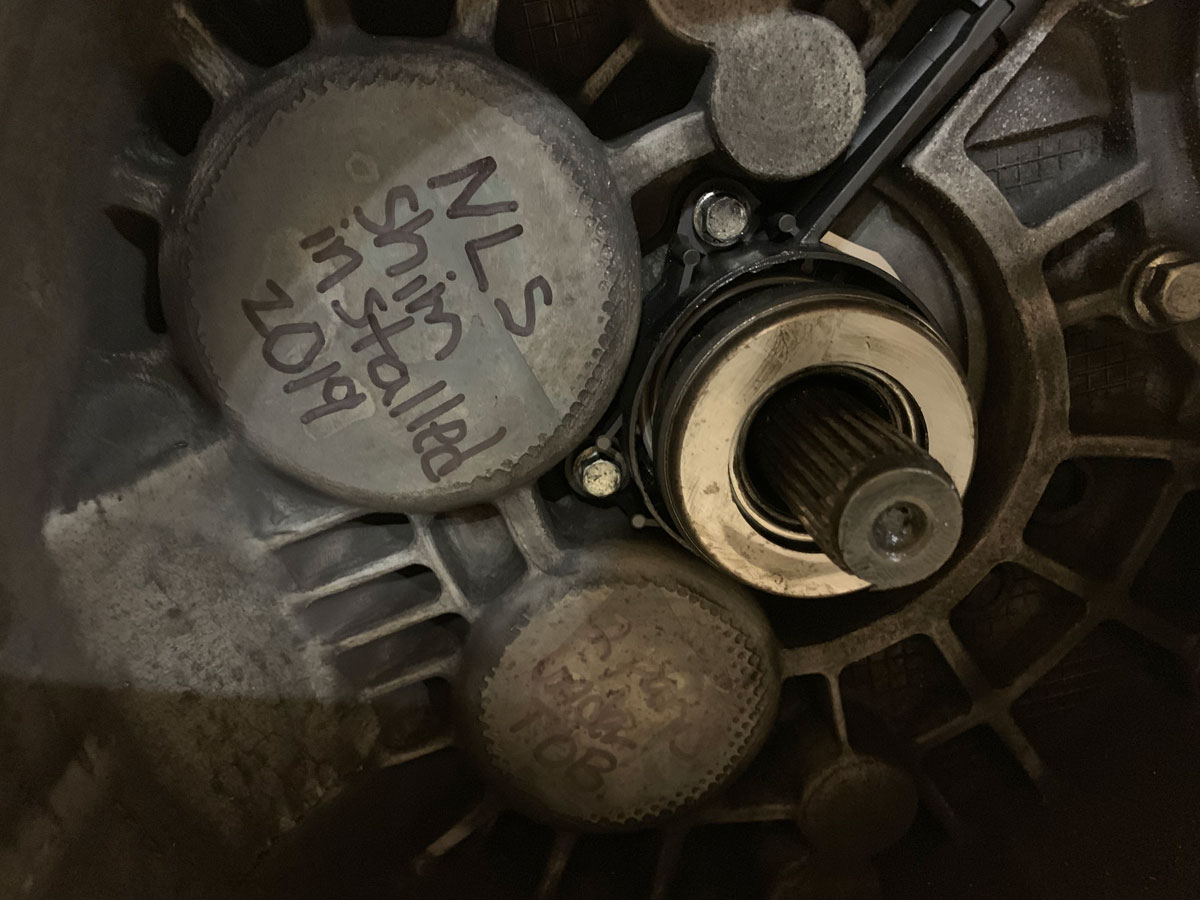
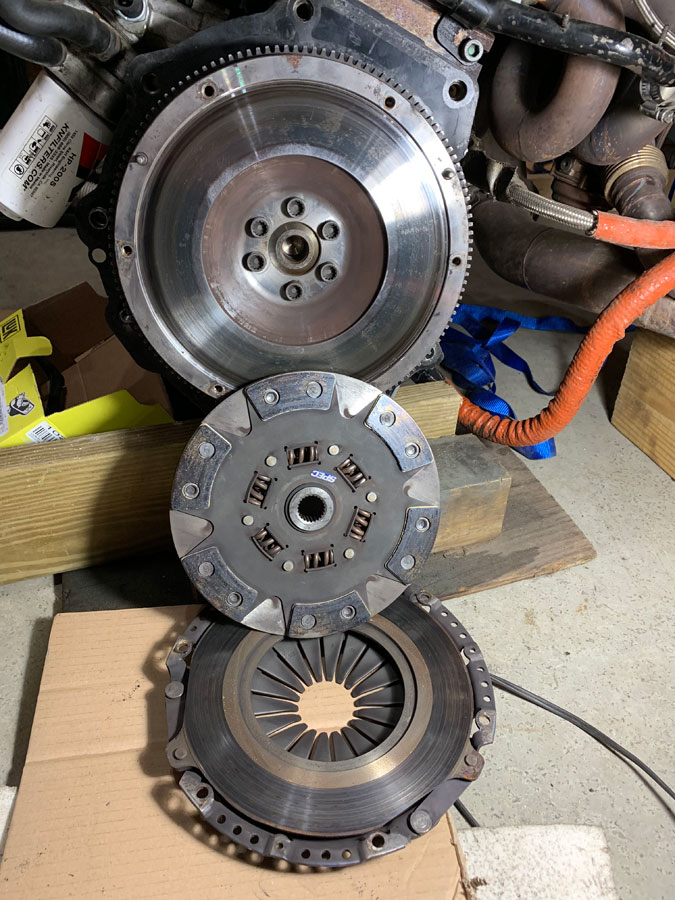
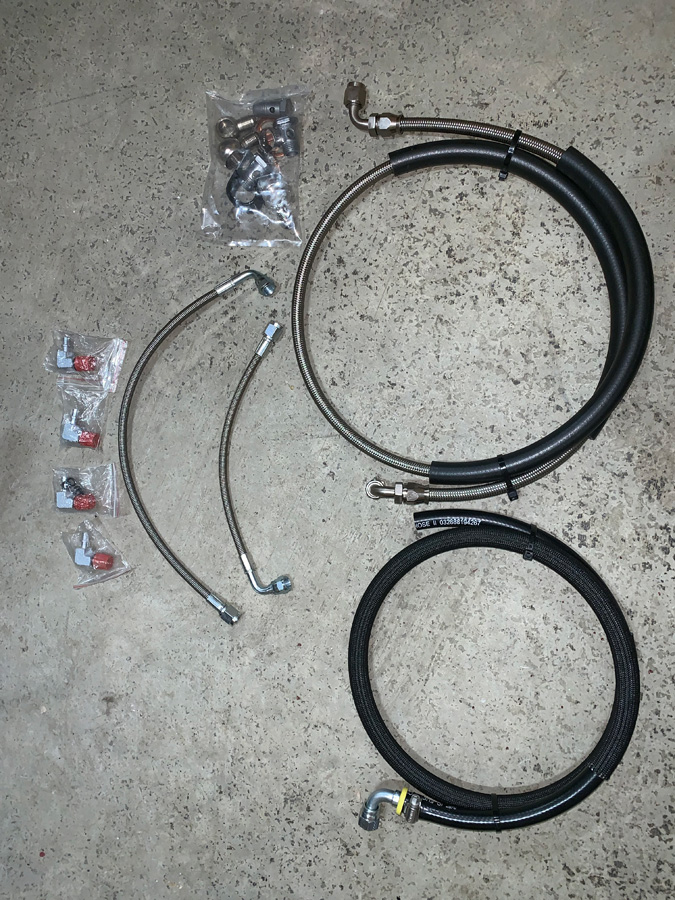
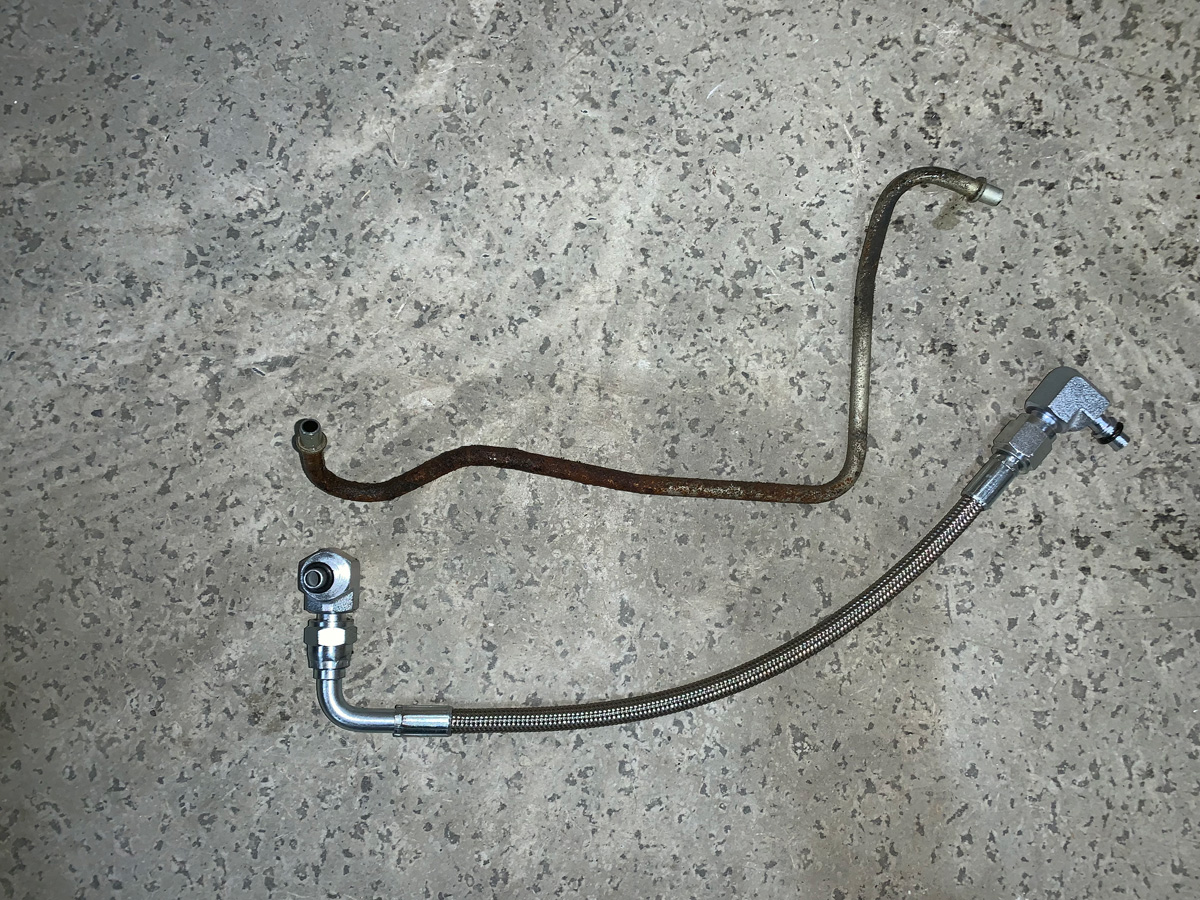
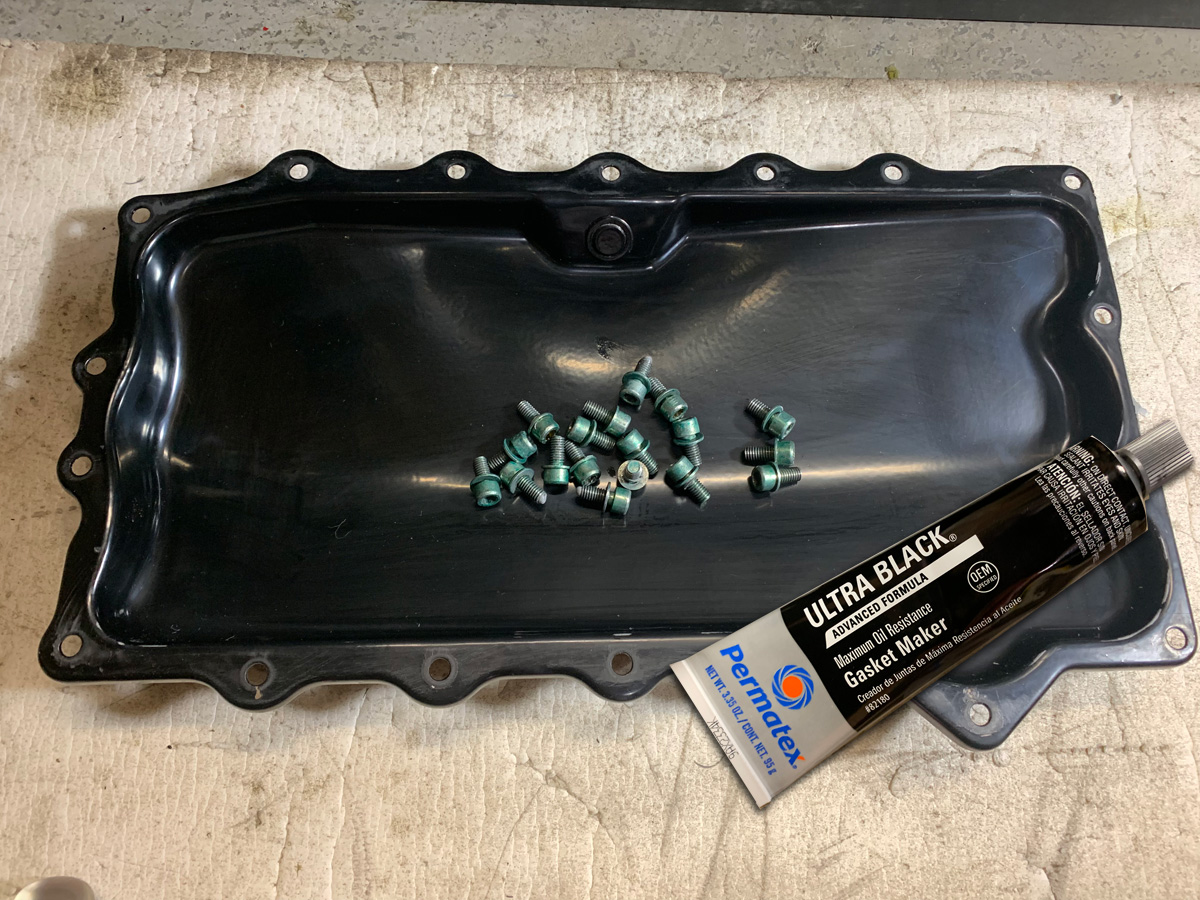
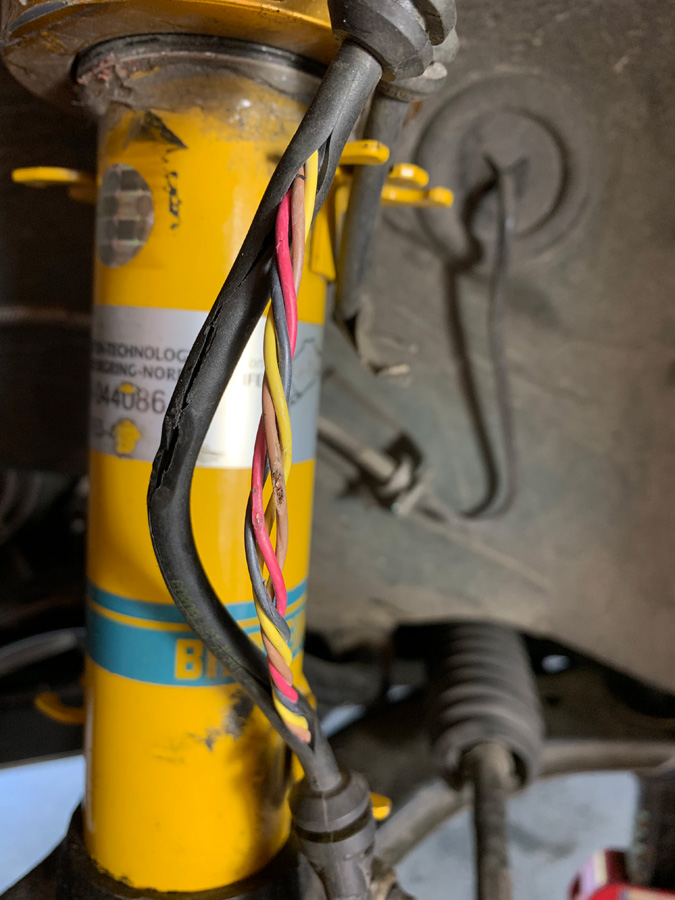
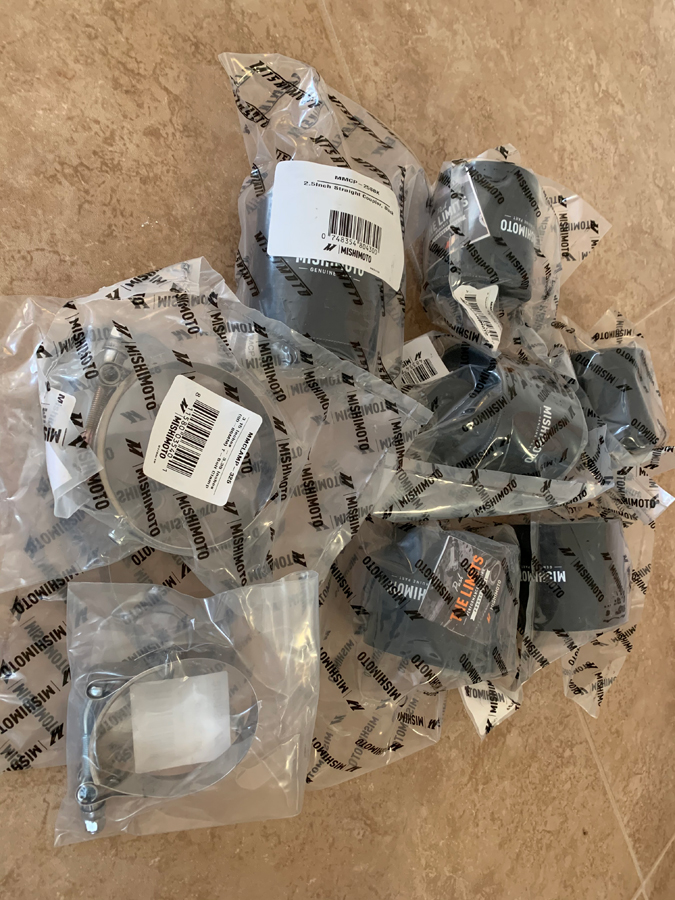
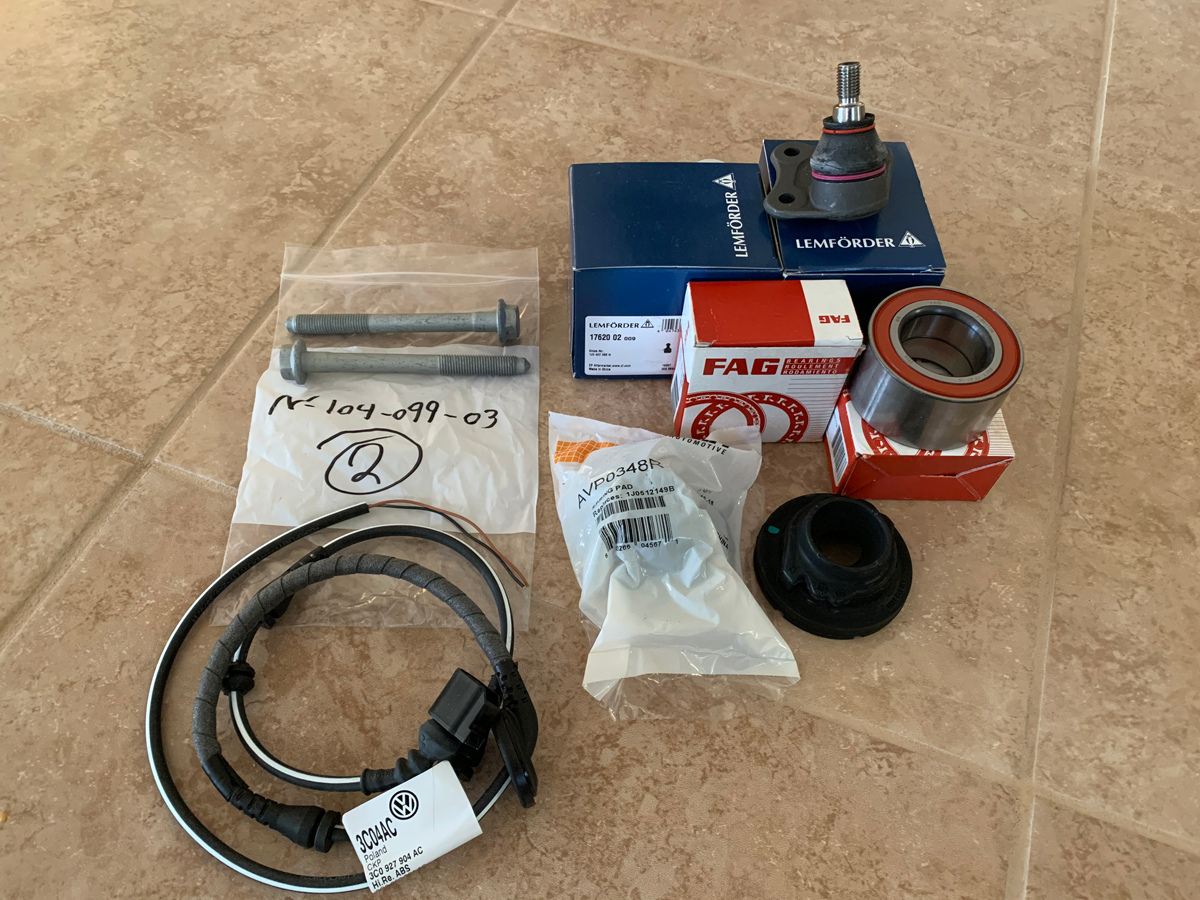
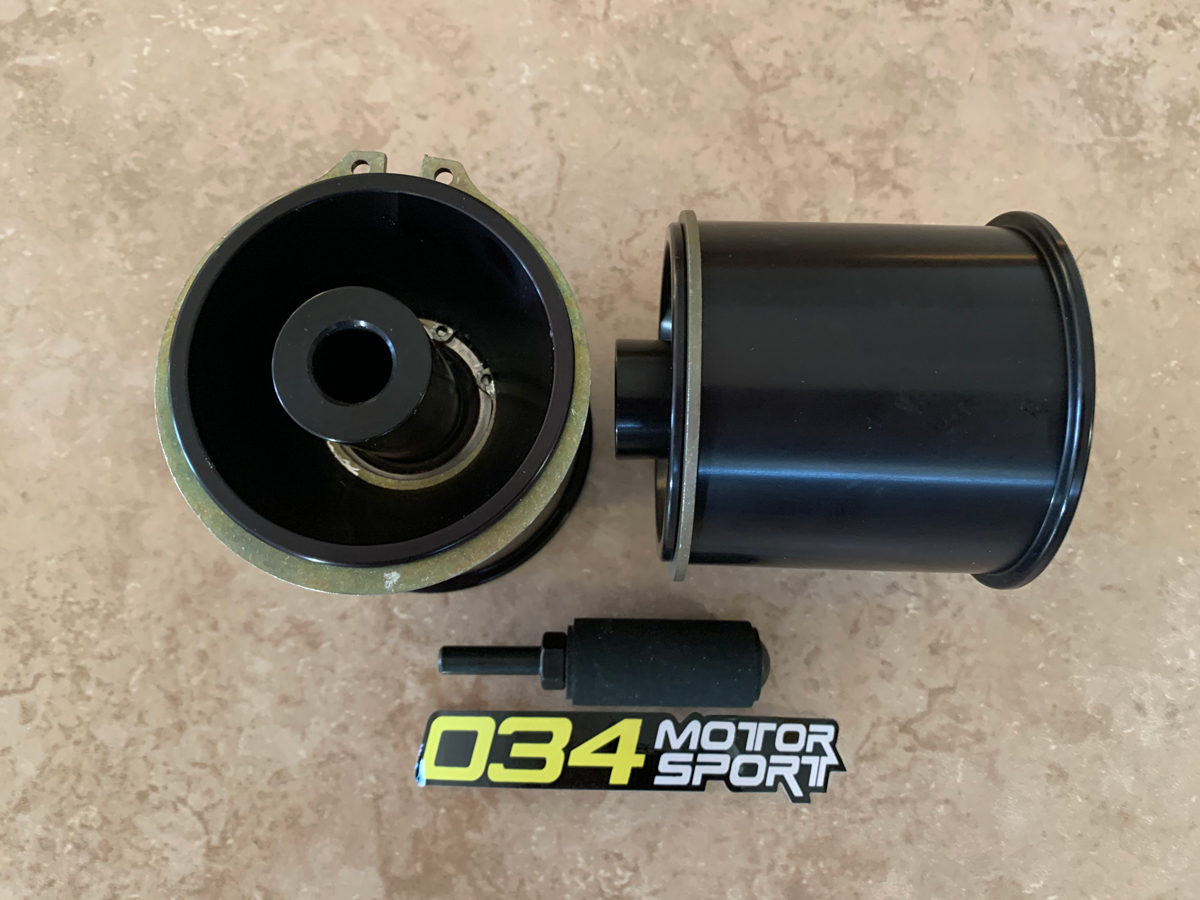
The Golf IV gets a Nothing Leaves Stock (NLS) clutch slave shim kit and a Luk metal clutch slave cylinder/throw-out bearing (from USP Motorsports)… and perhaps a new clutch (we will see)… to help address the dragging clutch issue.
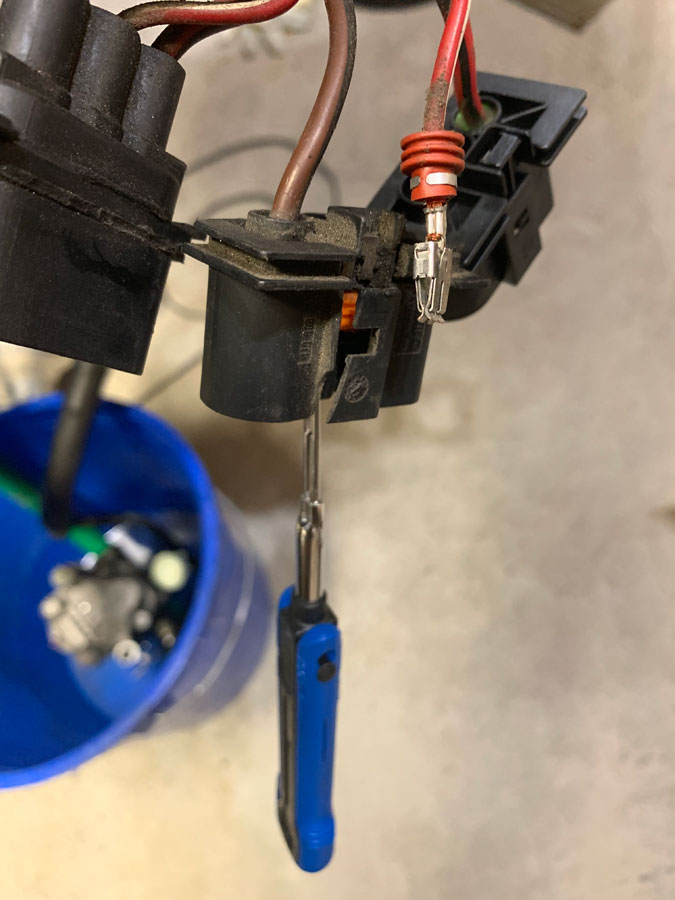
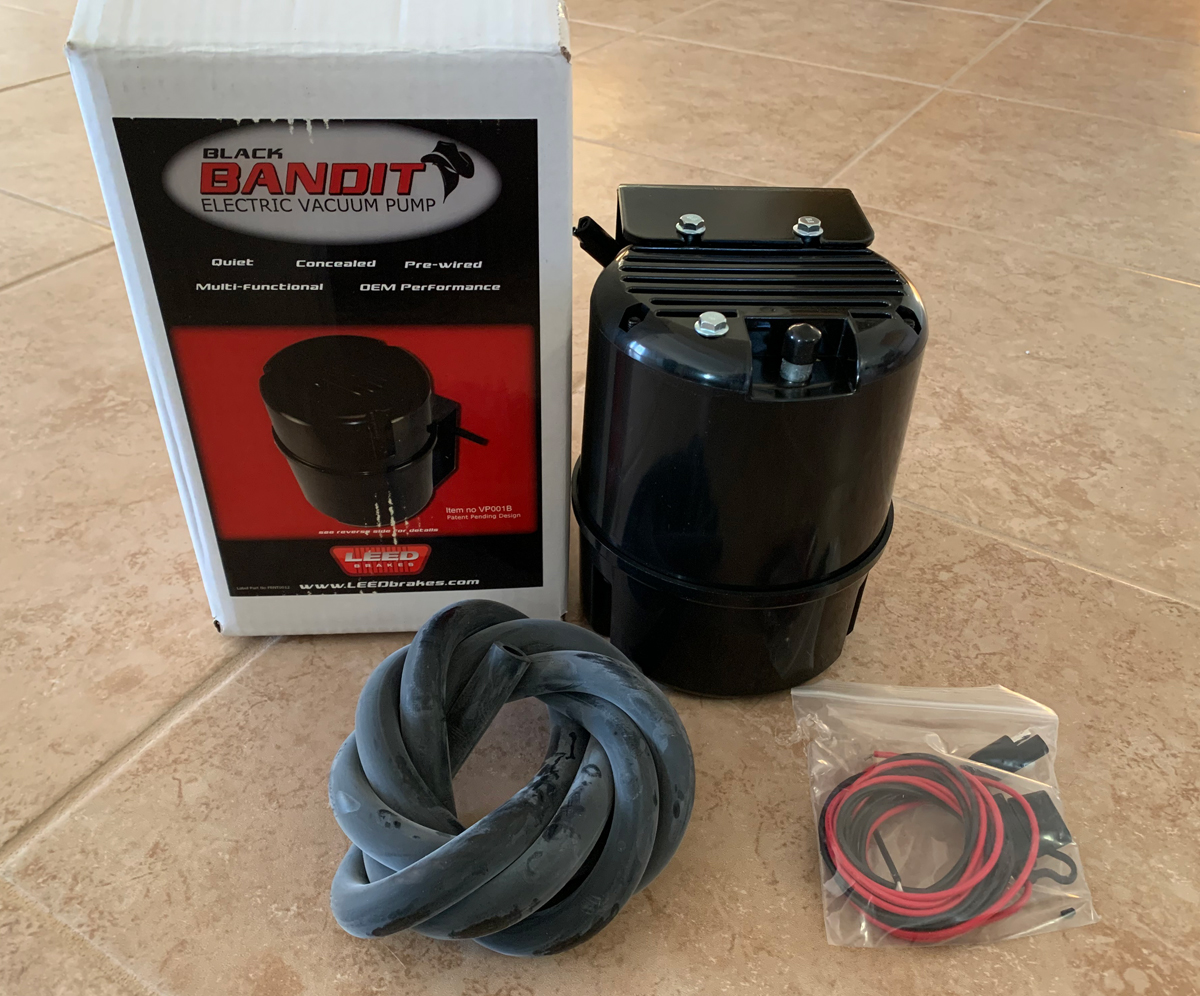
The Golf IV also gets an electric vacuum pump to provide vacuum to the break booster to avoid the turbo induced hard pedal issue that I had at Mt. Washington (where I got very creative with my parking on the edge of a cliff… well, it wasn’t a huge cliff, but I could have twisted my ankle in it or something like that.)