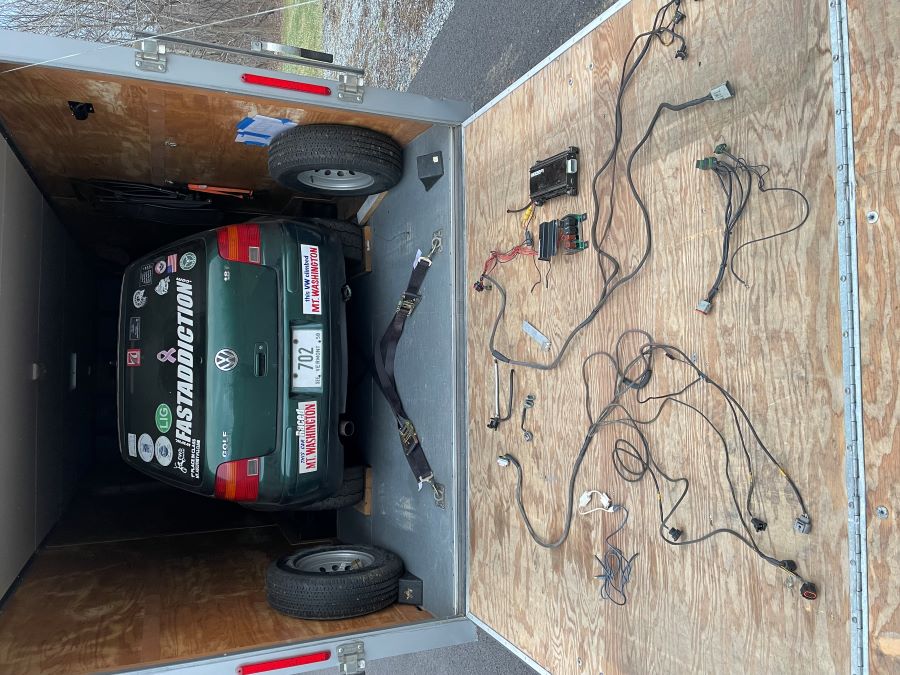
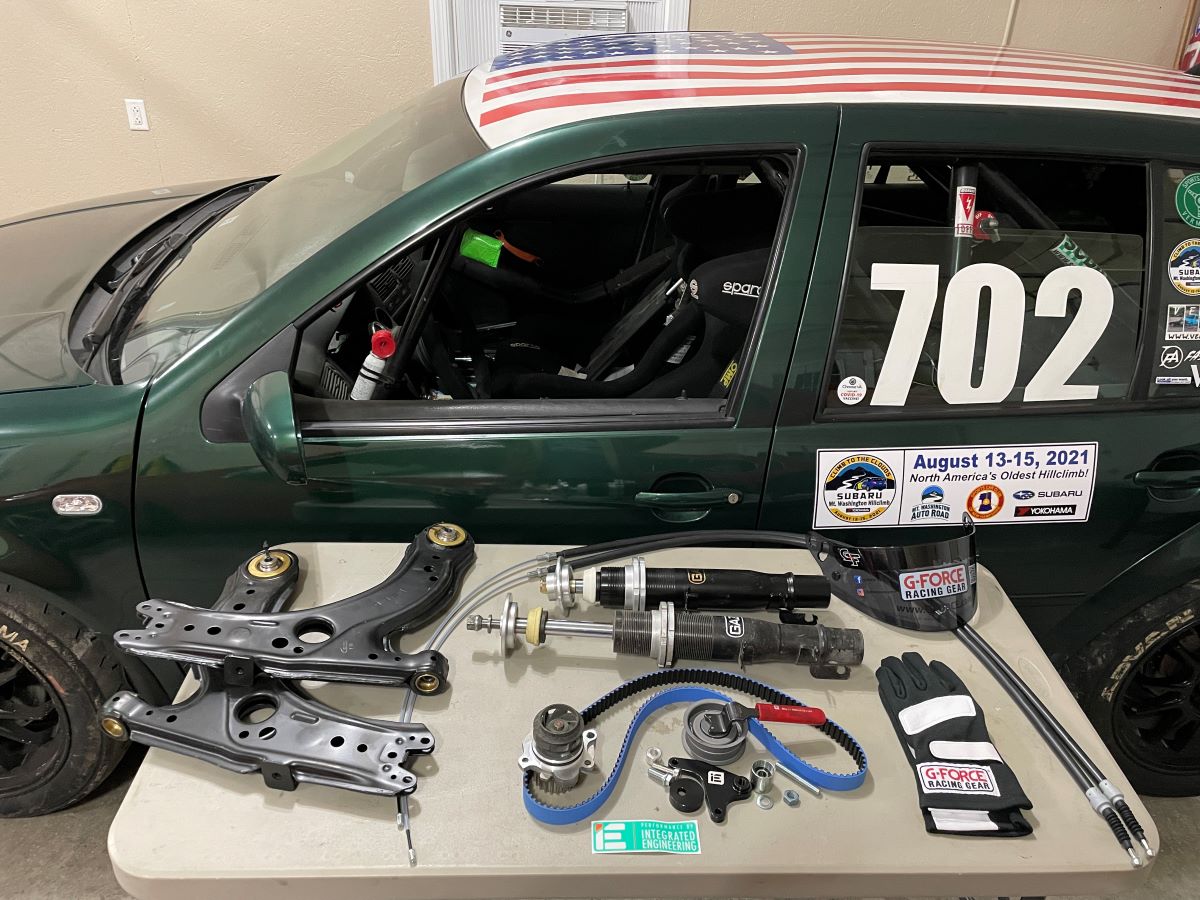
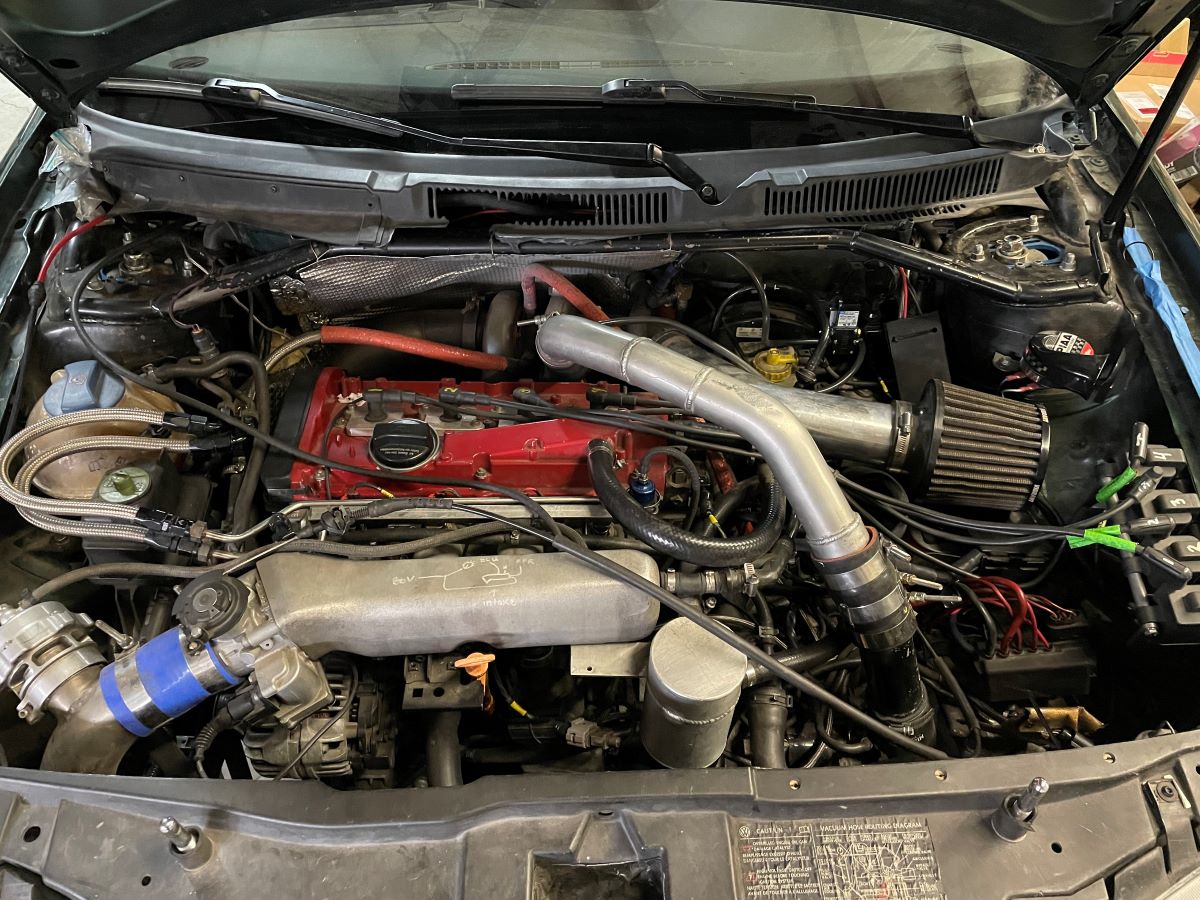
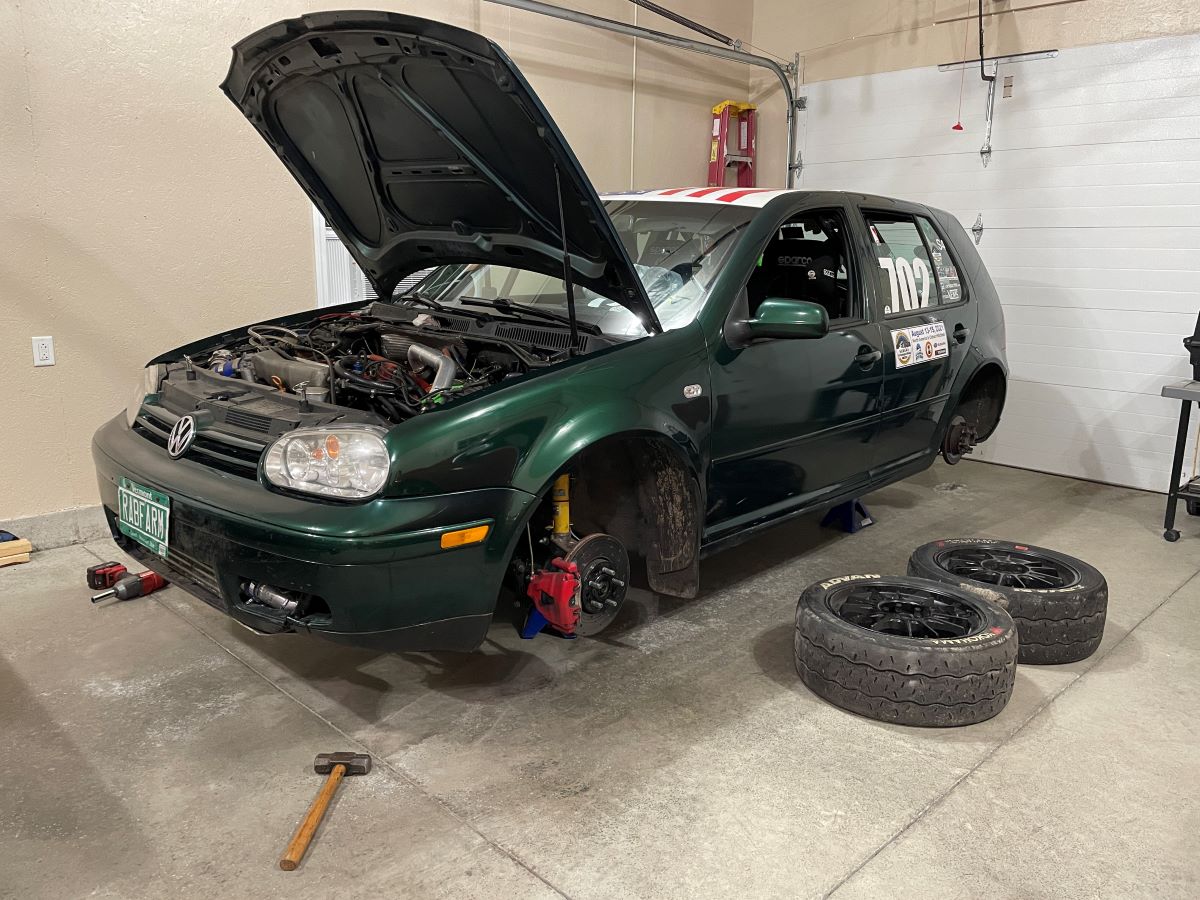
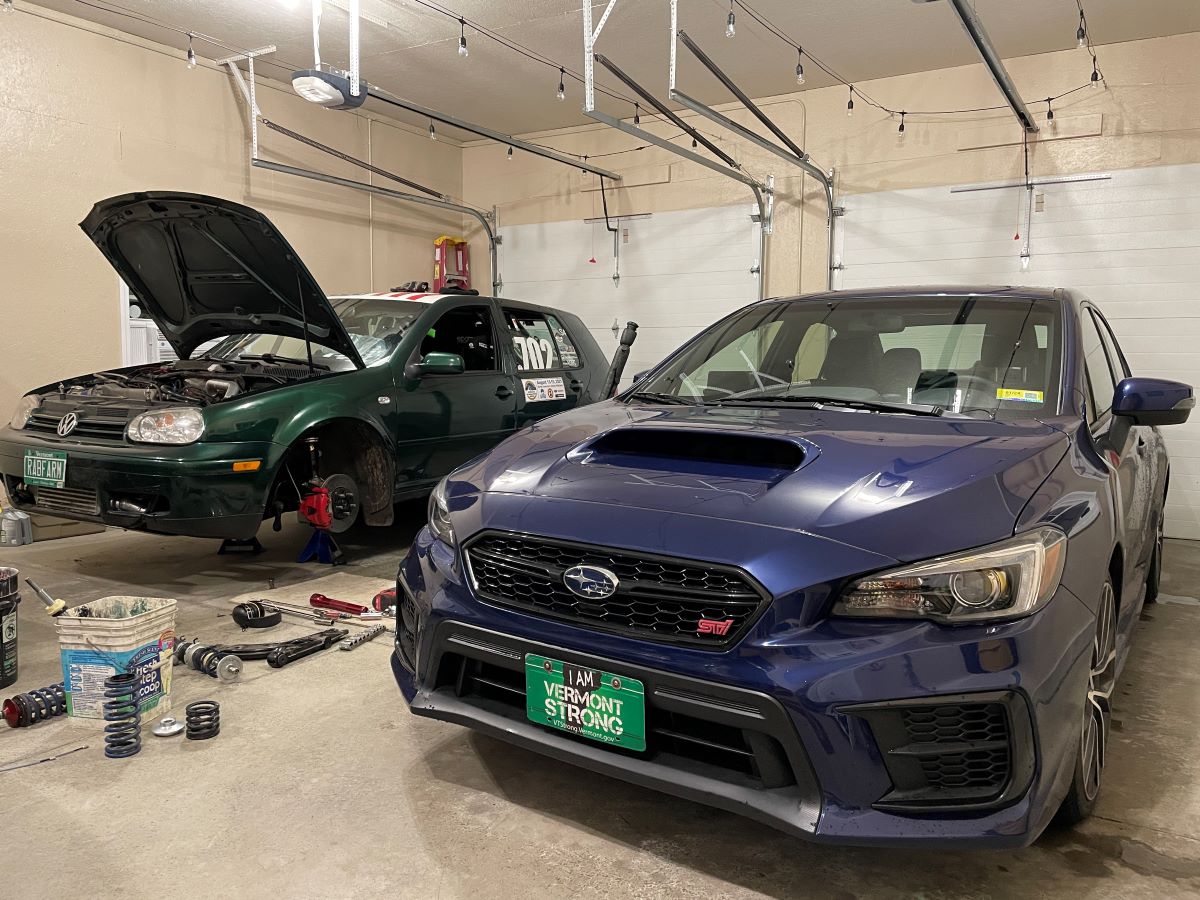
==== 2001 Volkswagen Golf 1.8T ====
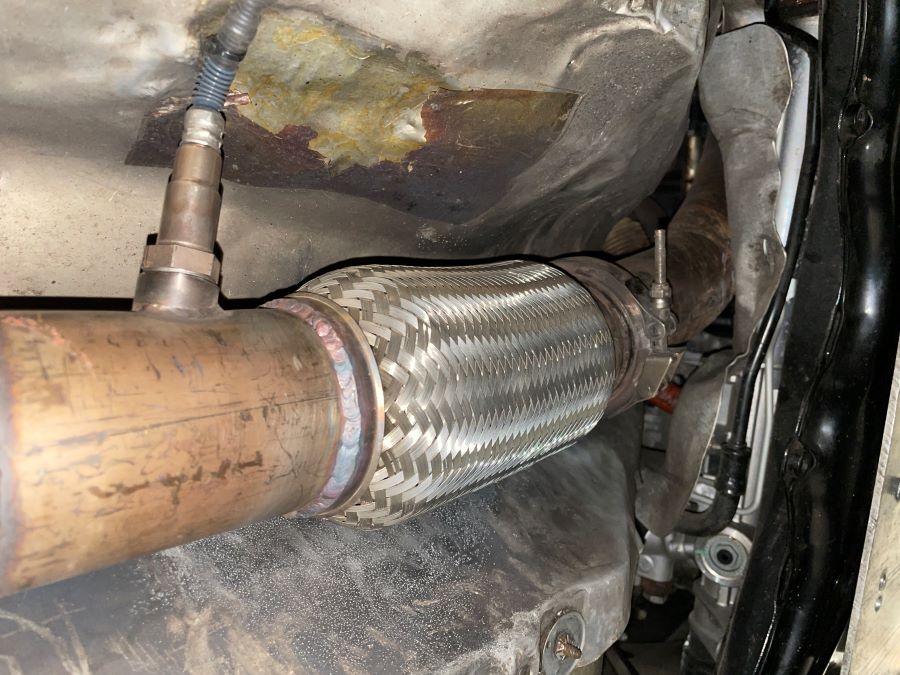
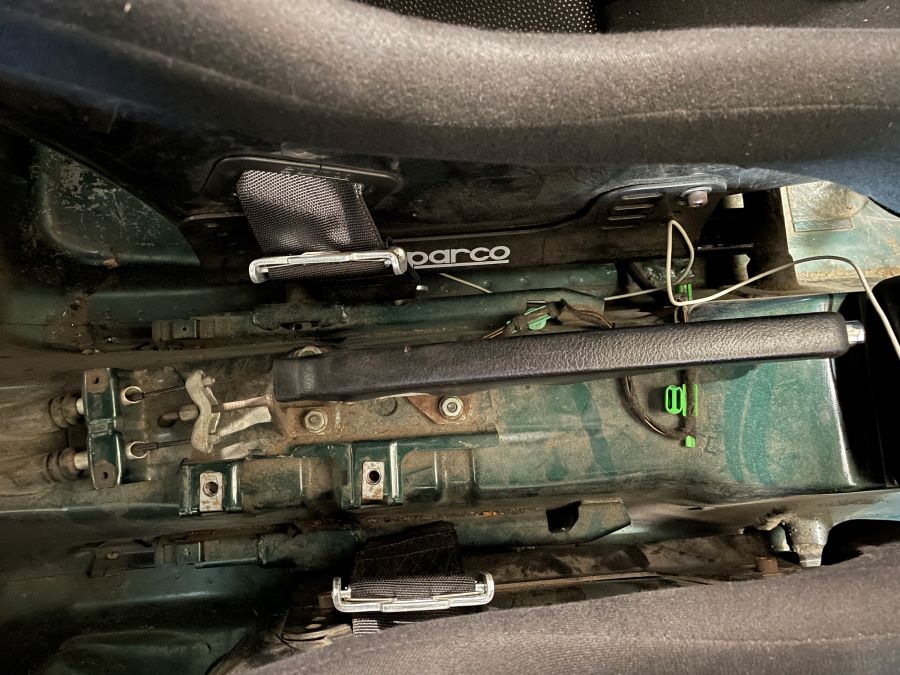
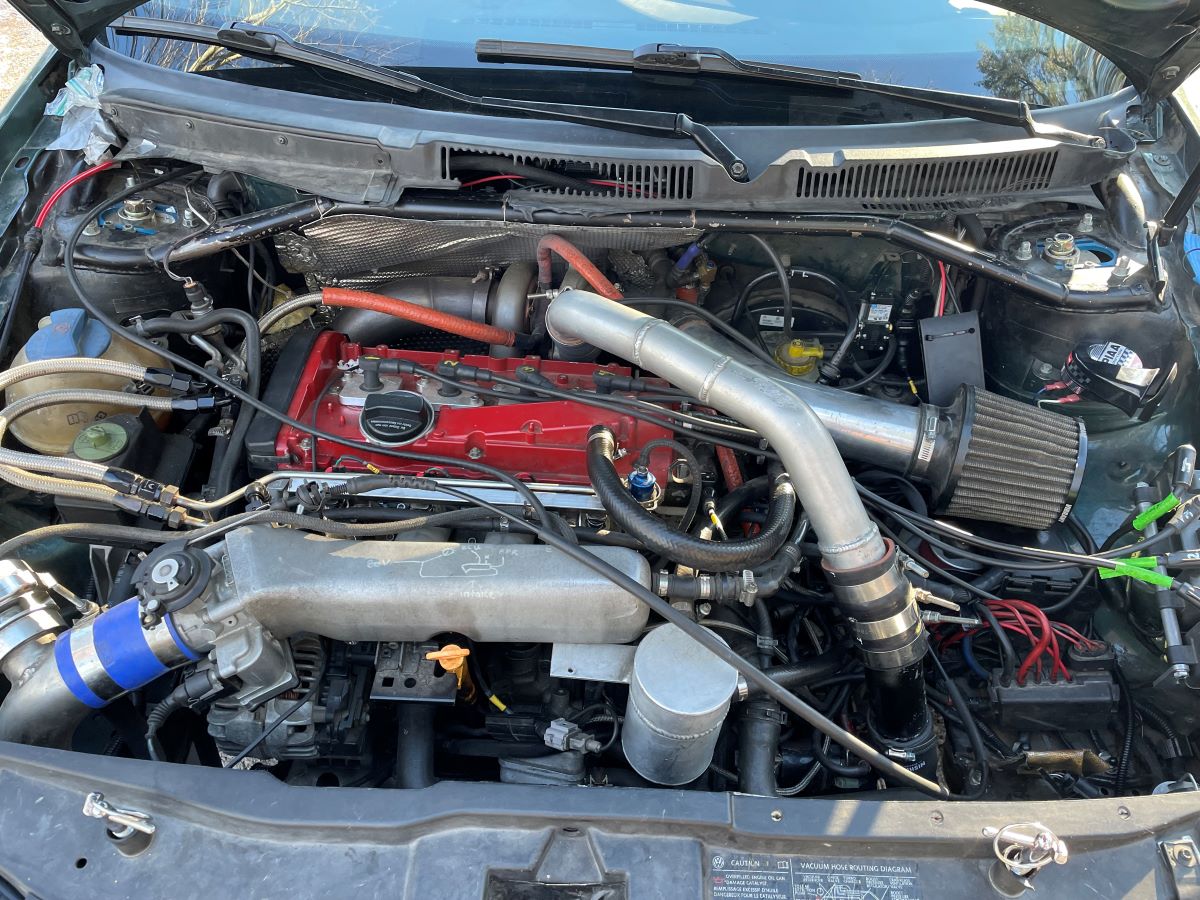
VEMS ECU and complete wiring harness is installed and the car has moved to its next destination (Joey Kale’s shop) for changes to intercooler tubing (currently goes by starter), fix leaking exhaust flexpipe, install rear tow hook, and (later) a redesign of the skid plate so that it isn’t mounted off of the subframe.
Car is back from VEMS in Colchester, Vermont (
https://www.facebook.com/vemstuning/). Great job as always from Jason and Nick.
Pump gas tune in the future! No more expensive race fuel. I plan to use pump gas on the MK1 Scirocco also. Makes racing so much more affordable... if there is such a thing.
New gauge that will have both air fuel and exhaust gas temp (AF/EGT) on it; will get the info directly from the ECU after we fix the EGT probe.
What was removed:
* Volkswagen OEM electronic booster controller (EBC); called N75 valve
* 57 lb injectors at 3 bar
* 034EFI wiring harness, ECU, etc.
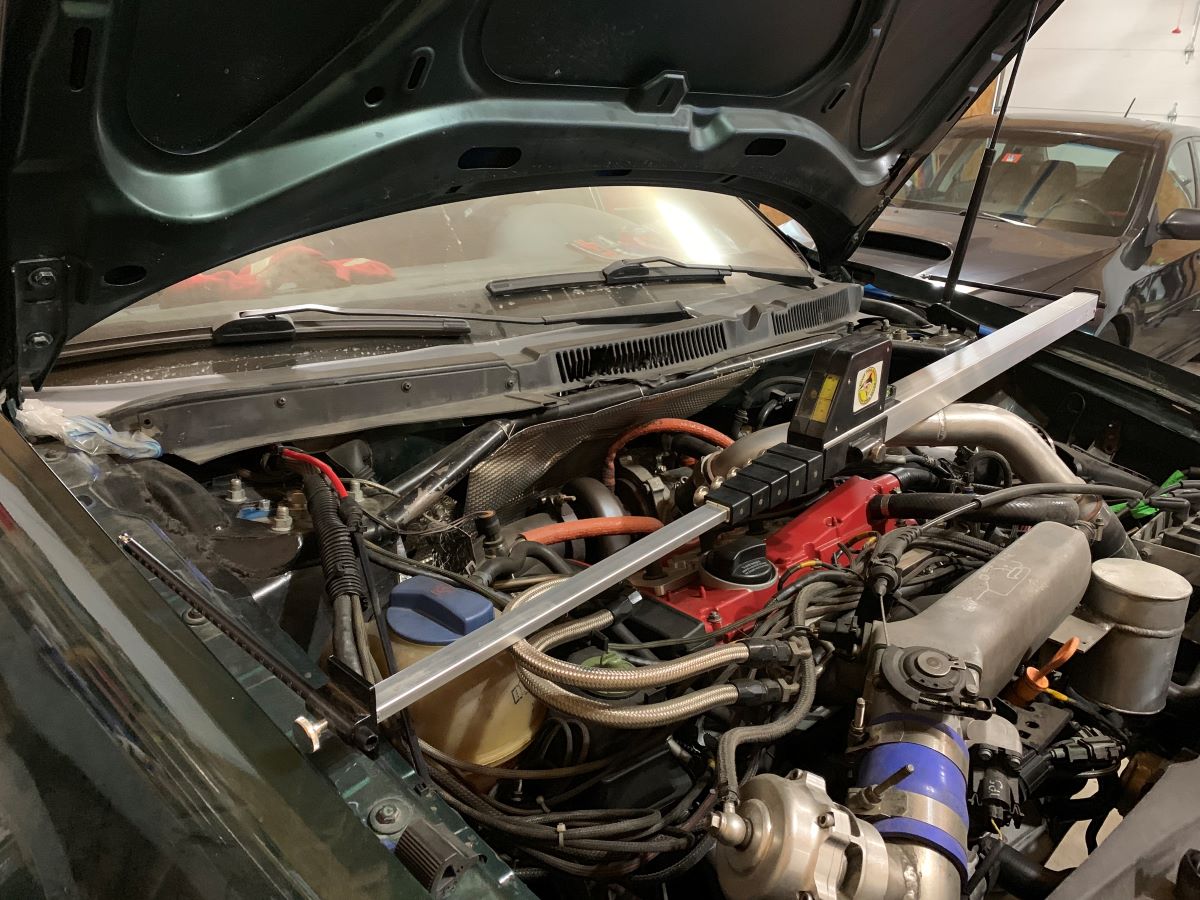
Earlier picture of car showing cluster of wires running over the passenger side strut tower.
 What was installed:
* VEMS V3 Standalone ECU
* 3 port EBCS booster controller solenoid (part MAC 46A-AA1-JDBA-1BA); we still need to hook up both ports
* ID1050X injectors (part 1050.60.14.14B.4) from Injector Dynamics / Bosch Motorsport
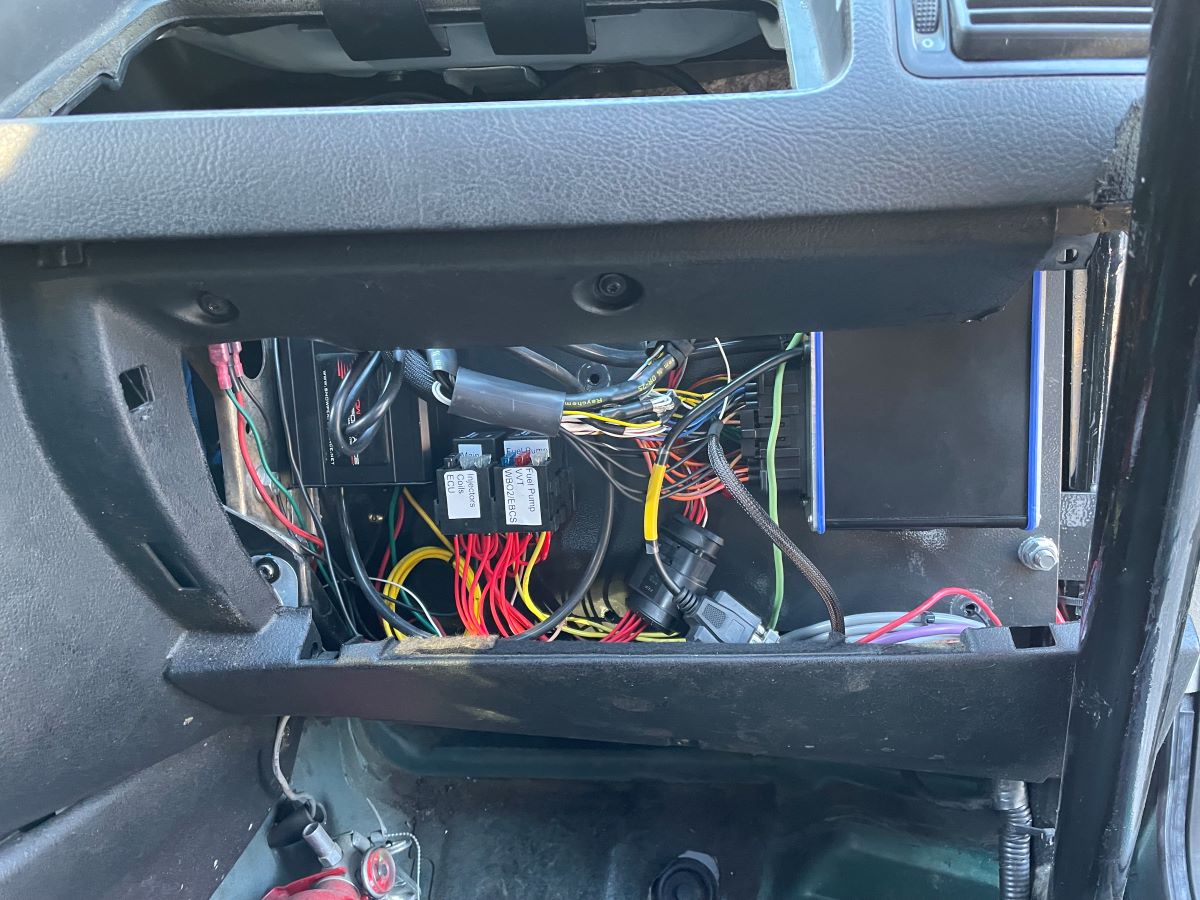
* Complete wiring harness and all supporting bits (relay block, canbus module, etc.)
Big advantage for low end turbo spool is the intake variable valve timing will be utilized by the VEMS tune.
Speedometer and tachometer are working again!
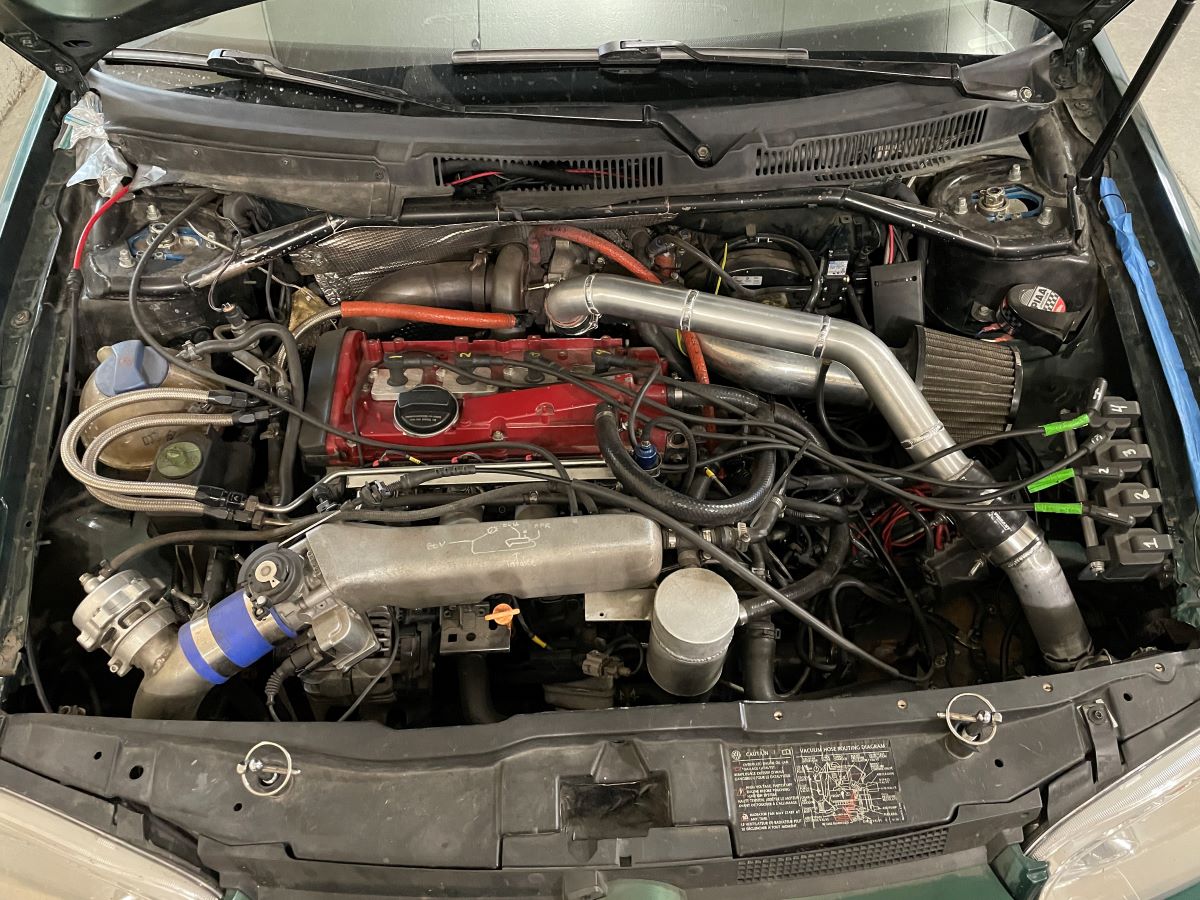
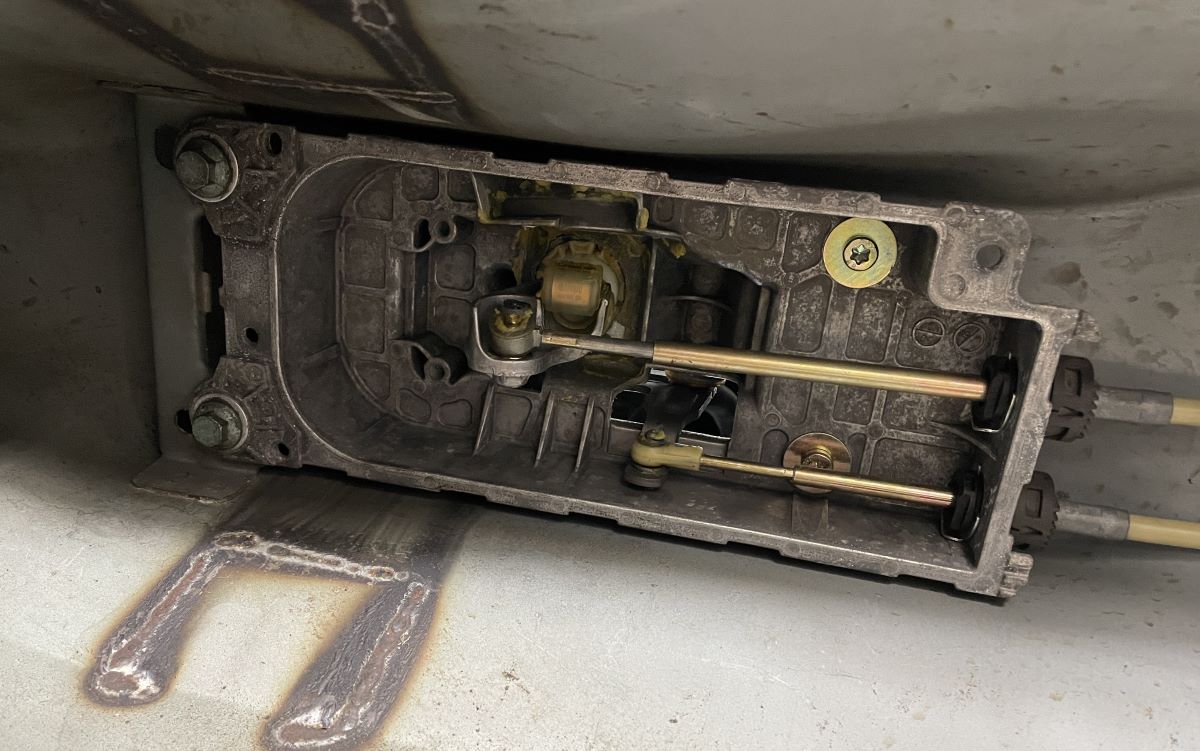
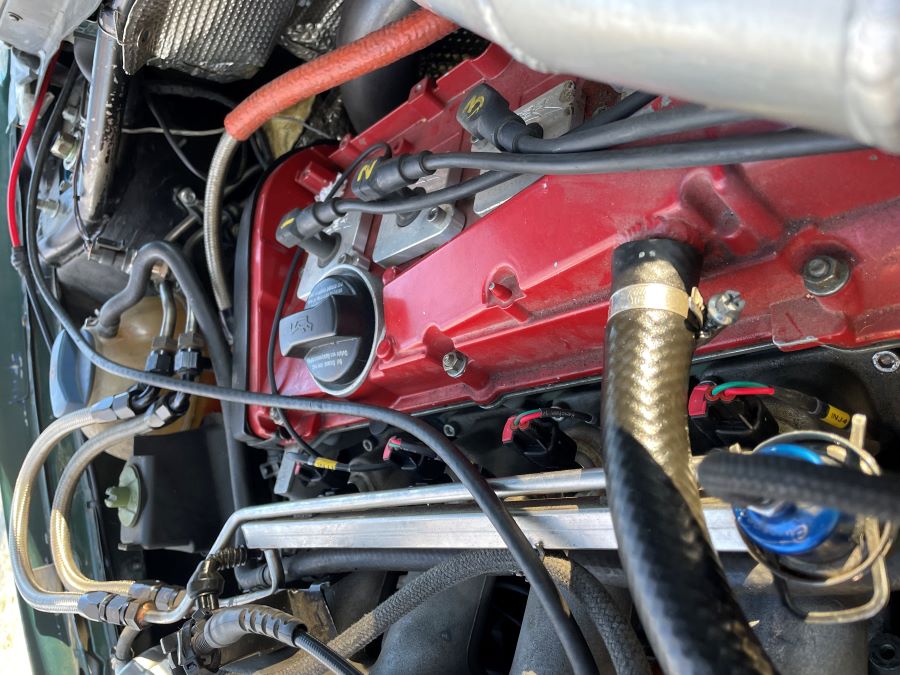
Much cleaning in the engine bay as all wiring makes it way to the driver’s side of the car to use the stock wiring channel to get into the rain tray, makes its way across to the passenger side, through the fire wall, to where I had the old ECU mounted on a metal plate that I installed a few years ago.
Lots of additional grounds were added for this setup... I will have to pay very close attention when taking engine out in the future to ensure I know where everything is installed.
The car still has the cluster of stock wires under the hood that I would love to get rid of. Not a project for this winter.
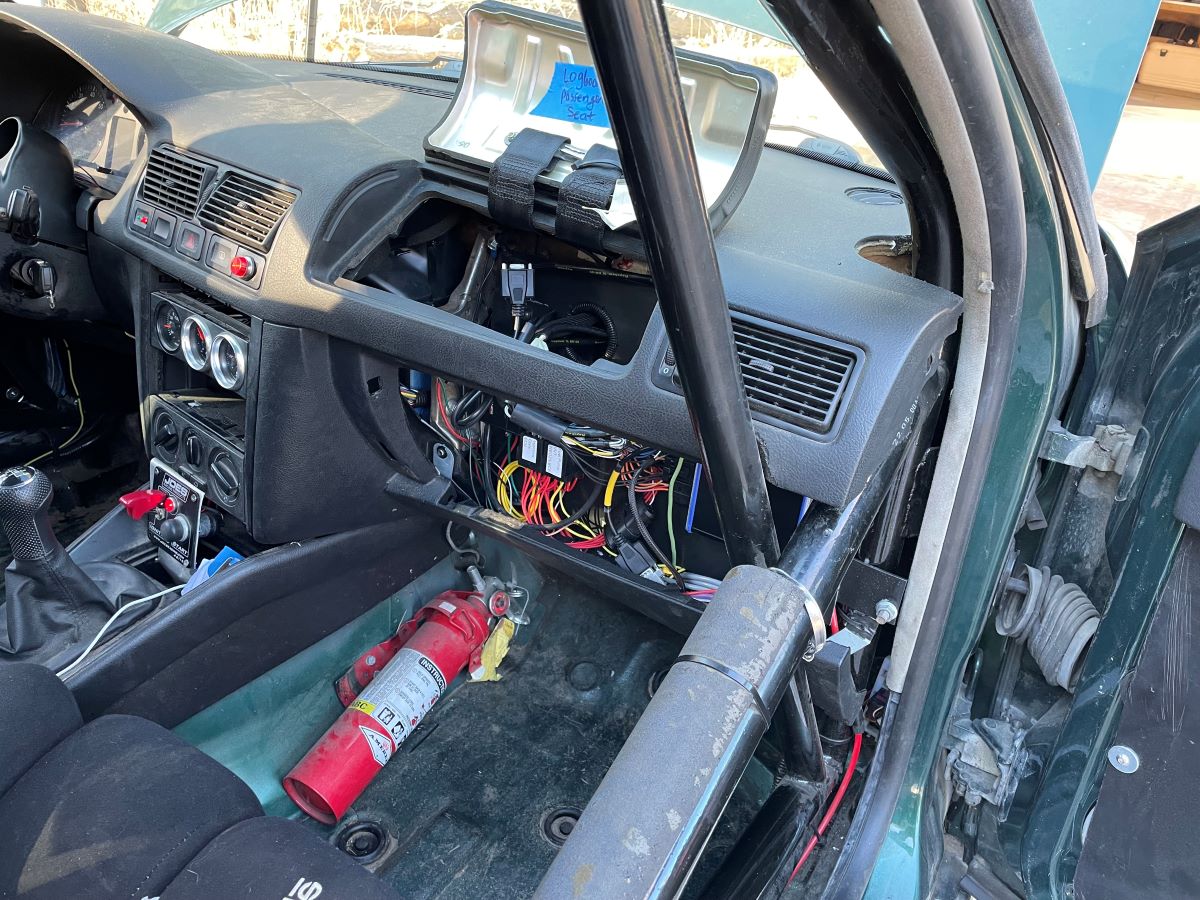
Everything under the dash to protect it from the elements. Easy access via the airbag cover.
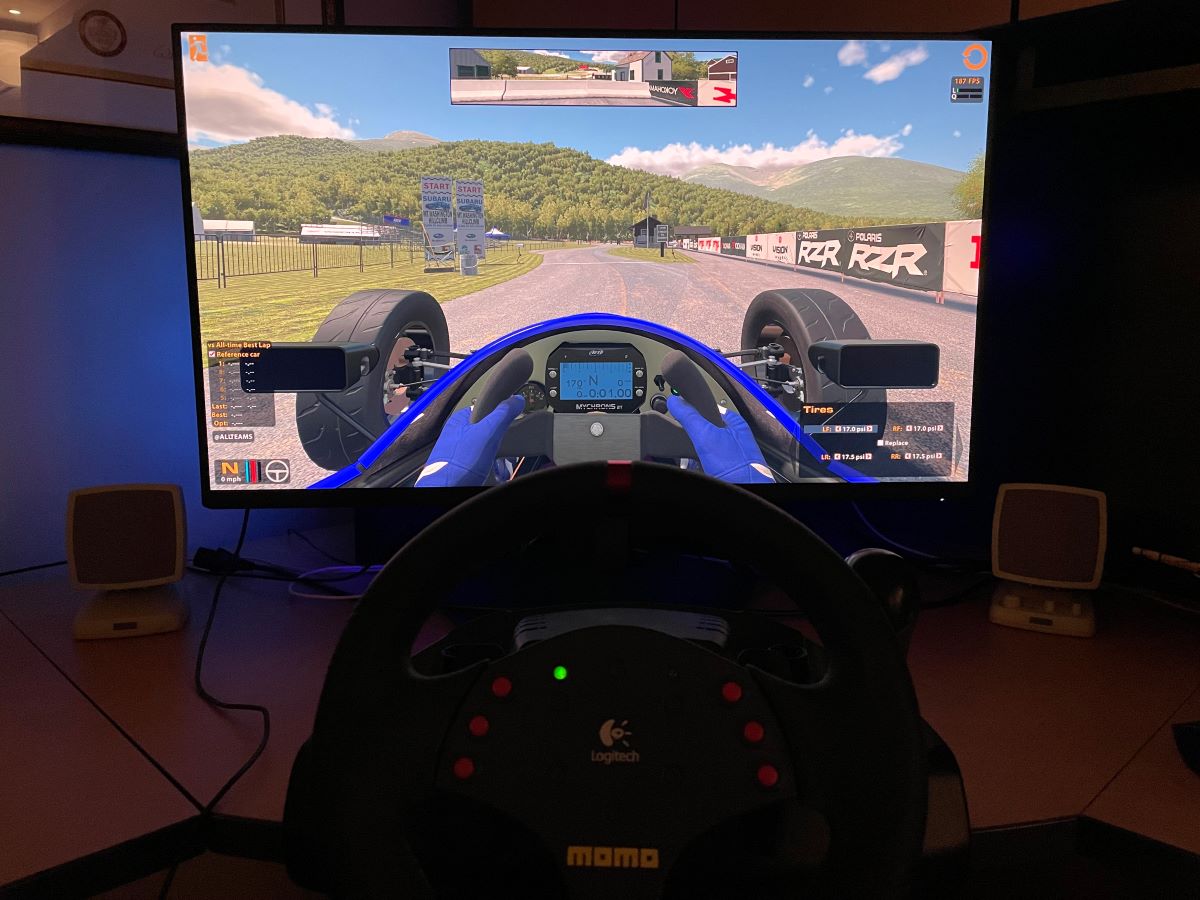
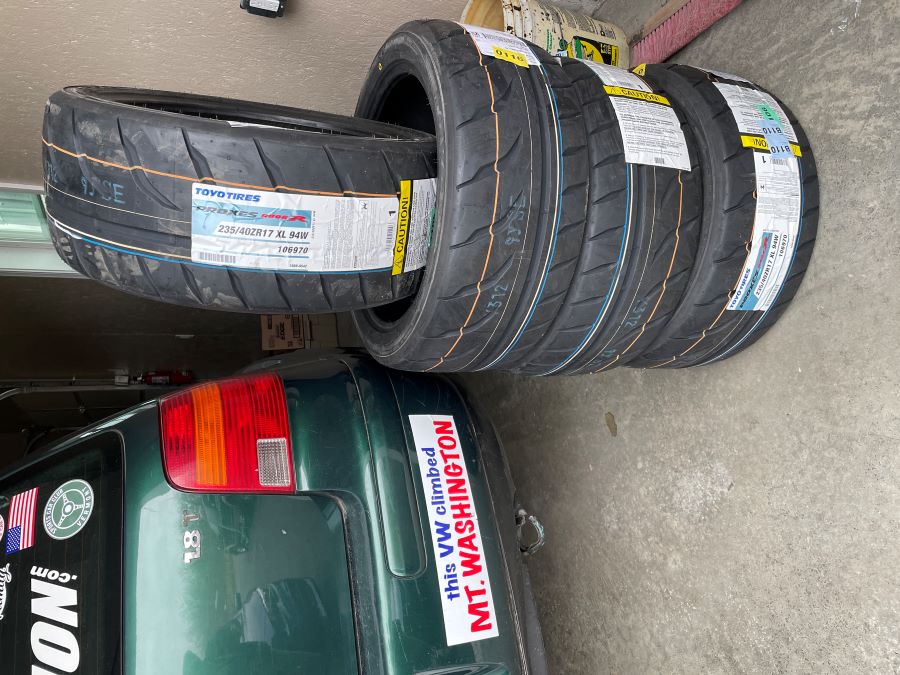
Unrelated.... iRacing was on sale for $99 for two years. I purchased the game (simulator) along with the Mt. Washington hillclimb. Using my very old and basic steering wheel / pedals.
I spent more time spinning around like I was driving on ice than actually being able to zip up the hill.
More practice and different car setup is needed.